OSD Pooling:
1. Add the SMP Clients (up to 10) to the Sources tab in the SMP configuration as OSD1, OSD2,
OSD3, etc.
2. Configure each SMP Client with a unique IP address:
• Connect a keyboard, monitor and mouse and power up the unit.
• After booting, a browser page will display. Enter https://localhost:60083 to open the Dashboard
application.
• Enter admin for username and admin for password.
• The IP Config page will appear. Enter the desired IP address.
Warning! Avoid IP addresses that are already in use. For example, the default addresses for
a matrix switch are 192.168.13.15 and 192.168.13.16. The default address for the SMP Module
or SMP Appliance is 192.168.13.9.
3. Edit the osd.desktop file located in the /home/user/.config/autostart directory.
The first SMP Client will contain the URL:
https://192.168.13.9:60090/osd.html?sname=OSD1.
The second SMP Client will contain the URL:
https://192.168.13.9:60090/osd.html?sname=OSD2, then …=OSD3, etc.
These examples are for an SMP2 Appliance or Module with a default IP address of 192.168.13.9. Your
configuration may vary.
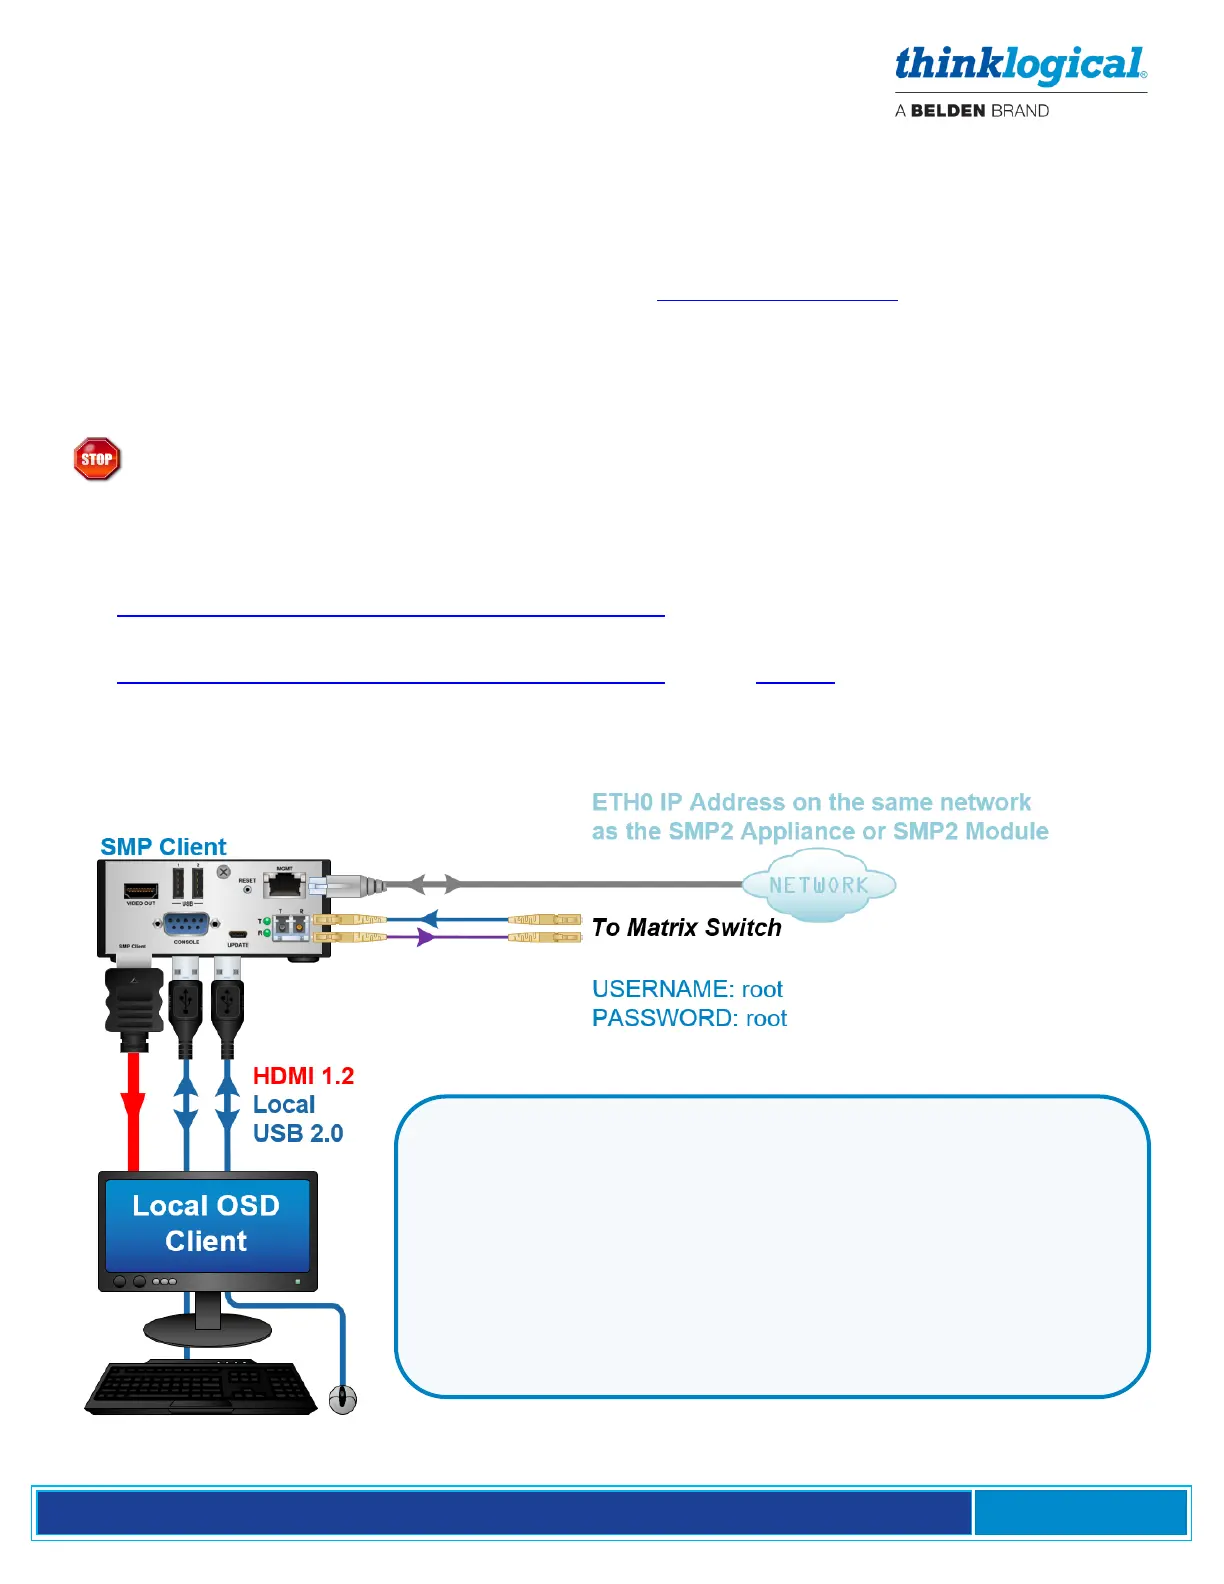
▪ Connect as many as 10 SMP Clients to the system’s Matrix Switch
using fiber-optic cables (up to 400 meters each).
▪ If desired, connect an optional local display to the HDMI port and
a local keyboard and mouse to the Local USB Ports of each Client.
The Console port can be used for debug and configuration.
▪ Connect the MGMT Port to the same network as the SMP Module
or SMP Appliance.