Color Wheel
The color wheel is a powerful feature of the DaVinci Resolve color corrector and used to make
color adjustments to each YRGB channel’s lift, gamma and gain settings. You can select which
setting to adjust by clicking on the three selection buttons above the color wheel.
Master Wheel
Use the master wheel below the color wheel to make contrast adjustments to all YRGB
channels at once, or luminance only for each lift, gamma or gain setting.
Reset Buttons
The reset button near the top right of each camera controller lets you easily choose color
correction settings to reset, copy or paste. Each color wheel also has its own reset button.
Press to restore a setting to its default state, or copy/paste a setting. Locked controllers are not
affected by the Paste feature.
The master reset button on the top right corner of the color corrector panel lets you reset lift,
gamma and gain color wheels plus Contrast, Hue, Saturation and Lum Mix settings. You can
paste color correction settings to camera controllers individually, or all cameras at once for a
unified look. Iris, focus, coarse and pedestal settings are not affected by the Paste feature.
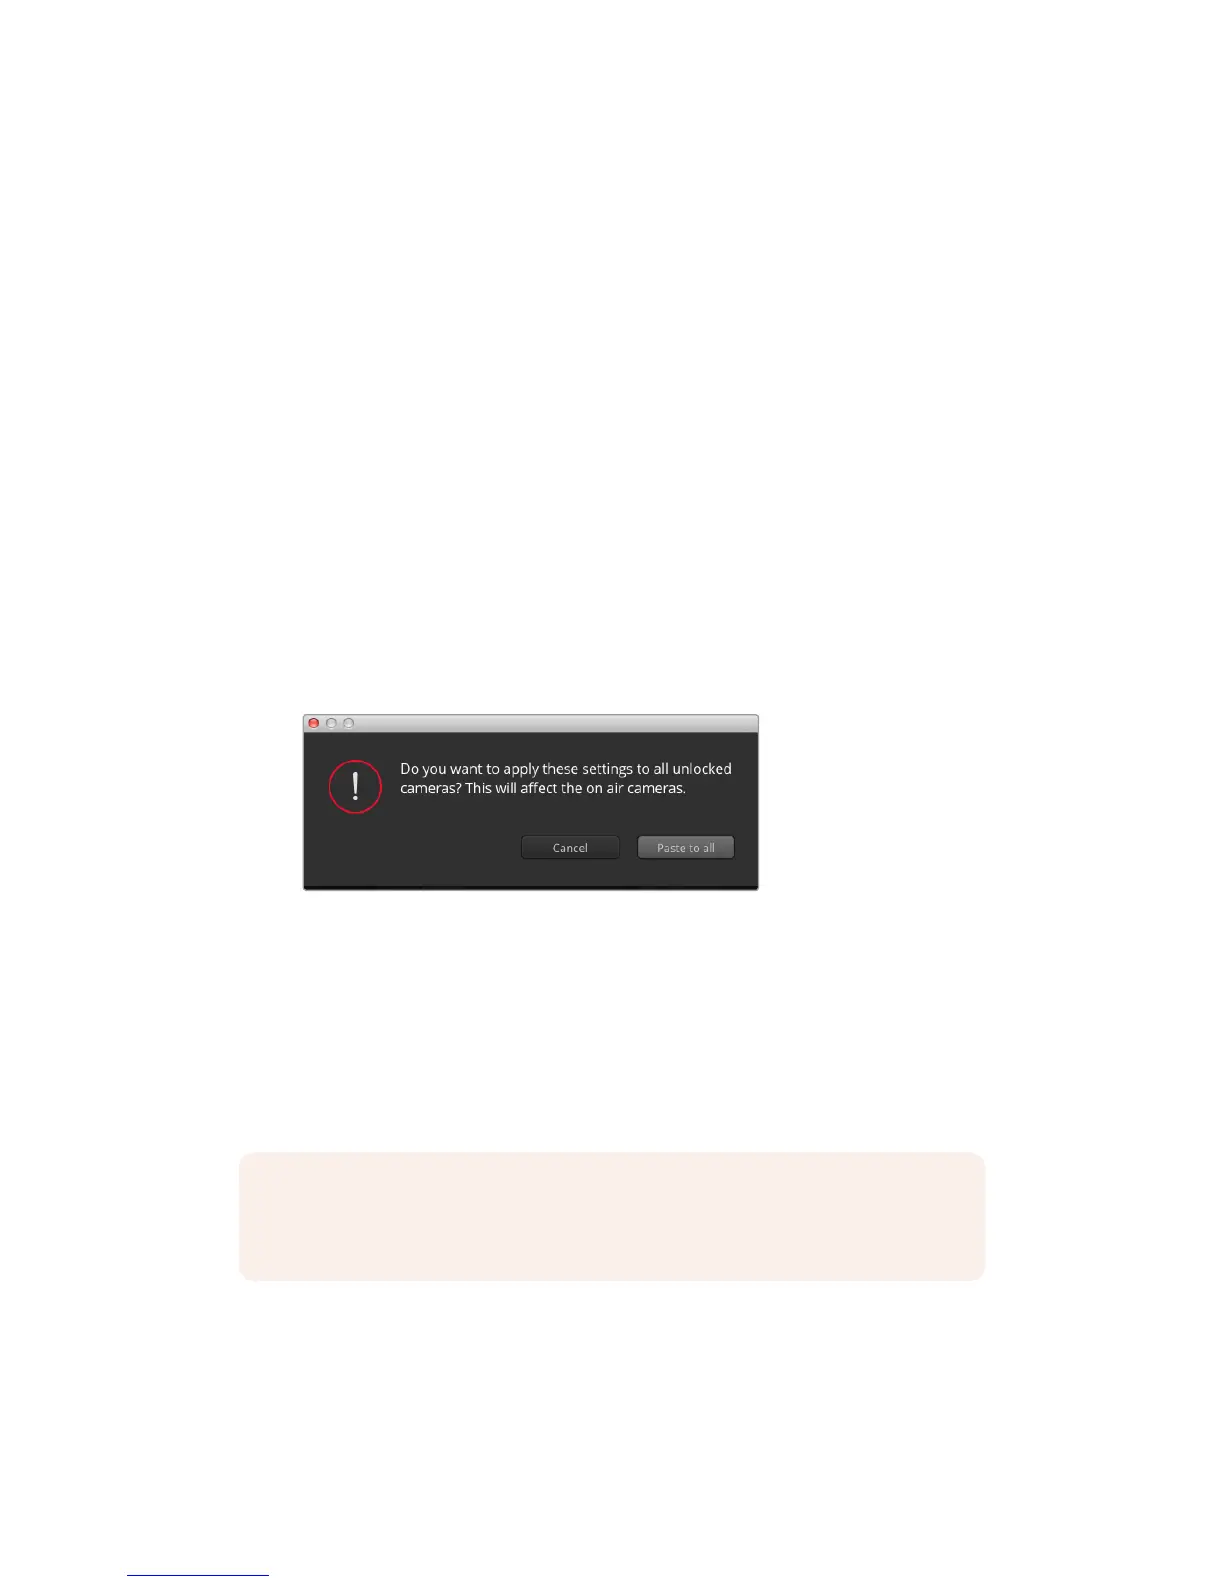
When applying Paste to all, a warning message will appear asking you to confirm your action.
This is so you don’t accidentally paste new settings to any unlocked cameras that are
currently on air.
When applying Paste to all, a warning message will appear asking
you to confirm your action. This is so you don’t accidentally paste
new settings to any unlocked cameras that are currently on air
Iris/Pedestal Control
The iris/pedestal control is located within the cross hairs of each camera controller. The control
illuminates red when its camera is on air.
To open or close the iris, drag the control up or down. Holding the shift key allows only iris
adjustments.
When using a compatible lens, set the auto exposure setting to ‘manual trigger’ as detailed in
the ‘camera settings’ section of this manual.
If you’re using a B4 or PL lens connected via the broadcast 12 pin connector on URSA Mini,
make sure the lens iris switch on the handgrip is set to ‘A’ or ‘auto’.
NOTE When connected to ATEM ensure that you have Auto Exposure switched off.
Ifyou require Iris, zoom or focus control ensure that you have a lens that can be
controlled electronically by the camera.
245Understanding StudioCameraControl