First, click on the ‘color’ tab to open the ‘color’ page.
You’ll see the color wheels, curves palettes and general color correction tools as well as the
preview and nodes window. Don’t feel overwhelmed by the vast array of features in front of you,
they are all there to help you get the most amazing looking pictures. The DaVinci Resolve
manual will show you exactly what the tools are for and how to use them in easy to follow steps.
You’ll learn the same techniques the professionals use in high end color correction facilities.
Generally, the first thing you’ll want do is optimize the shadows, mid tones and highlights in your
clips. In other words adjust the ‘lift’, ‘gamma’ and ‘gain’ settings. This will help get your pictures
looking their brightest and best with a clean, balanced starting point from where you can begin
grading the ‘look’ of your film.
Using Scopes
Most colorists make creative color choices by focusing on the emotion and the look they want
their program to have and then simply work using the monitor to achieve that look. You can look
at everyday objects and how different types of light interact with them to generate ideas on
what you can do with your images and a little practice.
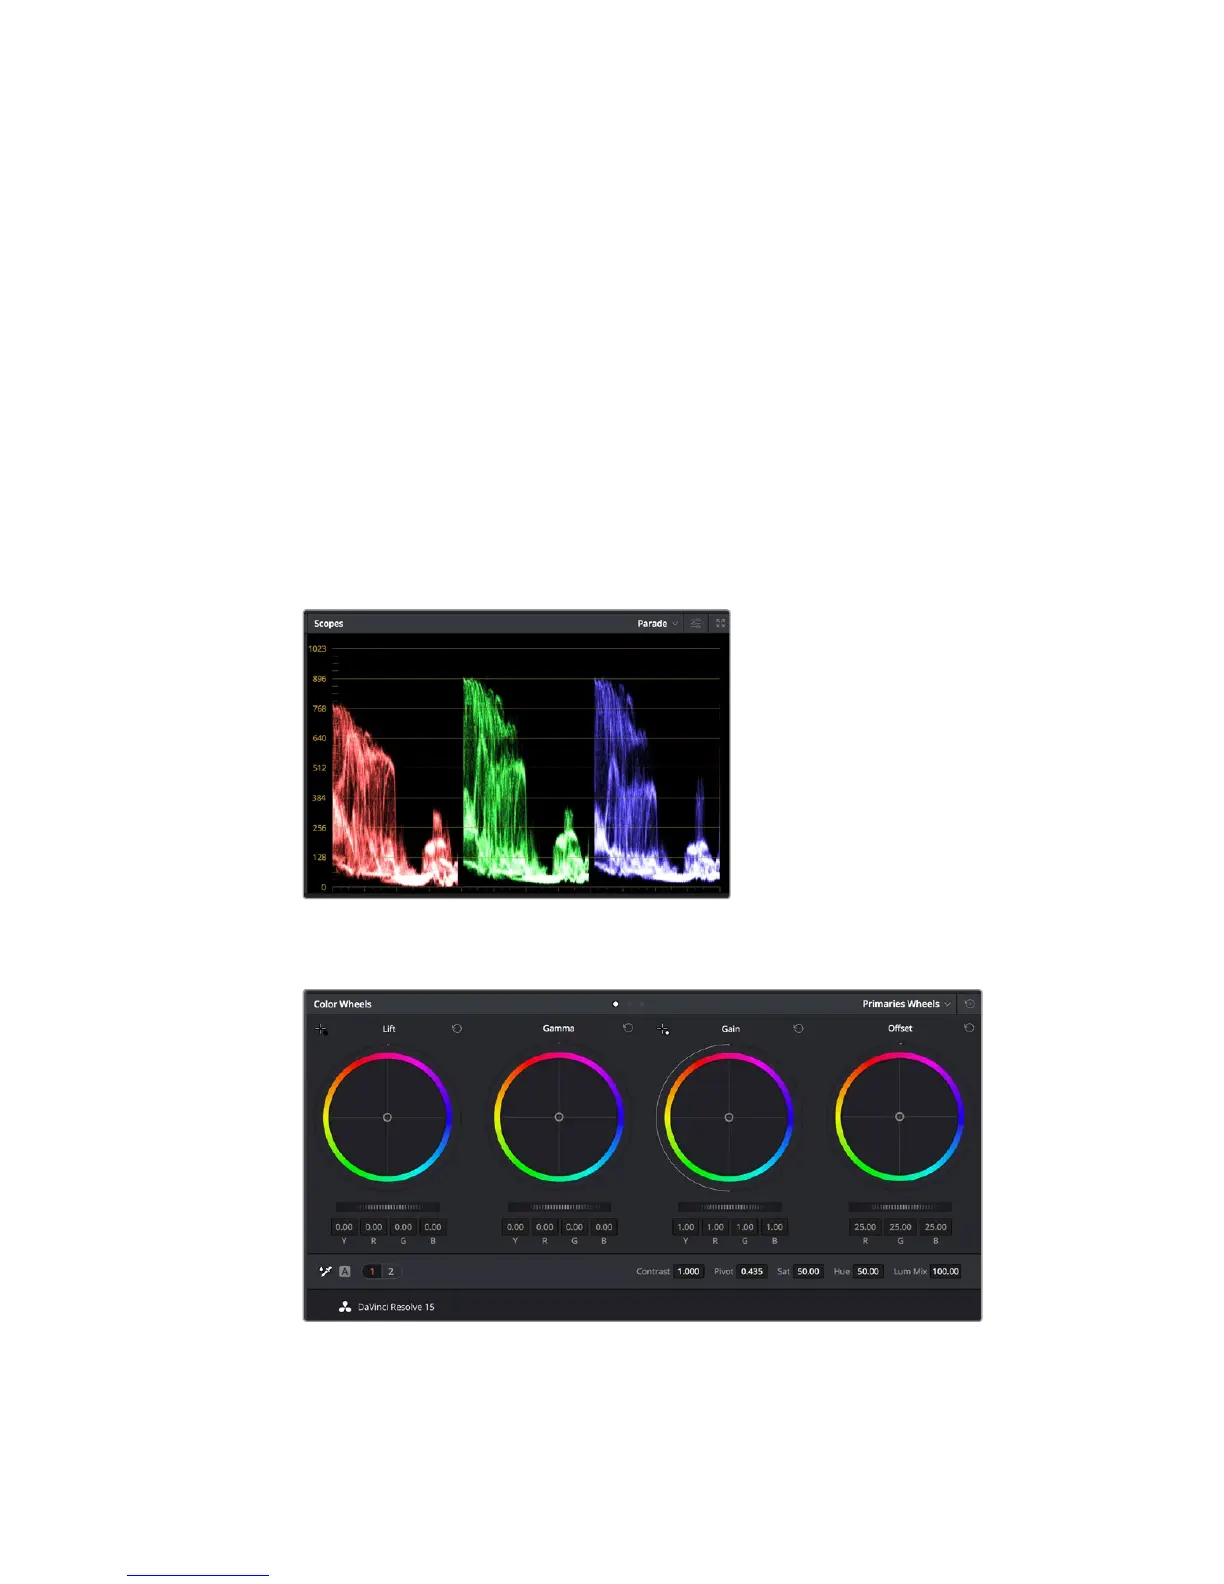
The parade scope helps you optimize
highlights, mid tones and shadows
The ‘lift, ‘gamma’, ‘gain’ and ‘offset’ color wheels give you total control over the
color and tonal balance of your clips. To make a uniform adjustment to all colors for
each tonal region, drag the dial underneath the color wheels back and forth
221Using DaVinci Resolve