6-1
Bosch Security Systems 09/11 BLCC500I
S E C T IO N 6
Area Programming
T
he Solution 16i has 4 dierent areas each with its own
specic programmable options.
Under the commands menu you can interrogate the
status of an area, turn chime mode on/o, move to an area
or arm and disarm a specic area.
The customer account number is programmable for
each individual area as well as input, output and general
options. Each time you are presented with an option that
is area specic, the menu will prompt you to specify the
area rst.
Partitioning
The Solution 16i control system can be partitioned
into 4 individual areas. Each area has its own individual
properties which determine how the area operates. The
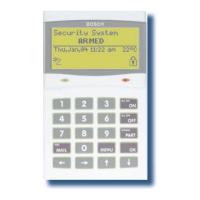
default name for AREA-1 is “Security System” and it can
be changed to any other name using the area properties
menu. All zones and users are assigned to AREA-1 so no
assigning of users or zones is required for non partitioned
systems by default.
To create an area, assign one or more zones to the area
of your choice. A zone can only belong to one area and
any number of zones can belong to a single area. Each
area operates independently from other areas as if it were
another security panel and there are numerous options
available to tailor just how the entire system should
operate. If you require a common area that automatically
arms when all other areas are armed, and disarms as soon
as any other area is disarmed, then Area 1 can be set as
a common area. To make area 1 a common area, set the
option under MENU 7-7-1 — Area Options.
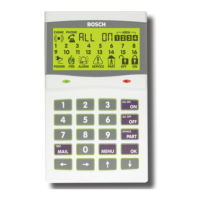
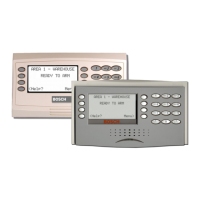
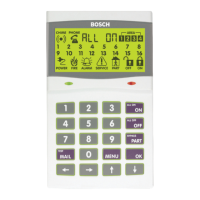
All keypads connected to the system have the ability to
display the arm/disarm condition of every area at the same
time using the area icons on the display. This is selectable
per keypad under MENU 6-1-4 — General Options.
Once you log onto a keypad using your pin code + OK
the system knows who you are and will allow you to use
the left arrow key to move from the current area to the
next area that your assigned to. To move areas without
having to enter your code select the option under MENU
7-7-1 — Area Options and then simply step through all
the available areas using the arrow keys. Each keypad is
assigned a home area and will automatically revert back
to this area after 60 seconds.
The system outputs must be congured to operate for
their corresponding areas. The external siren, internal
siren and strobe outputs are defaulted to output index 0
and will operate for any area . If you want the output to
operate for multiple areas then the output index needs to
be set to 0.
Example: Simple Two Area System
1) Assign zones to area 1 and area 2
2) Assign the home areas for the keypads
3) Assign users to areas
4) Set outputs to operate individually or common for
all areas.
5) Set account code for each area
6) Set options,
Code to Change areas or just arrow key
Which keypads to display area icons
Reset Sirens by any user on any area
A RE A CO M MA ND S
Areas > Commands > L200
Area Status
-
-
-
MENU 2-0-0
This menu allow users the ability toview the area status
of the current area or the status of a dierent area. This
menu is only available via a keypad who’s corresponding
area is turned o.
1) Enter your PIN + [MENU].
2) Enter [2] + [0] + [0] + [OK].
If your system has been congured to have more than
one area, the keypad will display the A = prompt.
A=
3) Enter the number of the area that you want to view
the status of, then press [OK].
 Loading...

