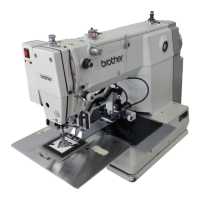
4. SEWING
4-7. Automatic sewing
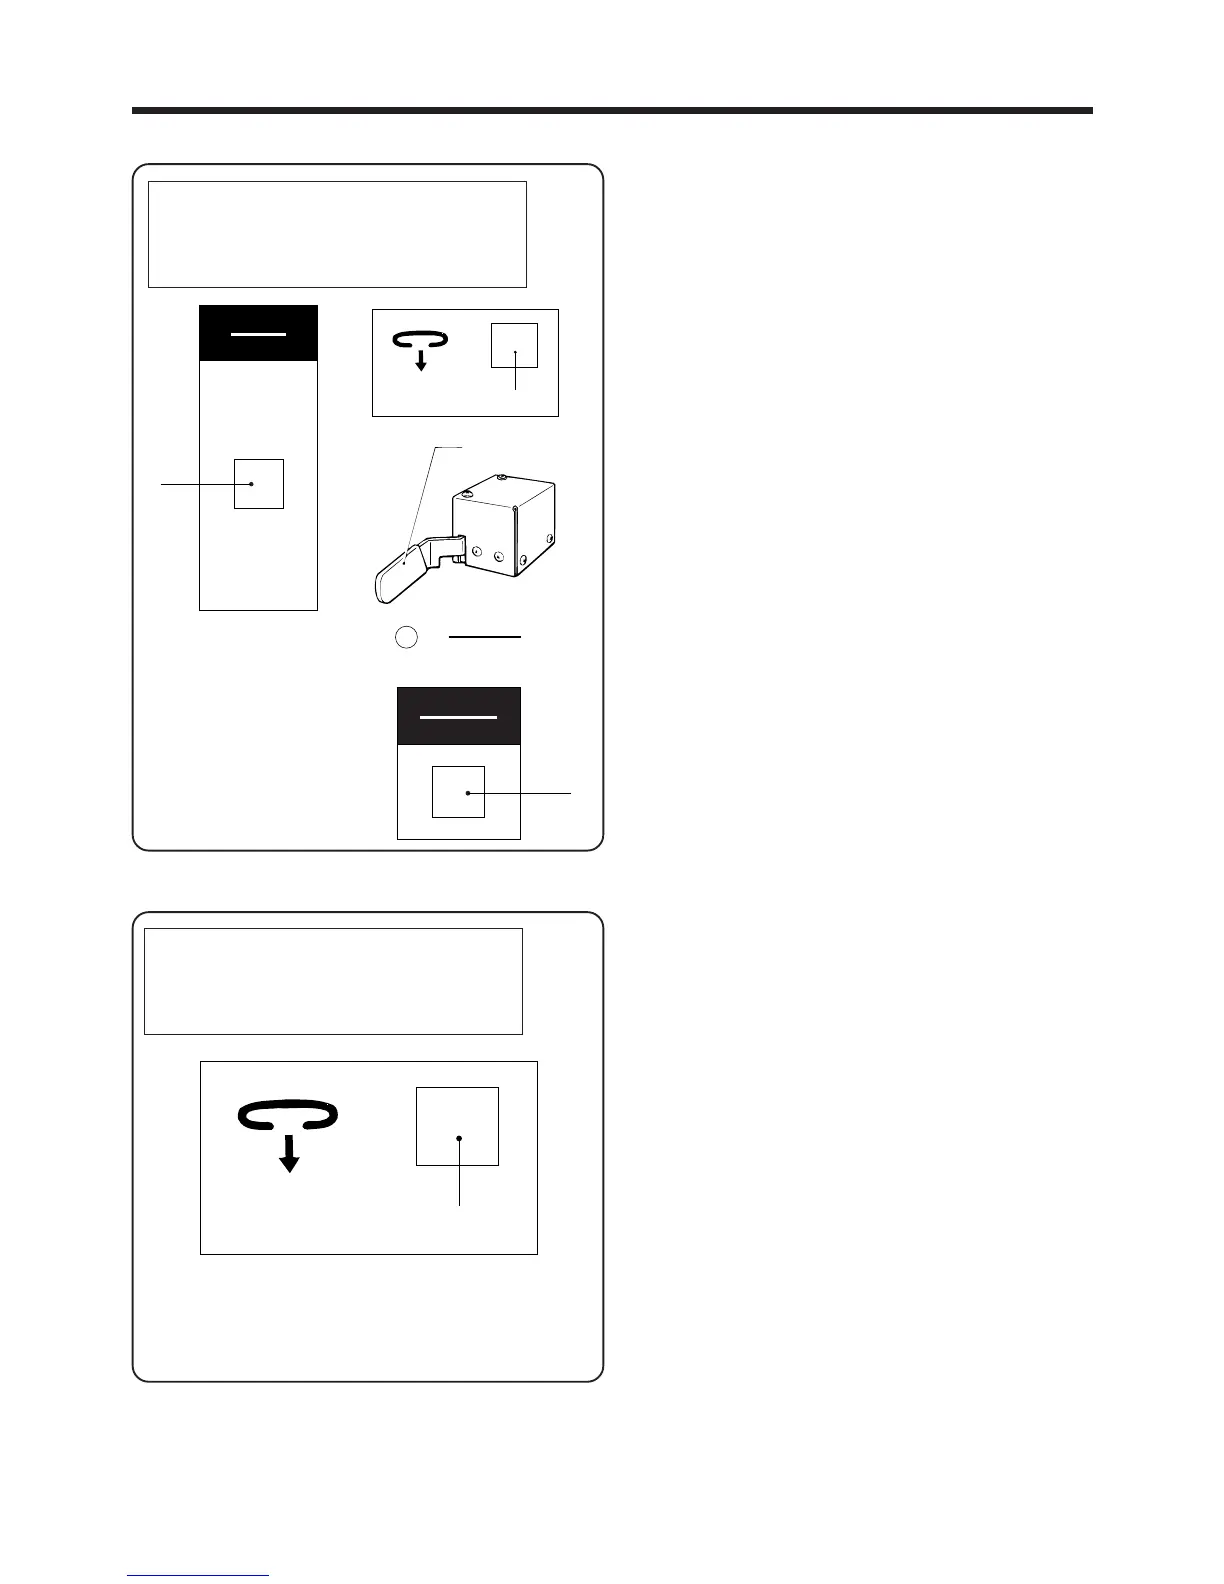
1. Press the MODE switch q to select AUTO mode.
2. If no belt loop has been set, press the LOOP switch
w to set a belt loop.
3. Set the material.
4. Press the START switch e to start sewing in AUTO
mode.
4-7-1. If the belt loops run out during automatic sewing
* A message will appear on the screen.
1. Add more belt loops. The message will disappear
from the screen.
2. Press the LOOP switch q.
The end of the belt loop will be automatically cut and
discarded, and the belt loop material will be set.
AUTO MODE
◆ 1st bobbin counter
2nd bobbin counter
Production counter
No loop
Pass loop through the channel
― 32 ―
BAS-705
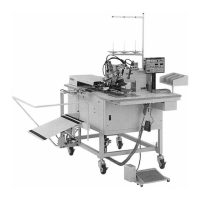
<Correcting the production counter>
While the production counter setting is being
displayed, press the SELECT switch to increase
the counter setting by 1, and press the switch to
decrease the setting by 1.
[If the bobbin thread counters are at "0"]
* If DIP switch No. 2-8 is set to OFF
The previously-set value can be changed. Press the
MODE switch q to return to AUTO mode.
* If DIP switch No. 2-8 is set to ON
The bobbin can be replaced straight away. Moreover,
the previously-set value cannot be changed.
Press the RESET switch r to return to AUTO mode.
▲
▲
q
モード
MODE
q
w
リセット
RESET
電源
POWER
r