46
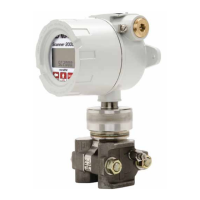
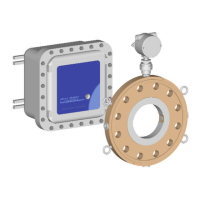
Section 4 MC-III™ Panel Mount Flow Analyzer
Conguration Wizard
The Conguration Wizard is ideal for rst-time users who want to perform a basic calibration for liquid or gas
measurement. By following the instructions on nine screens, even a rst-time user can successfully congure
the MC-III Panel Mount.
See Table 4.1, page 47, for a list of settings that are congurable with the keypad, the software
Conguration Wizard, and the software MC-III Main Screen.
Important: The Conguration Wizard does not allow multipoint calibration or gas volume
correction. To select these parameters, the user must access the MC-III Main screen.
Caution: Do not use the Conguration Wizard to change individual settings. When the Congura-
tion Wizard is used, system default settings are restored before the new settings entered
in the Calibration Wizard are written to the program. Previous conguration settings are
saved automatically in C:\NuFlo log data\MC-III\Cong Backup Files.
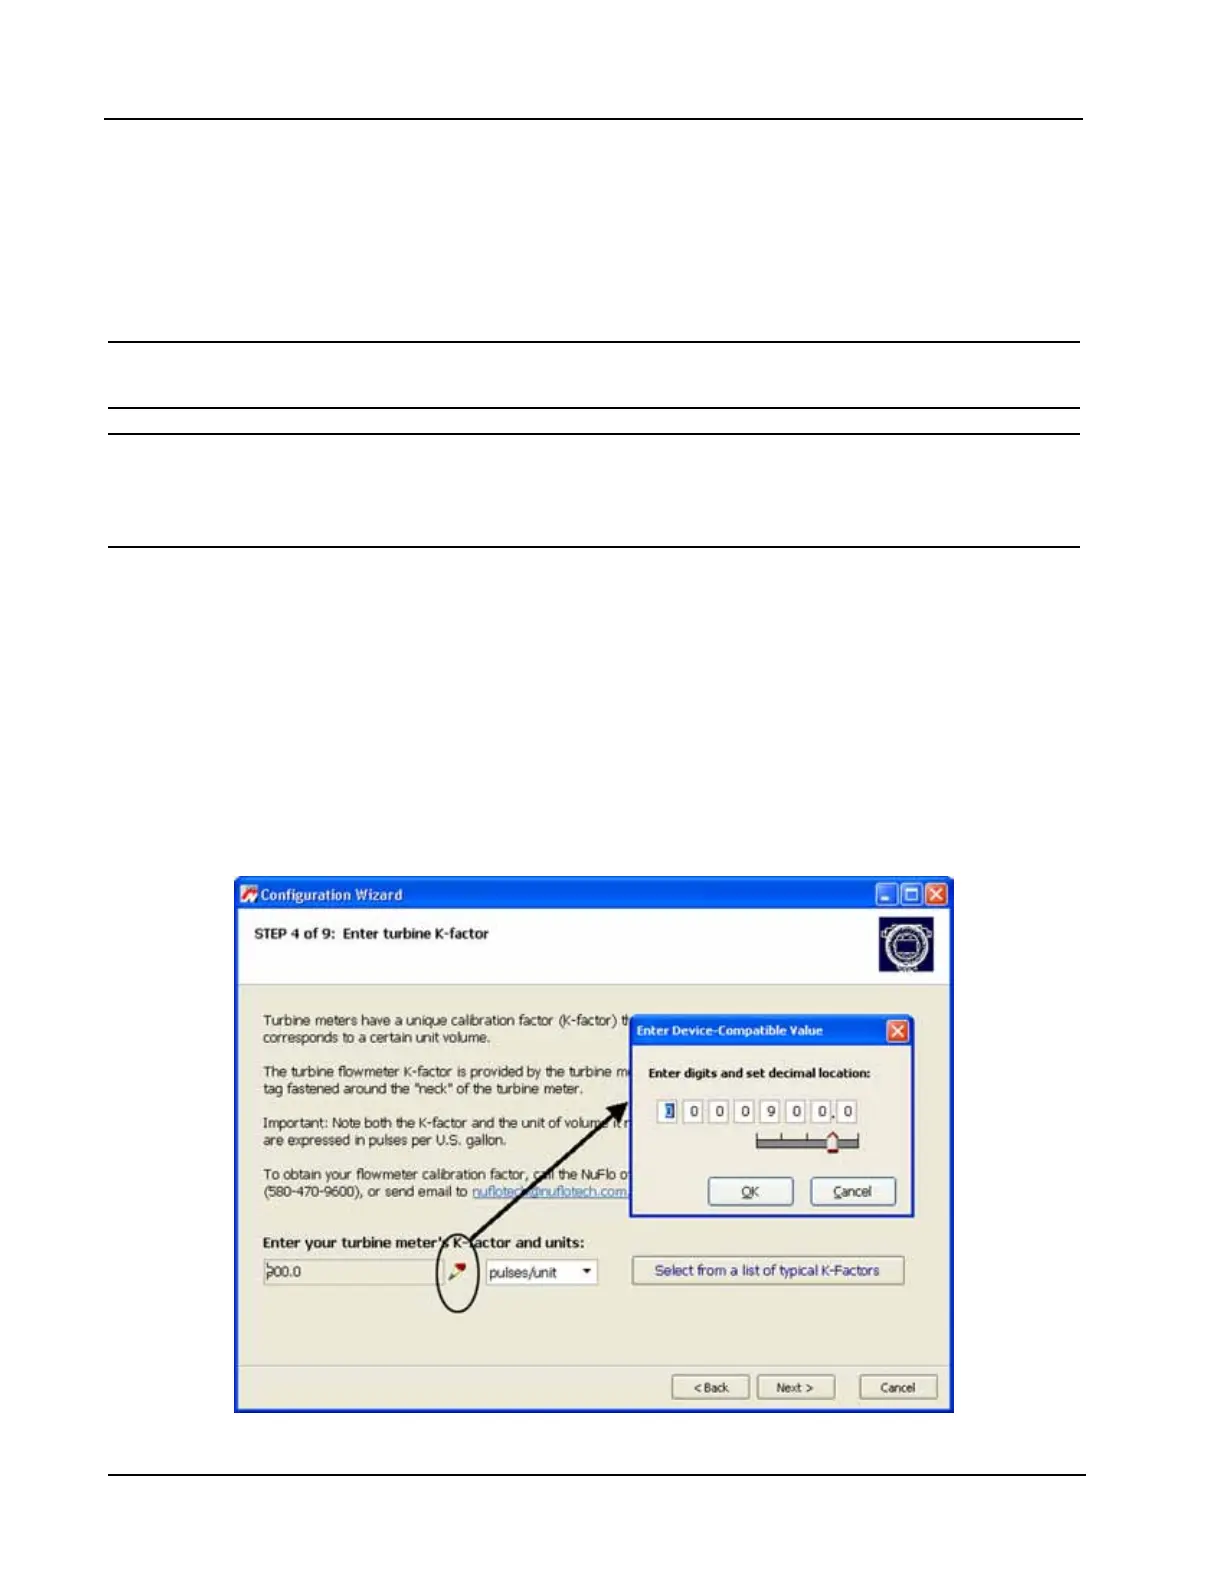
Using the Pencil Tool
The data entry elds in the Conguration Wizard are highly intuitive, and most can be completed by clicking
in the eld and entering new data or selecting a checkbox. For data elds that require the user to enter a value,
such as a K-factor, and designate a decimal position, a pencil icon provides a link to a data-entry window.
To enter a new value, click on the pencil icon (Figure 4.14). A new window will appear, allowing the user
to enter a new value, and designate the appropriate decimal position using a slide bar. This method ensures
that the decimal point setting and data-entry resolution displayed in the software and on the instrument LCD
correlate.
This tool is used to enter the calibration factor, ow rates for 4-20 mA output, and the scale factor for pulse
output.
Figure 4.14—Pencil tool icon and data-entry window