2
Press the OK button.
The Set./Adj. Menu is displayed.
3
Press ▲ or ▼ to select Interface Setup, and then press the OK button.
4
Press ▲ or ▼ to select AppleTalk, and then press the OK button.
5
Press ▲ or ▼ to select On, and then press the OK button.
6
Press the Menu button.
If you have changed any settings, a confirmation message is dis-
played. In this case, press the OK button.
Important
•
Be sure to complete step 6. This will activate the values you have entered.
Note
•
By using RemoteUI, you can also specify the object name used for AppleTalk, as well as the printer zone name.
For details on RemoteUI, see "Using RemoteUI." ➔P.503
Configuring the Destination (Mac OS)
Important
•
AppleTalk is supported in Mac OS X 10.2.8–10.4.
Note
•
The following procedures are based on Mac OS X 10.4. The method of configuring the destination varies depending on
the version of Mac OS.
•
The imagePROGRAF printer driver is not compatible with AppleTalk.
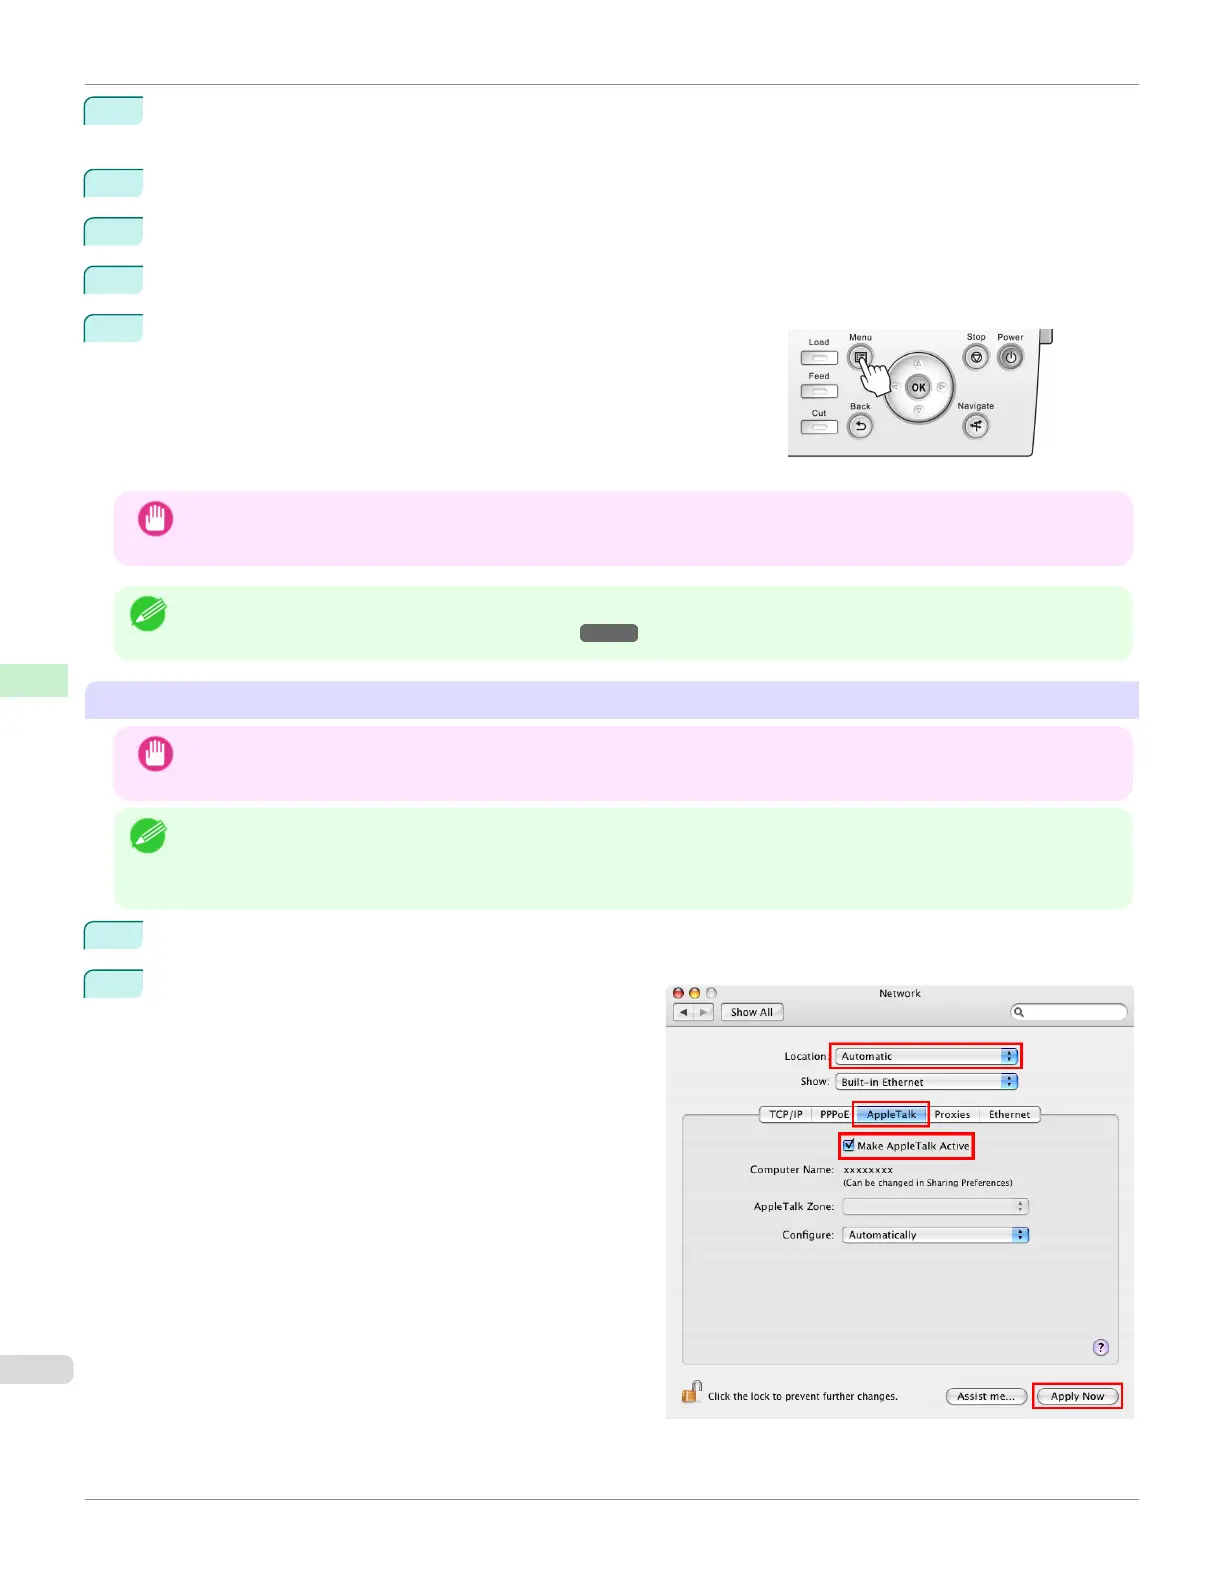
1
In System Preferences, click Network to display the Network window.
2
In Show, choose Built-in Ethernet. Next, click Apple-
Talk, select Make AppleTalk Active, and click Apply
now.
Configuring the Destination for AppleTalk Networks
iPF6400SE
User's Guide
Network Setting Mac OS Settings
522

 Loading...