3
Set the Adjustment Item, Number of Patterns, and
Adjustment Value Spacing for the Horizontal Axis
and Vertical Axis.
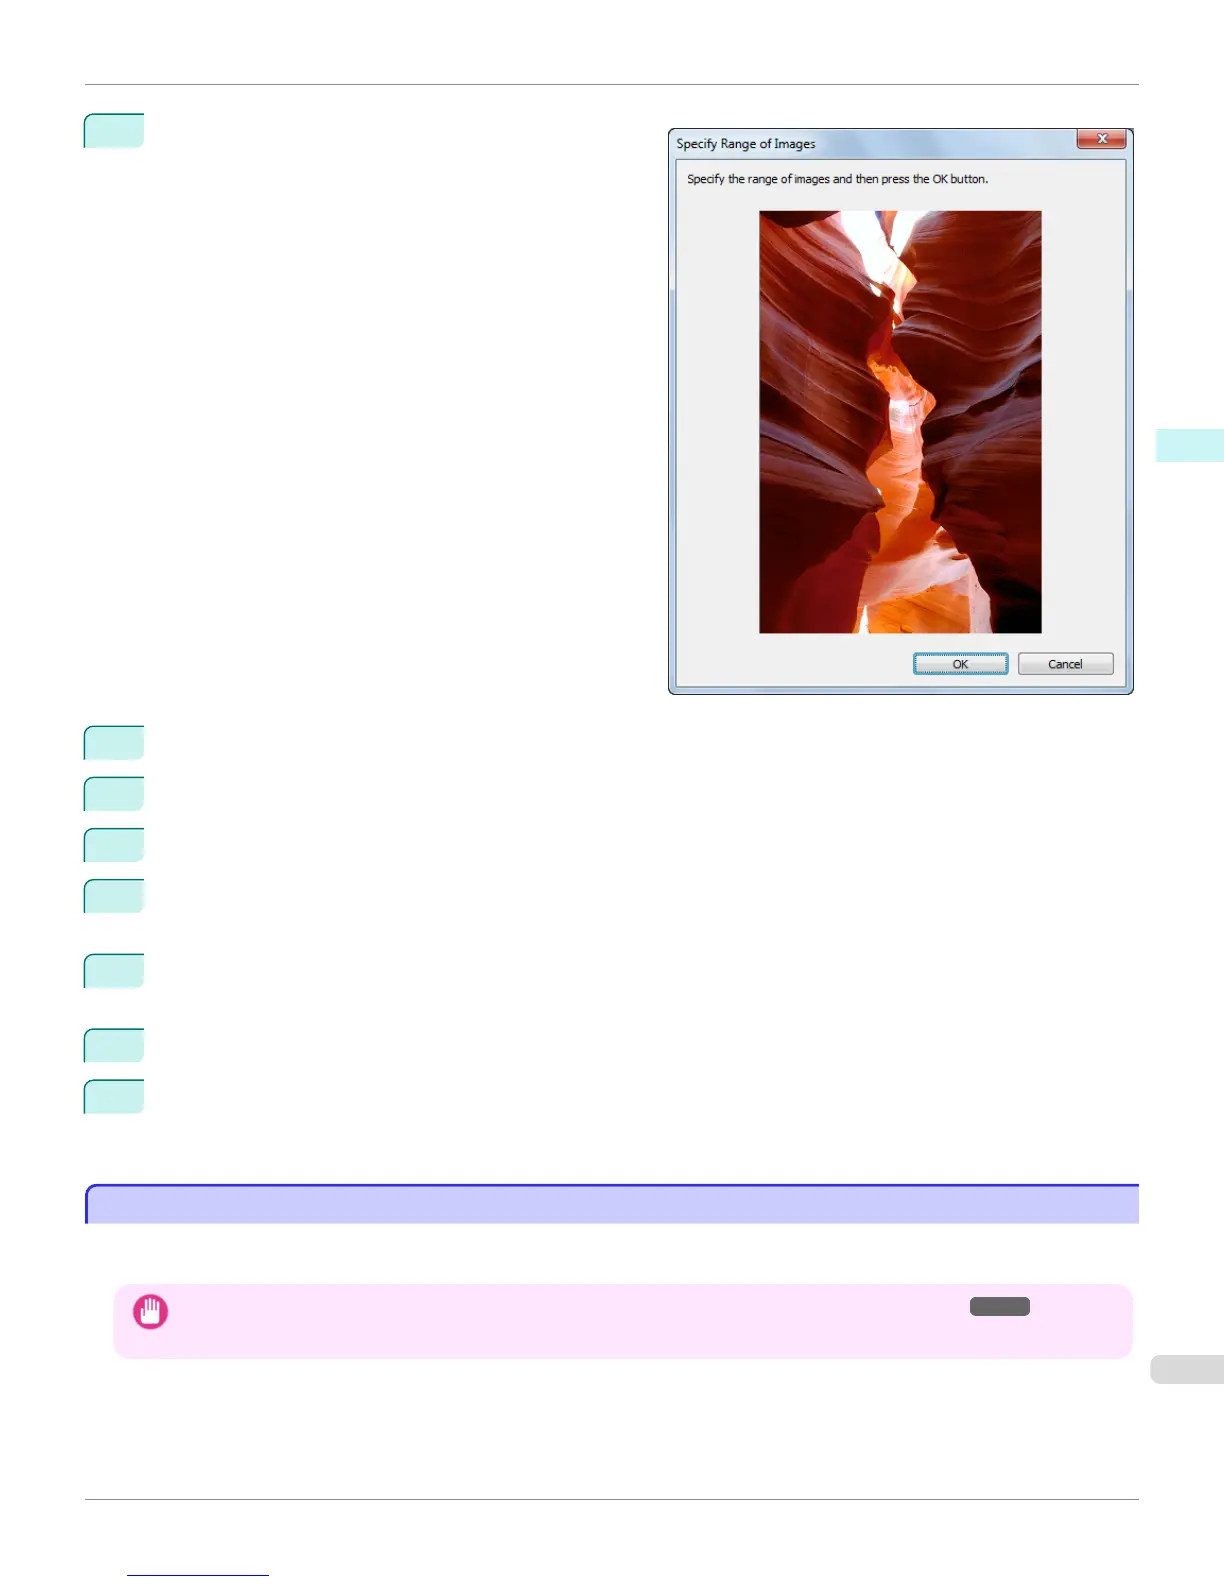
If you want to check part of an image as the adjustment
pattern, click the Specify the Range of Images button,
select the range you want to check in the Specify the
Range of Images dialog box, and then click the OK
button.
4
Set Rotate 90 degrees, Pattern Size, Pattern Spacing, and Pattern Background as needed.
5
For the Paper Source setting, select how the paper to print on is to be supplied.
6
For the Use Paper Size setting, select the paper size to print on.
7
Click the Print Adjustment Pattern button.
The adjustment pattern starts printing.
8
Check the image in the adjustment pattern that is closest to the customer image and click the corresponding
image in the preview area.
9
If there are any other items that you want to adjust, select Adjustment Item and perform steps 7 and 8.
10
Once you have made the necessary adjustments, select the Update Base Values in the Color Settings
Sheet check box and click the Close button.
The previous adjustment values in the Color Settings sheet (color or monochrome) are updated.
Perform Black Point Compensation
Perform Black Point Compensation
Black point compensation that is equivalent to Photoshop can be performed using the following procedure. Use this to
avoid saturation in the black areas of images.
Important
• Adobe CMM needs to be installed in order to use black point compensation. Refer to Using Adobe CMM
→
P.294 for details
on how to install Adobe CMM.
iPF8400
Perform Black Point Compensation
User's Guide
Windows Software Print Plug-In for Photoshop / Digital Photo Professional
297

 Loading...