Perform cleaning as follows.
1
On the Tab Selection screen of the Control Panel, press ◀ or ▶ to se-
lect the Settings/Adj. tab ( ).
Note
• If the Tab Selection screen is not displayed, press the Menu button.
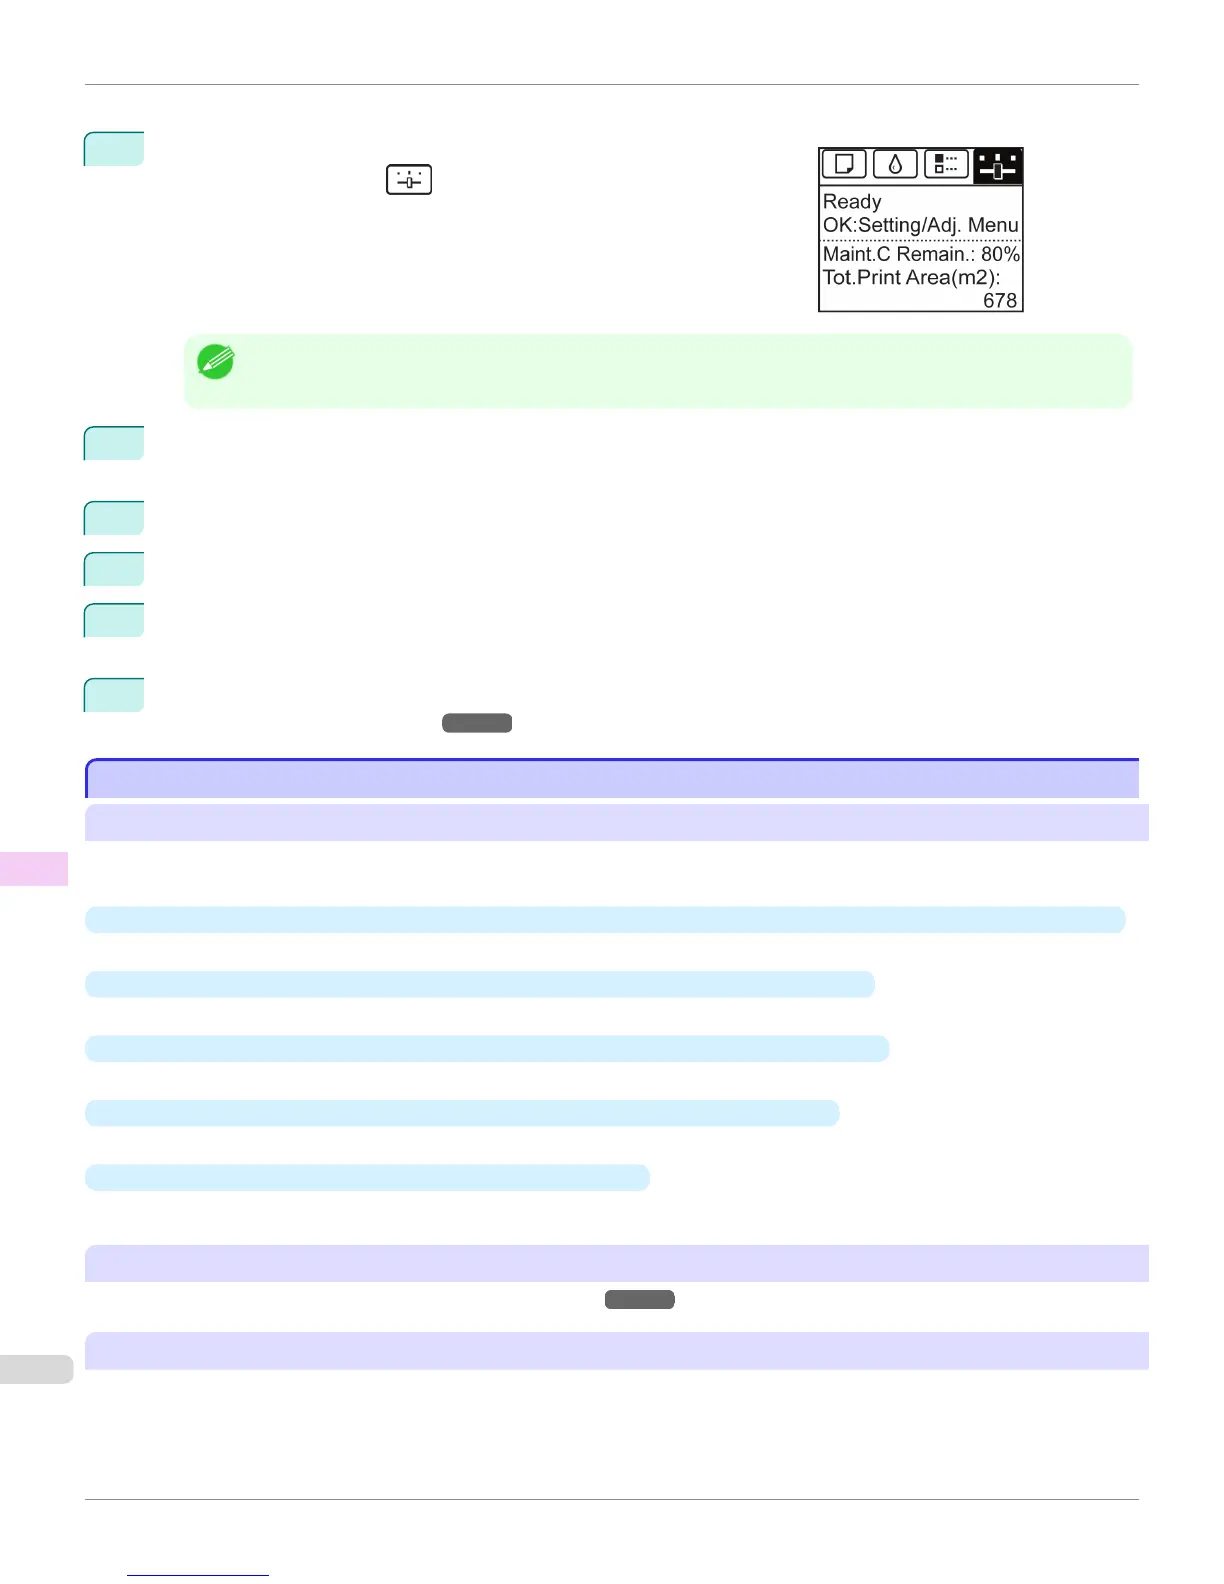
2
Press the
OK button.
The Set./Adj. Menu is displayed.
3
Press ▲ or ▼ to select Maintenance, and then press the OK button.
4
Press ▲ or ▼ to select Head Cleaning, and then press the OK button.
5
Press ▲ or ▼ to select Head Cleaning A or Head Cleaning B, and then press the OK button.
Head cleaning is now executed.
6
Print a test pattern to check the nozzles, and determine whether cleaning has cleared the nozzles. (See
"Checking for Nozzle Clogging.")
→
P.920
Replacing the Printhead
Replacing the Printhead
When to replace the Printhead
This printer is equipped with two printheads.
Replace one or both printheads in the following situations.
•
If the printing quality does not improve even after one or two cycles of Head Cleaning B from the printer menu
Replace any printheads with poor printing performance.
•
If the Display Screen indicates "Open top cover and replace the left printhead."
Replace the Printhead on the left side.
•
If the Display Screen indicates "Open top cover and replace the right printhead."
Replace the Printhead on the right side.
•
If the Display Screen indicates "Open top cover and replace the printhead."
Replace both printheads.
•
If your Canon dealer has advised Printhead replacement
Replace the Printhead as directed.
Compatible printheads
For information on compatible printheads, see "Printhead."
→
P.920
Precautions when handling the Printhead
Take the following precautions when handling the Printhead.
Replacing the Printhead
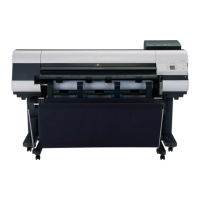
iPF8400
User's Guide
Maintenance and Consumables Printheads
922

 Loading...