Chapter 3
3-17
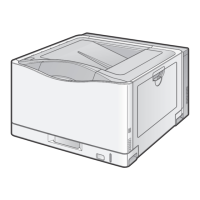
3) Remove the two screws on the back [1]. Slide the
scanner unit [2] to the back; then, remove it by
lifting it.
F-3-68
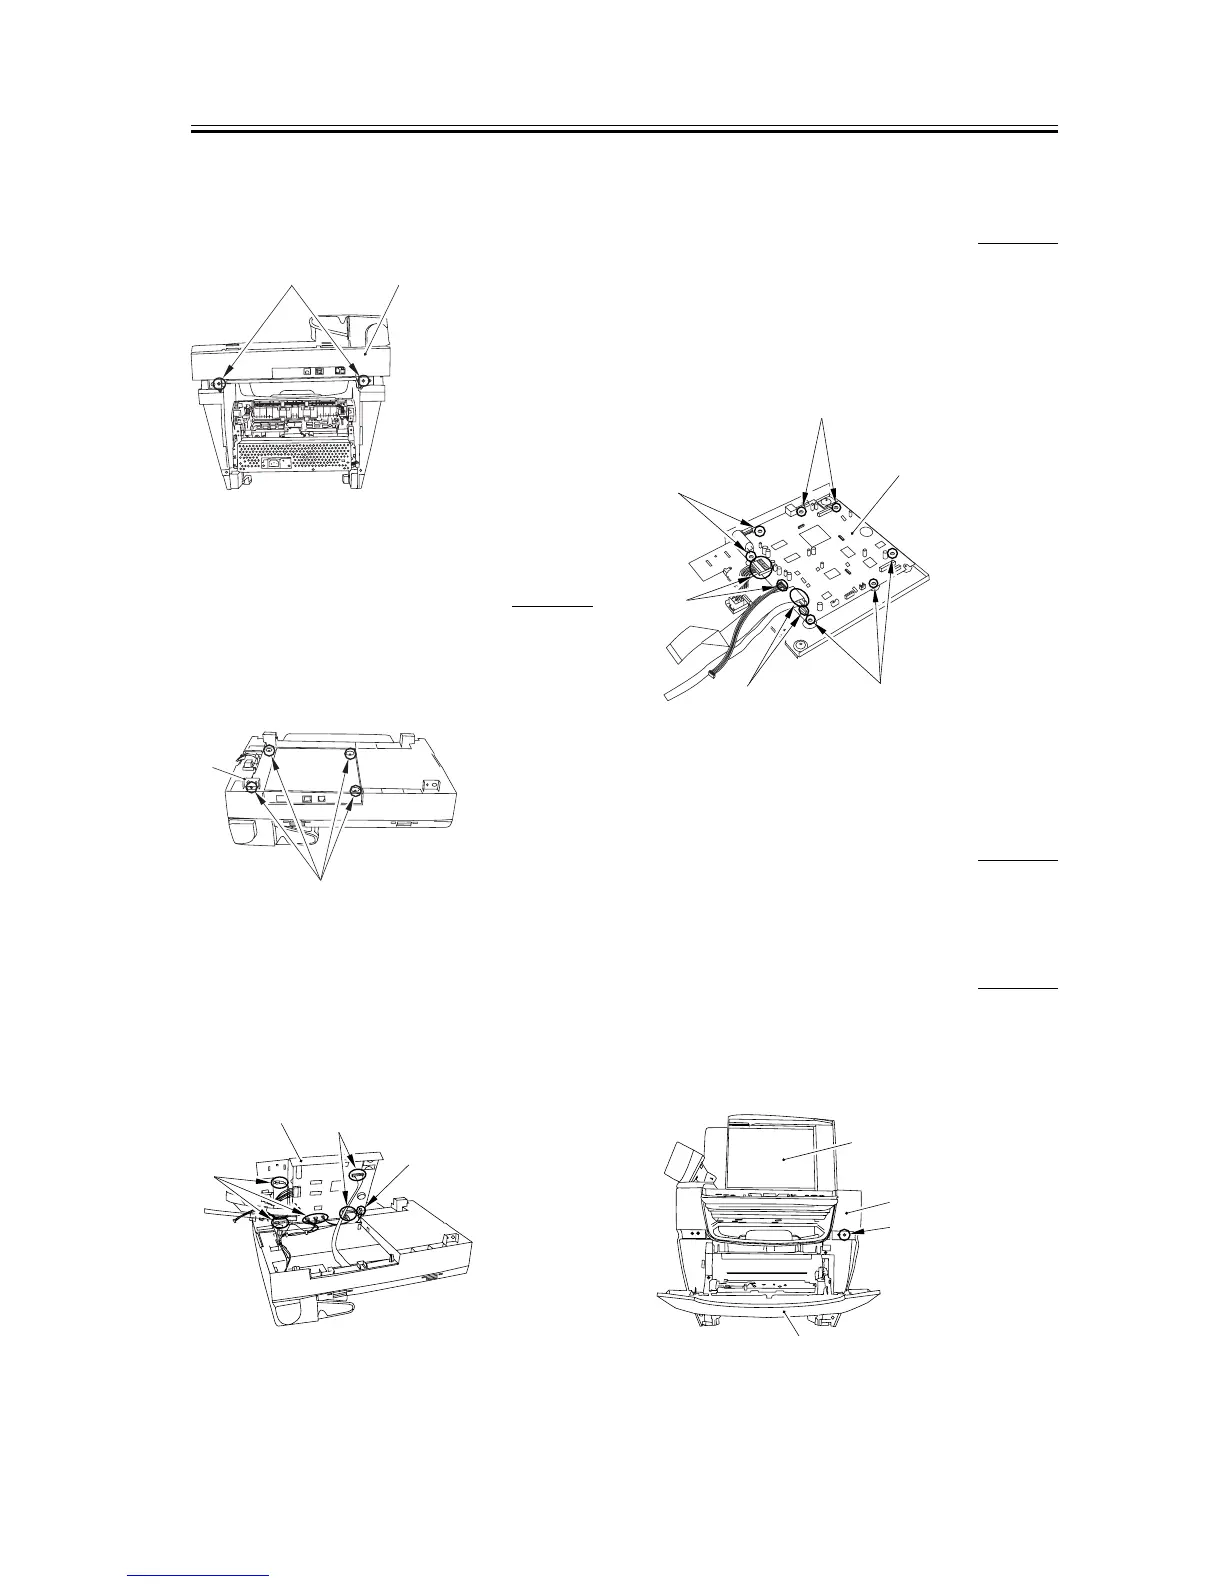
3.1.10.9 Removing the Board
Unit
0005-9967
1) Remove the four screws [1] on the back side of the
scanner unit. Ensure that the mounting plate [2]
does not get lost.
F-3-69
2) Open up the board unit [1] and take off the
connector at six spots (five if the unit is not
equipped with the fax function) [2] and three flat
cables [3].
F-3-70
3.1.10.10 Removing the SCNT
Board (for Units with the Fax
Function)
0005-9970
1) Remove the two connectors [1] and the two flat
cables [2].
2) Remove the seven screws [3] and remove the
SCNT board [4].
F-3-71
3.1.11 DCNT Board
3.1.11.1 Removing the Cassette 0005-9890
1) Remove the cassette by holding the cassette handle.
3.1.11.2 Removing the Reader
Right Front Cover
0005-9948
1) Open the platen glass cover [1].
2) Open the front cover [2], remove one screw [3], and
remove the reader right front cover [4].
F-3-72
[2]
[1]
[1]
[2]
[1]
[2]
[2]
[3]
[1]
[2]
[3]
[3]
[3]
[4]
[1]
[4]
[3]
[2]