Program Sequence
number and return to a previously set Sequence Number. An IV-Program is able to add a
maximum of 100 IV-Sequences, so the SEQ NO. range is 1-100.
3. Press “ ” to confirm.
4. Press “ ” to return to the IV-Program Page (Figure 4-26).
4.3.2.2 Setting IV-FILE Number
1. IV-FILE NO. selects the IV Curve number to be executed for the IV-Sequence Number.
The IV Curve number is edited in the Solar Array Simulation Soft Panel.
2. Use the “ ”, “ ” keys to move the cursor to the column to be set as shown in
Figure 4-27 (2).
3. Use the numeric keys
-
or the “Rotary” ( ) knob to set the IV-FILE
Number. The range is 0-99.
4. Press “ ” to confirm.
5. Press “ ” to return to the IV-Program Page (Figure 4-26).
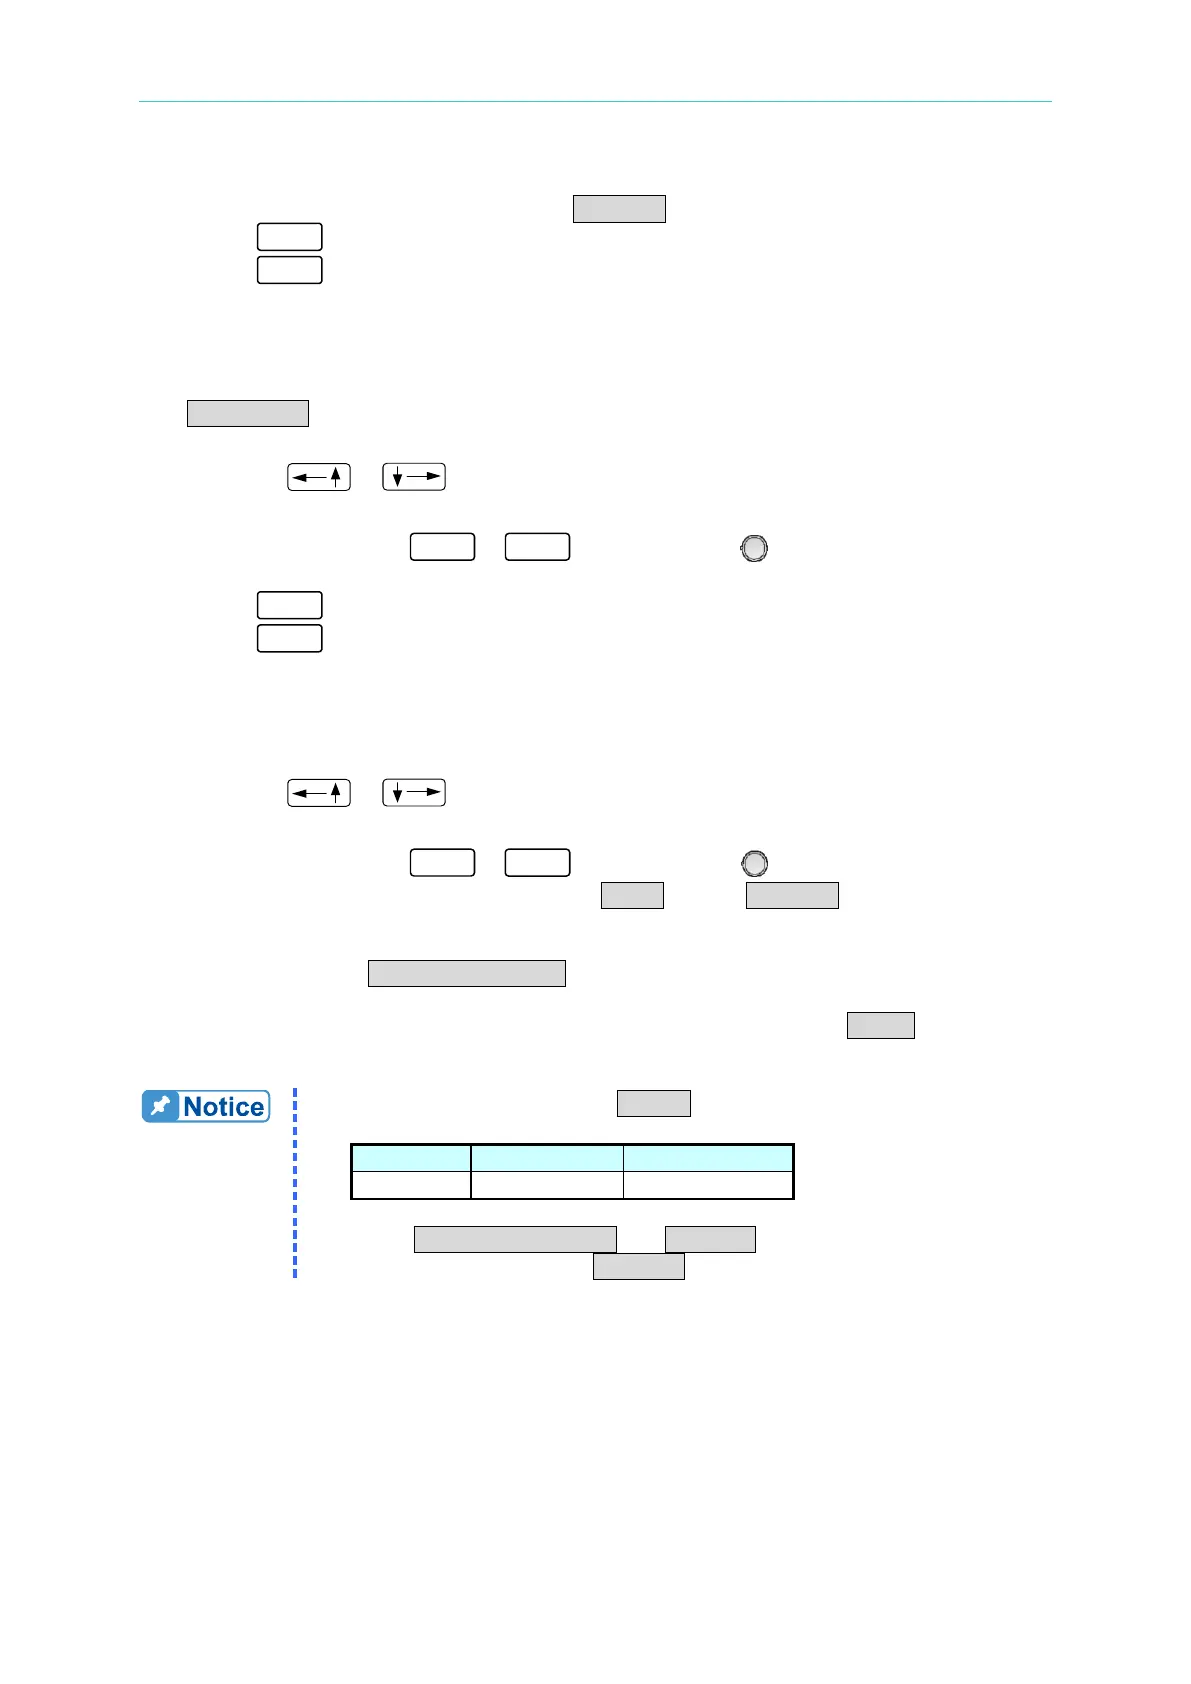
4.3.2.3 Setting Sequence Type
1. Use the “ ”, “ ” keys to move the cursor to the column to be set as shown in
Figure 4-27 (3).
2. Use the numeric keys
- or the “Rotary” ( ) knob to set the Sequence
Type. There are two Sequence Types: (1) AUTO and (2) MANUAL.
a. Set the Sequence Type to AUTO
When setting SEQ TYPE = AUTO, the IV-Sequence page appears as shown in
Figure 4-28. The IV-Sequence will run automatically and go to the next sequence
when done. In the meantime the IV-Sequence page will display TIME= to prompt the
user to input the time duration for this IV-Sequence.
1. The table below shows the TIME = setting range.
2. When SEQ. TYPE = AUTO and TIME = 0, the IV-Program ends at the
last IV-Sequence before TIME = 0.
 Loading...
