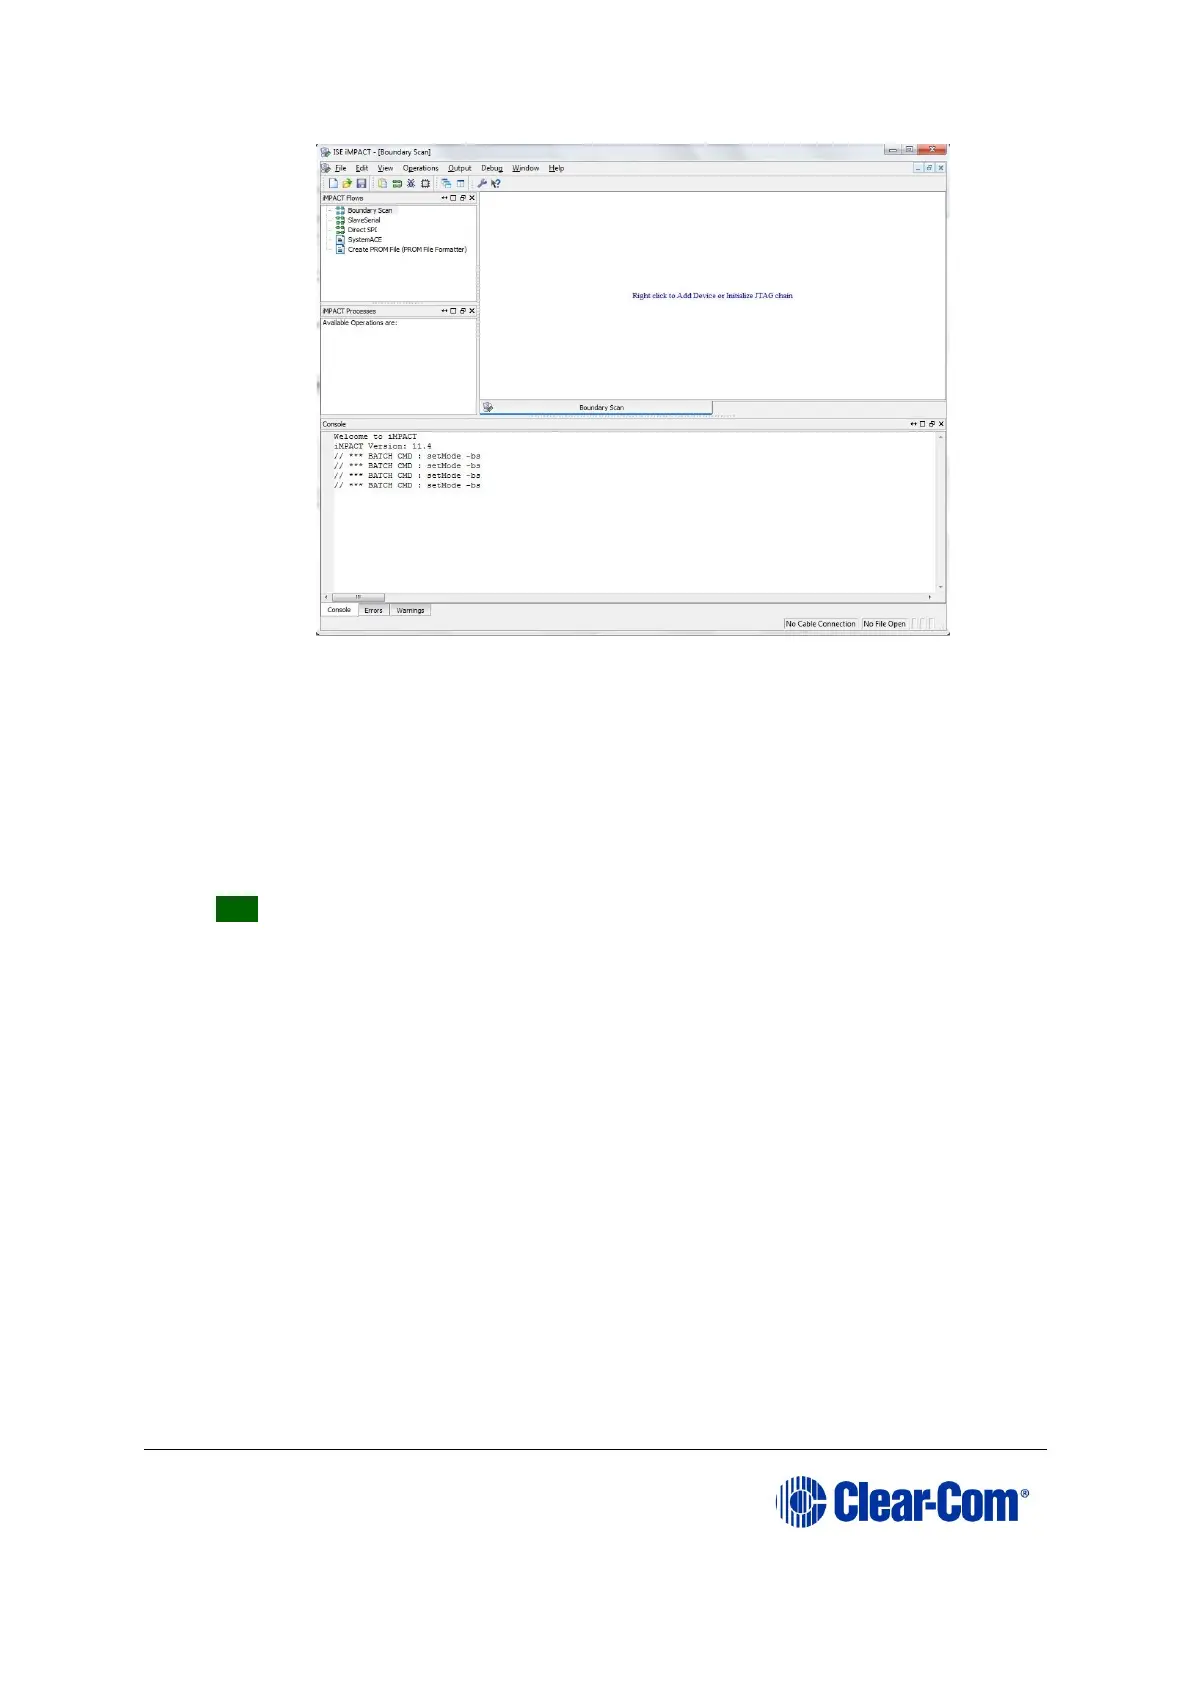
Figure 8-1: Example iMPACT Boundary Scan
7. If the cable is connected correctly, the application will connect and a Xilinx chip
chain will be shown. If the cable is not connected correctly, a cable connection
warning is given.
If only one of the cards (the front or the rear) is being upgraded, only the first
two or last two devices in the above chain are displayed.
Note: The Assign New Configuration File dialog is also displayed. However, ignore this
dialog until you have checked the chain.
Tip: If the programming tool fails initially to recognize the adaptor or the FPGA
chain, you can sometimes solve this issue by:
• Pressing the reset switches by the FPGA.
• Setting a slower cable speed.
8. The Assign New Configuration File dialog asks you to select an FPGA image
for the first device in the chain or to bypass that device.
In this example procedure:
a. Bypass the first and third devices. In the Assign New Configuration File
dialog, press Bypass for each device.
b. Provide the second and fourth devices (the FPGA Flashes) with images. In
the Assign New Configuration File dialog, select the FPGA image for the
second device, the router FPGA Flash.
Go to Drivers USB > ECLIPSE DRIVERS > Omega-Median-Delta >
xxxxxx-Fibre Router (front) FPGA (where xxxxxx represents the
product number).
The folder contains the FPGA file (*.mcs format) and a Read Me file (*.txt), which
contains version information.