Introduction Getting Ready
Taking Pictures
Playback Set Up
EN-124
NEXTBACK
Contents Glossary Index Nomenclature Menus and Settings Troubleshooting
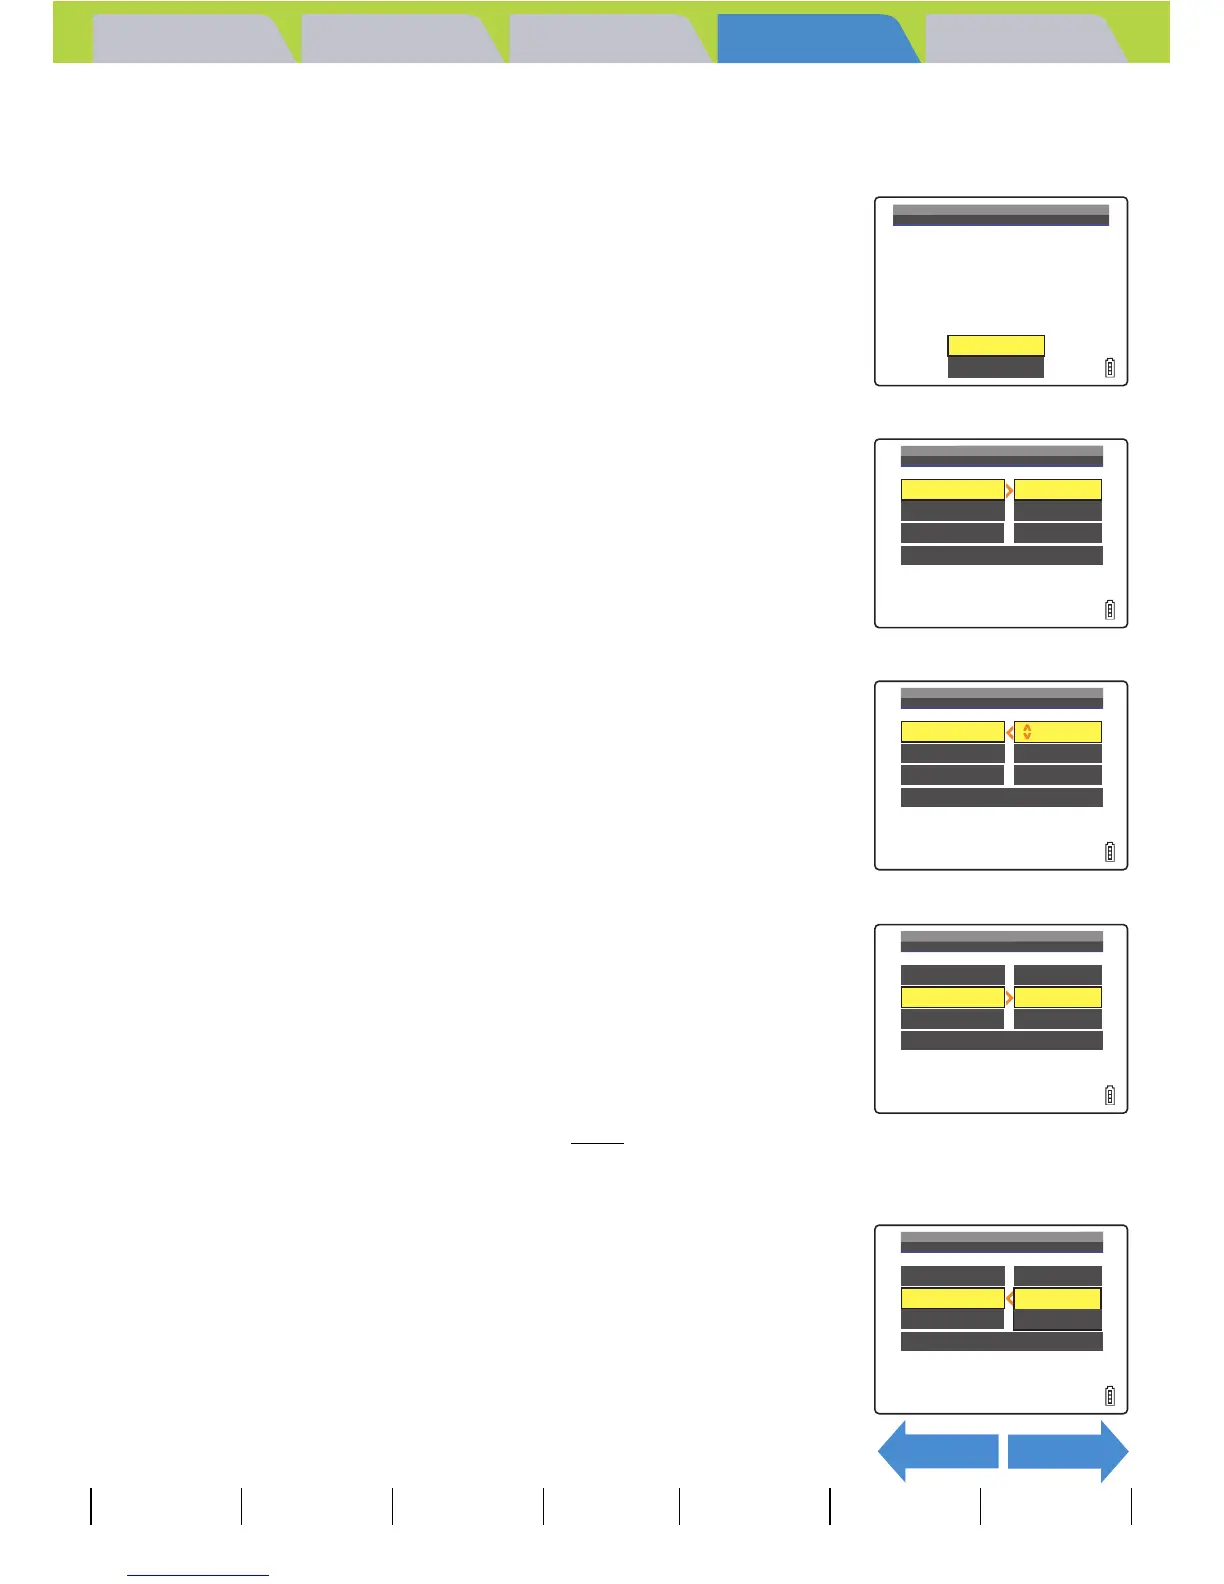
5 Move the selector lever left l or right r to select the image
for which you want to specify the print settings.
6 Move the selector lever up u to select
[OK], then press E.
7 Move the selector lever up u to select
[PRINT QTY.], then move the lever right r.
8 Move the selector lever up u or down d
to select the number of prints, then press
E.
The number of prints is set.
9 Move the selector lever up u or down d
to select [DATE], then move the lever right
r.
10
Move the selector lever up u or down d
to select [NOT PRINT] or [PRINT], then
press E.
[NOT PRINT]: The date is not imprinted on the image.
[PRINT] : The date is imprinted on the image.
A Important
If you set [DATE] to [PRINT] in [PRINTING
DETAILS], then print photographs that were shot
with [INSERT DATE] (Æ p.165
) set to [WITH
DATE], the date will appear twice on the prints.
OK
RETURN
SELECT
PRINT
IMAGE
DATE
PRINT
SETS
EXECUTE
NOT
PRINT
PRINT
QTY. 0
PRINTING
DETAILS
RETURN
DATE
PRINT
SETS
EXECUTE
NOT
PRINT
PRINT
QTY. 2
PRINTING
DETAILS
RETURN
DATE
PRINT
SETS
EXECUTE
NOT
PRINT
PRINT
QTY. 2
PRINTING
DETAILS
RETURN
DATE
PRINT
SETS
NOT
PRINT
PRINT
PRINT
QTY. 2
PRINTING
DETAILS
RETURN
 Loading...