Introduction Getting Ready
Taking Pictures
Playback Set Up
EN-72
BACK
Contents Glossary Index Nomenclature Menus and Settings Troubleshooting
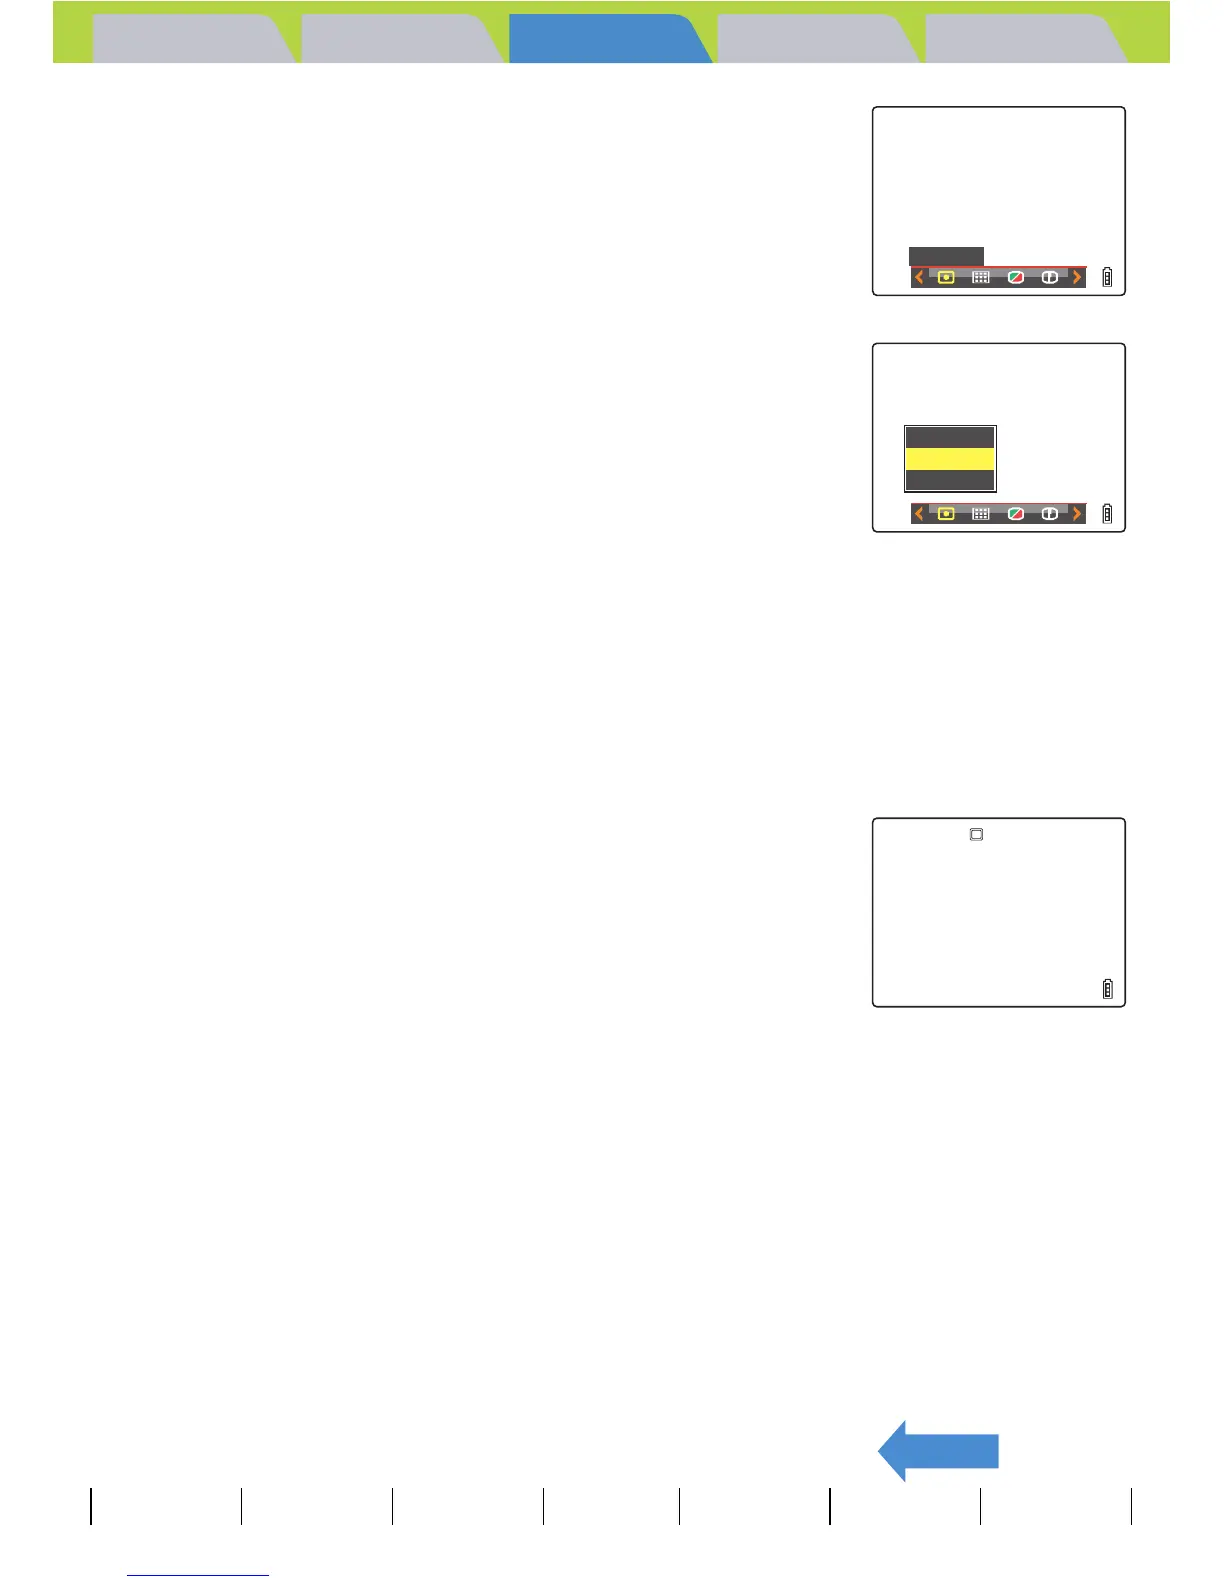
3 Move the selector lever left l or right r
to select METERING [L] and press E.
4 Move the selector lever up u or down d
to select the desired setting and press E.
The metering mode is now set.
(No icon) [EVALUATION] : The entire screen is partitioned into 256
zones and the light in each zone is
measured to determine the optimum
exposure for the subject. (Default)
[G] [CENTER] : The exposure is determined by measuring
the light and giving greater weight to the
central part of the screen (an area larger
than that used for spot metering).
[q] [SPOT AREA] : The exposure is determined by measuring
the light at the center of the screen.
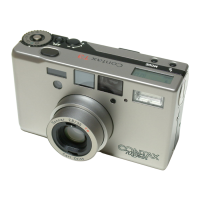
5 Press the MENU button K.
The icon for the selected metering mode appears on the LCD monitor.
A Important
This setting is retained when you turn the camera off.
METERING
EVALUATION
CENTER
SPOT
AREA