Troubleshooting
3-10
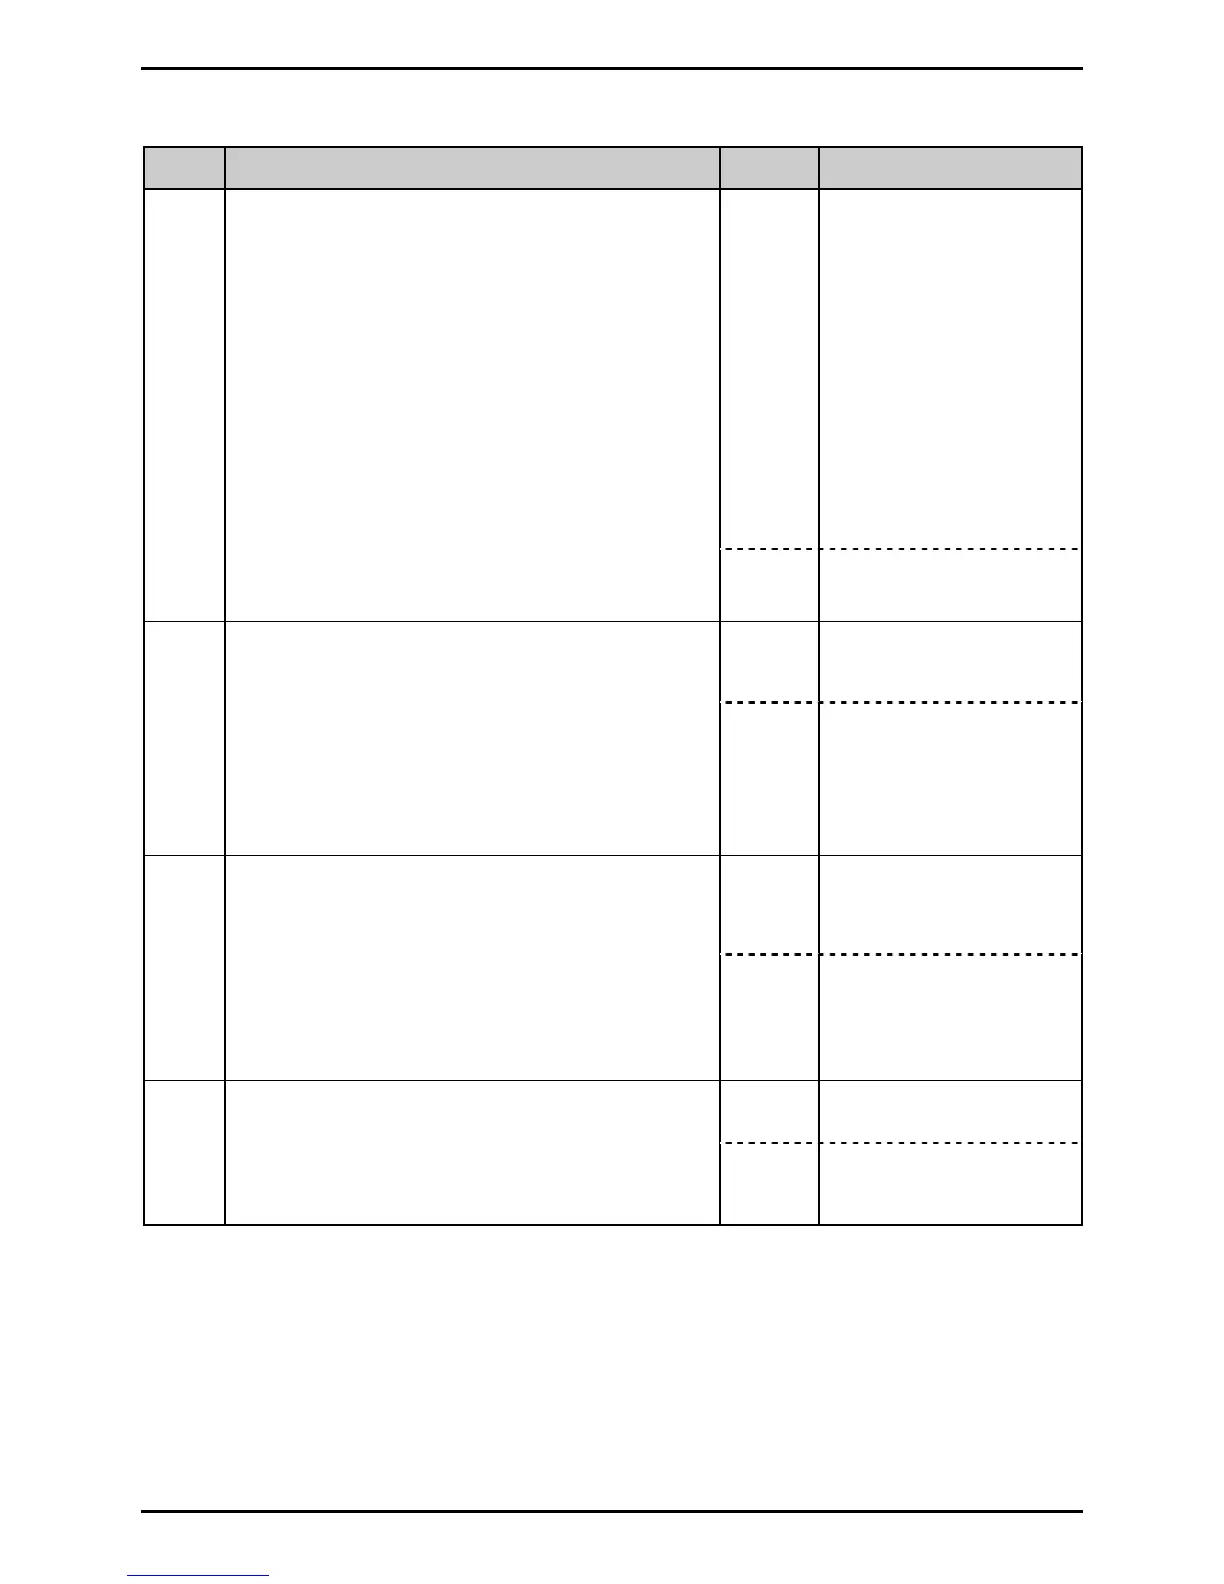
Step Procedure Result Action
Yes
1) Misadjusted Media
Width (see Section
2.3);
2) Misaligned
printhead (see
Section 2.4); or,
3) Dirty or worn
platen. Clean (see
Section 2.1.3) or
replace it (see
Section 4.8).
7
Does the print fade across the width of the
label?
No Go to Step 10.
Yes Go to Step 9.
8
Turn OFF and unplug the printer. Remove the
cover. Raise the printhead assembly. Examine
the printhead cables that connect to J8 of the
Main Logic PCB and to J2 of the Power Supply
PCB.
Are the cables connected and undamaged?
No
Properly connect the
cable(s) or replace if
damaged.
Yes
Replace the printhead
(see Section 4.3).
9
Using a multi-meter, connect the red lead to
J2 pin 1 (bottom left of connector) of the
Power Supply PCB and connect the black lead
to chassis ground. Plug in and turn ON the
printer. Print a Test Label while observing the
multi-meter.
Is approximately +24 VDC present?
No
Replace the Power
Supply PCB (see
Section 4.5).
Yes Test complete.
10
Does the printed label contain correct
information, free of failure?
No
Replace the Main Logic
PCB (see Section 4.4).

 Loading...


