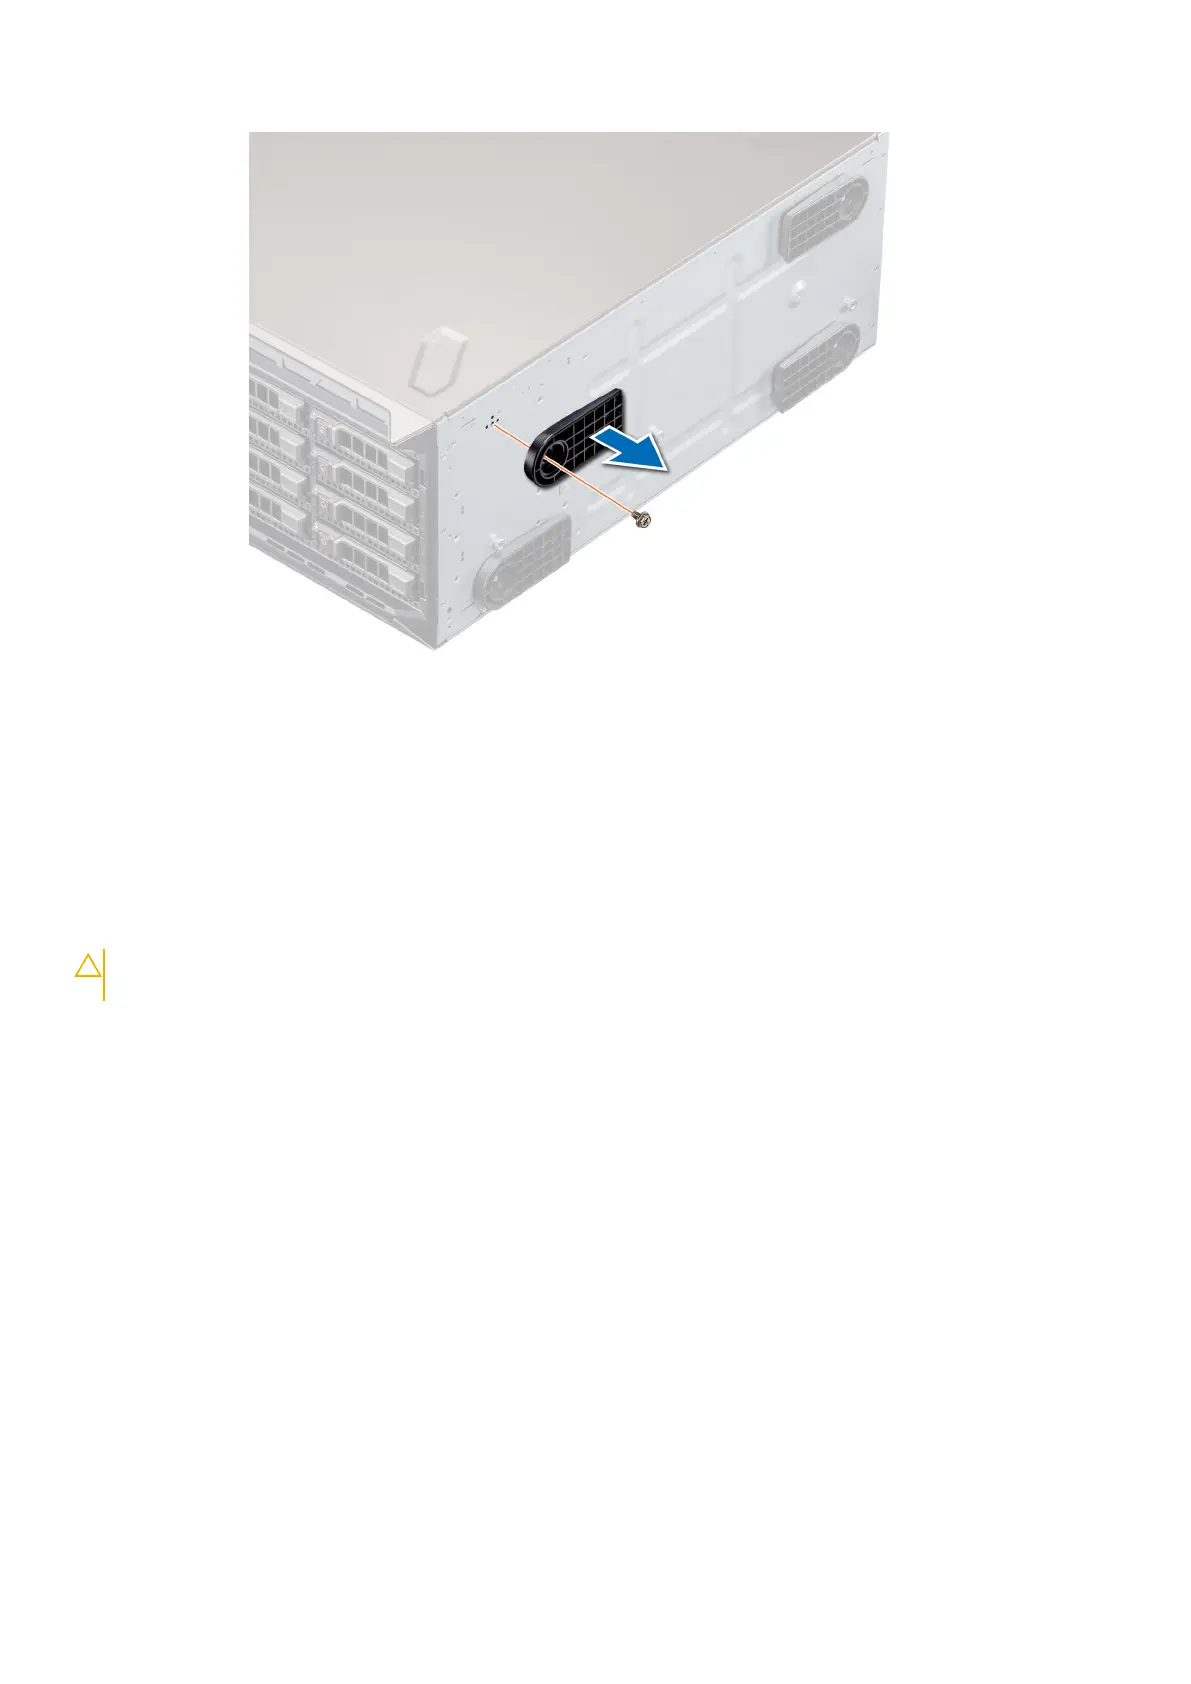
Figure 19. Removing the system feet
Next steps
1. Replace the system feet or install the caster wheels.
Installing the system feet
Prerequisites
CAUTION:
Install the feet on a stand-alone tower system to provide stability to the system. An unstable system
might tip over and cause injury to the user or damage to the system.
1. Follow the safety guidelines listed in Safety instructions.
2. Place the system on its side on a flat, stable surface.
Steps
1. Align the three tabs on the system foot with the three slots on the base of the system.
2. Using the Phillips #2 screwdriver, secure the screw that secures the foot to the base of the system.
3. Repeat the above steps to install the remaining system feet.
Installing and removing system components
23