Air shroud
Removing the air shroud
Prerequisites
CAUTION: Never operate your system with the air shroud removed. The system may get overheated quickly,
resulting in shutdown of the system and loss of data.
1. Follow the safety guidelines listed in Safety instructions.
2. Follow the procedure listed in Before working inside your system.
3. Remove the system cover.
Steps
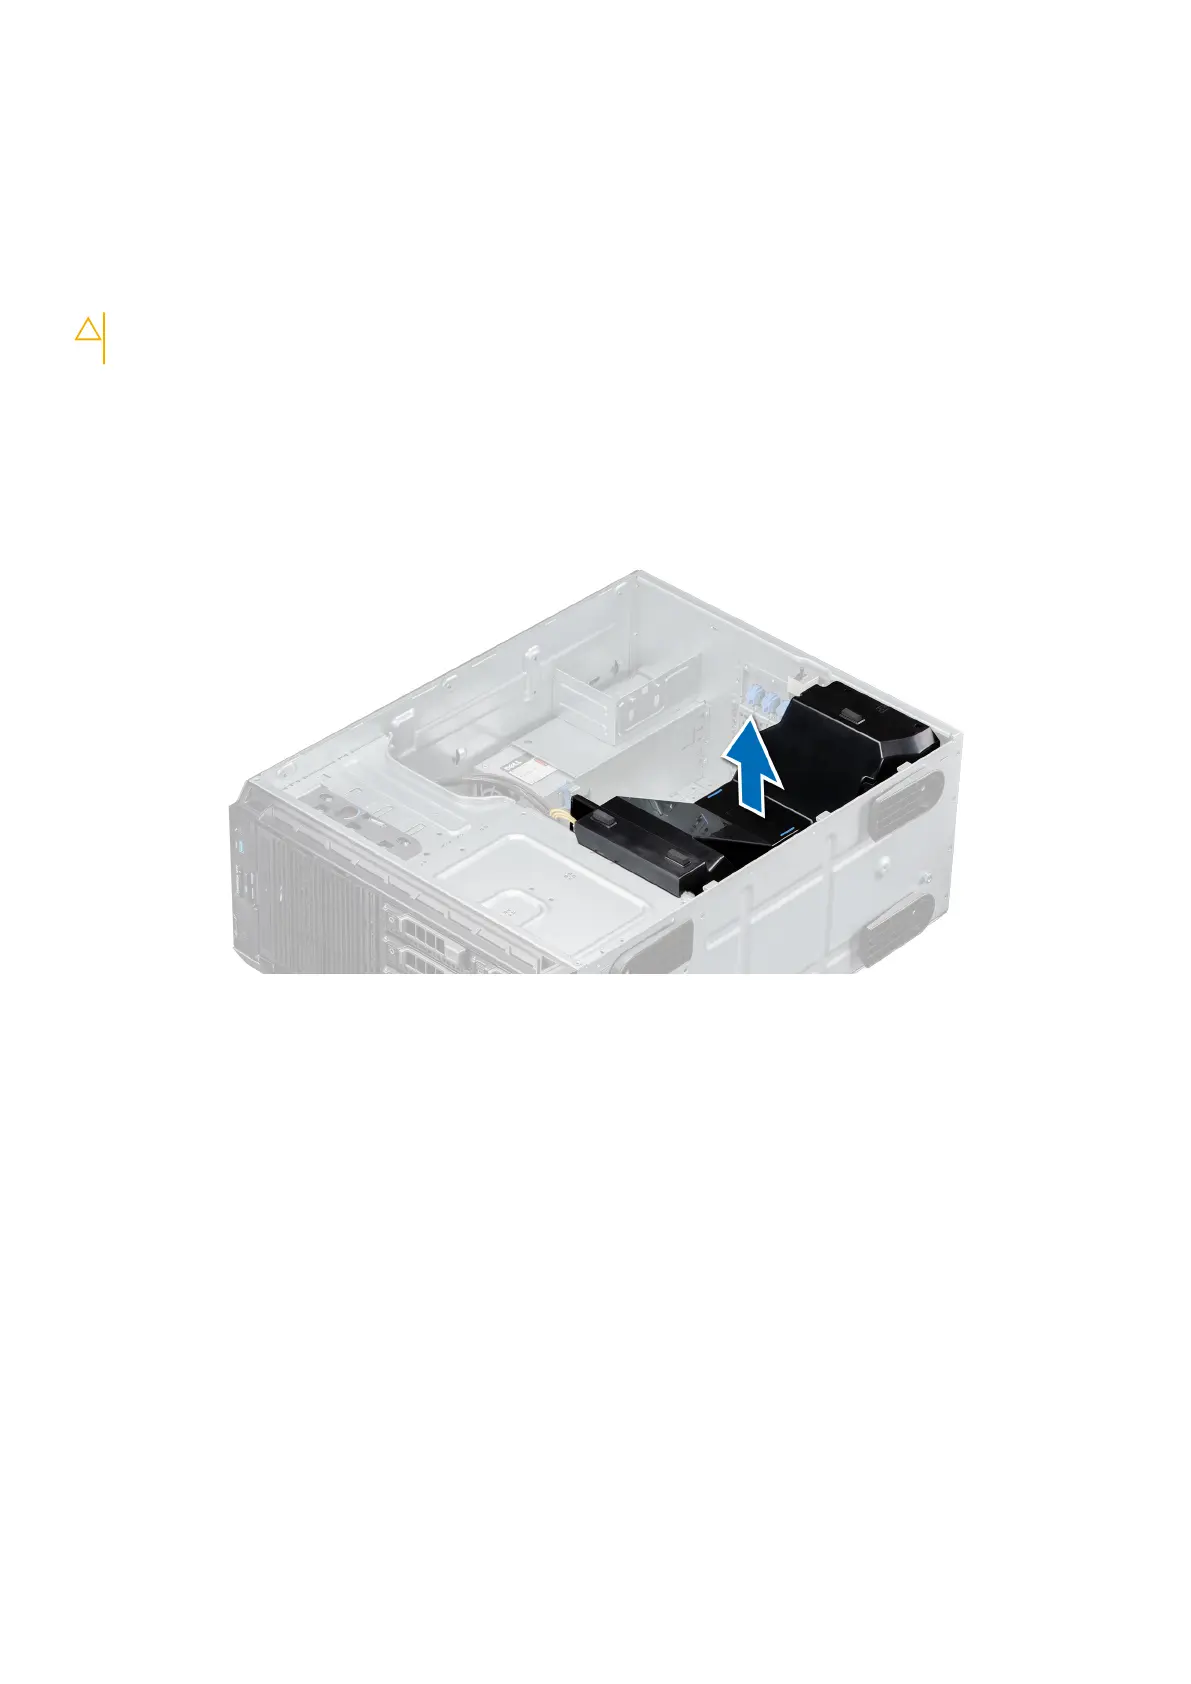
Holding the blue touch points, lift the air shroud out of the system.
Figure 24. Removing the air shroud
Next steps
1. Replace the air shroud.
Installing the air shroud
Prerequisites
1. Follow the safety guidelines listed in Safety instructions.
2. Follow the procedure listed in Before working inside your system.
3. If applicable, route the cables inside the system along the system wall and secure the cables by using the cable-securing
bracket.
Steps
1. Align the tabs on the air shroud with the slots on the system.
2. Lower the air shroud into the system until it is firmly seated.
Installing and removing system components
29