2018.12.12
© 2017 Eaton. All rights reserved
34
TRSM0940 Service Procedures | LAS/VAS Auxiliary Section Assembly and Installation
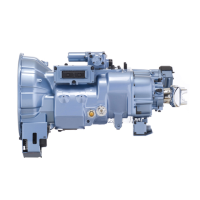
4. Once the Auxiliary Case is pushed as far into the Trans-
mission Main Case as possible, remove the Auxiliary
Section Lifting Bracket. Loosen
the Auxiliary Counter
Shaft Support Strap cap screws and fully seat the Aux-
iliary Case to the Transmission Main Case.
Note: Fully
seating the Auxiliary Section to the Trans-
mission Main Case should take light force; do not draw
it in with bo
lts. If the Auxiliary Section will not come
flush with the Transmission Main Case, a timing issue
with the Auxiliary Section gearing may be the cause.
5. Install
the 16 cap screws that fasten the Auxiliary Sec-
tion to the Transmission Main Case. Torque bolts to
35–
45 lb-ft.
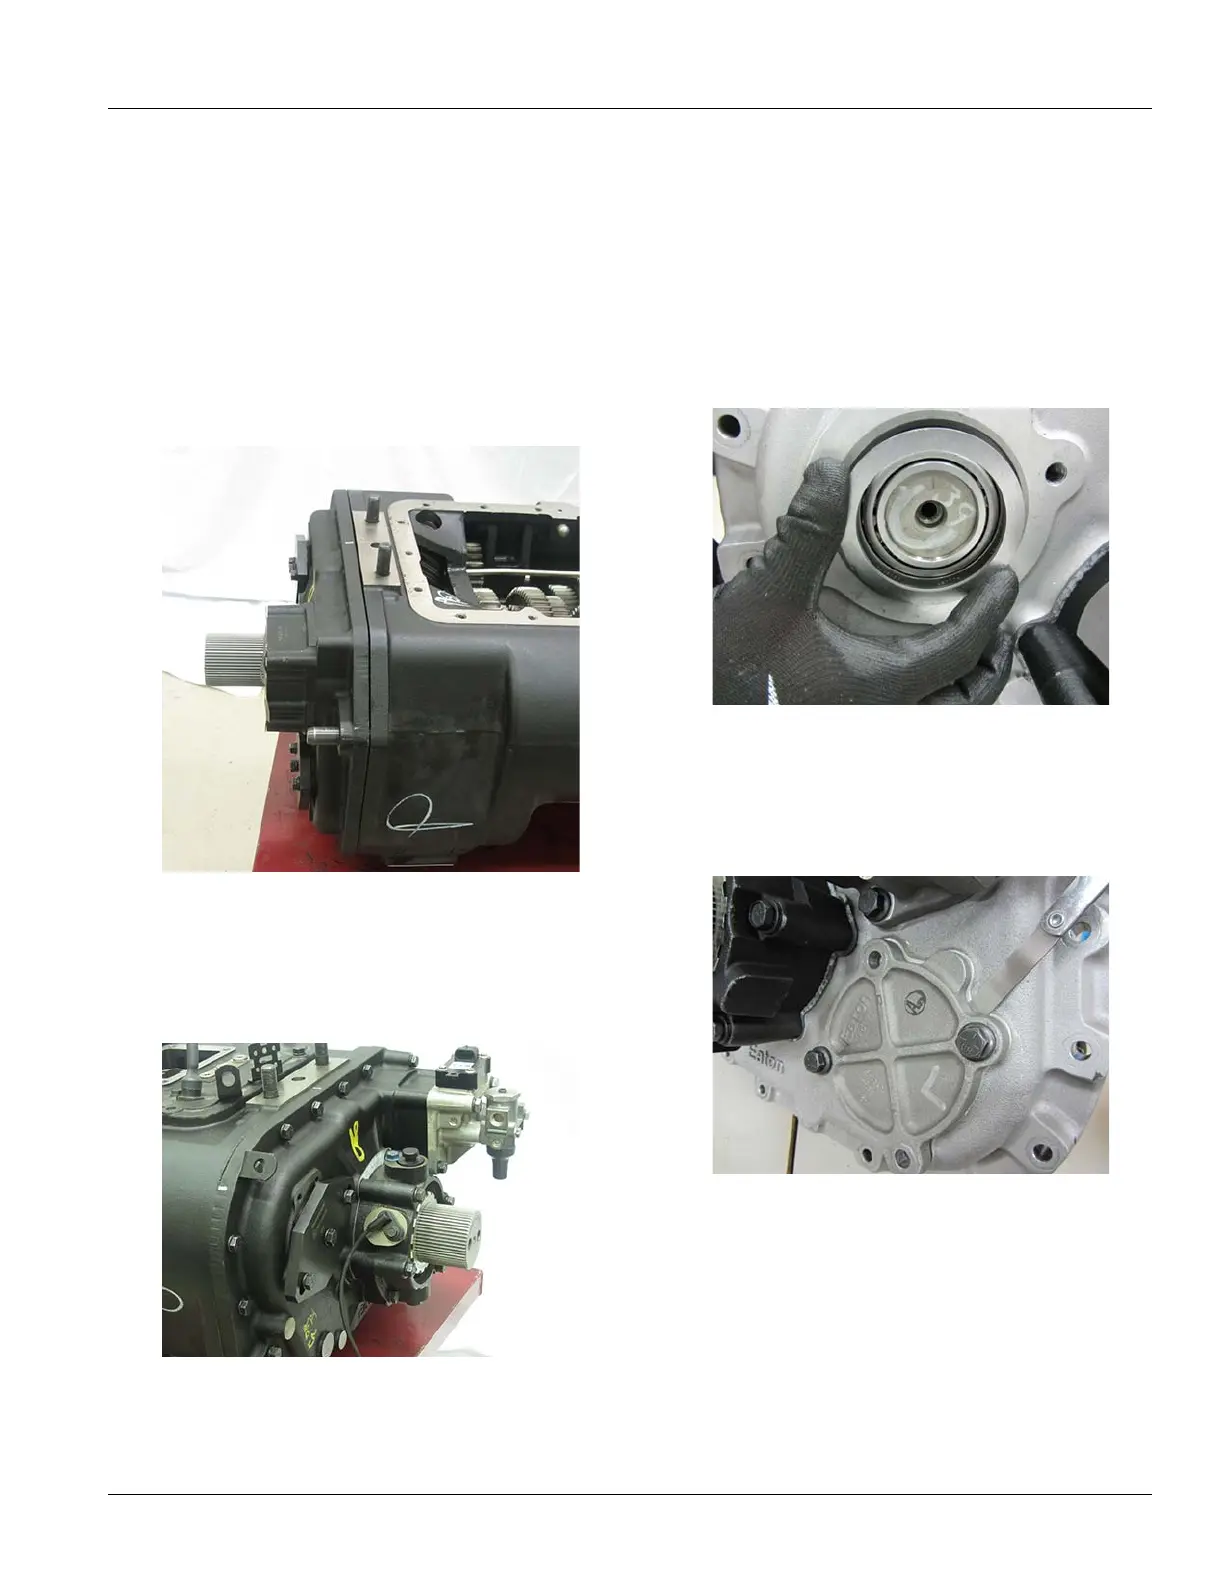
LAS/VAS Auxiliary Counter Shaft Shimming
1. Remove the Auxiliary Counter Shaft Support Straps
and install a 0.100" shim between the cover and Auxil-
iary Counter Shaft. Use two of the Counter Shaft Bear-
ing Cover bolts and torque bolts to 7 lb-in. Spin the
Output Shaft multipl
e times to assist in seating the
bearing races. Ensure cap screws are still torqued at 7
lb-in.
2. Using feeler
gages, measure the gap between the Aux-
iliary Counter Shaft Covers and the Auxiliary Case. Use
multiple positions closest to
the cap screws.
 Loading...