48 Installation and Service Guide: Printer Controller EB-34
Replacing Parts
5 To insert a new battery, slide it into the socket so that the positive (+) side of the battery faces up.
6 Press the battery down into the socket until it snaps into place.
Make sure that the battery is securely installed in the socket.
7 Reassemble the EB-34 and verify functionality (see page 72).
8 Configure the date and time in Setup (see page 48).
To configure the system date and time
1 On a client computer that is connected to the same network as the EB-34, open a Web browser window.
2 In the URL field of the browser, type the IP address or DNS name of the EB-34, and press Enter.
The IP address is listed under the Network Setup section of the EB-34 Configuration page.
3 On the WebTools home page, click the Configure tab.
4 Click Launch Configure, type the Administrator password for the EB-34, and then click OK.
The default Administrator password is
Fiery.1. However, the network administrator may have configured a new
password for the EB-34.
5 Expand the Server item in the left pane, and click Regional Settings.
6 Click the Set button next to Date and Time.
7 In the dialog box that appears, specify the current date and time, and click OK.
8 In the Configure window, click Apply.
9 Click Reboot.
Motherboard jumpers
Power and reset buttons
Align the triangle on each cable connector with the correct pin as shown in Figure 18.
• Power button: J20, pins 6 (red cable) and 8 (white cable)
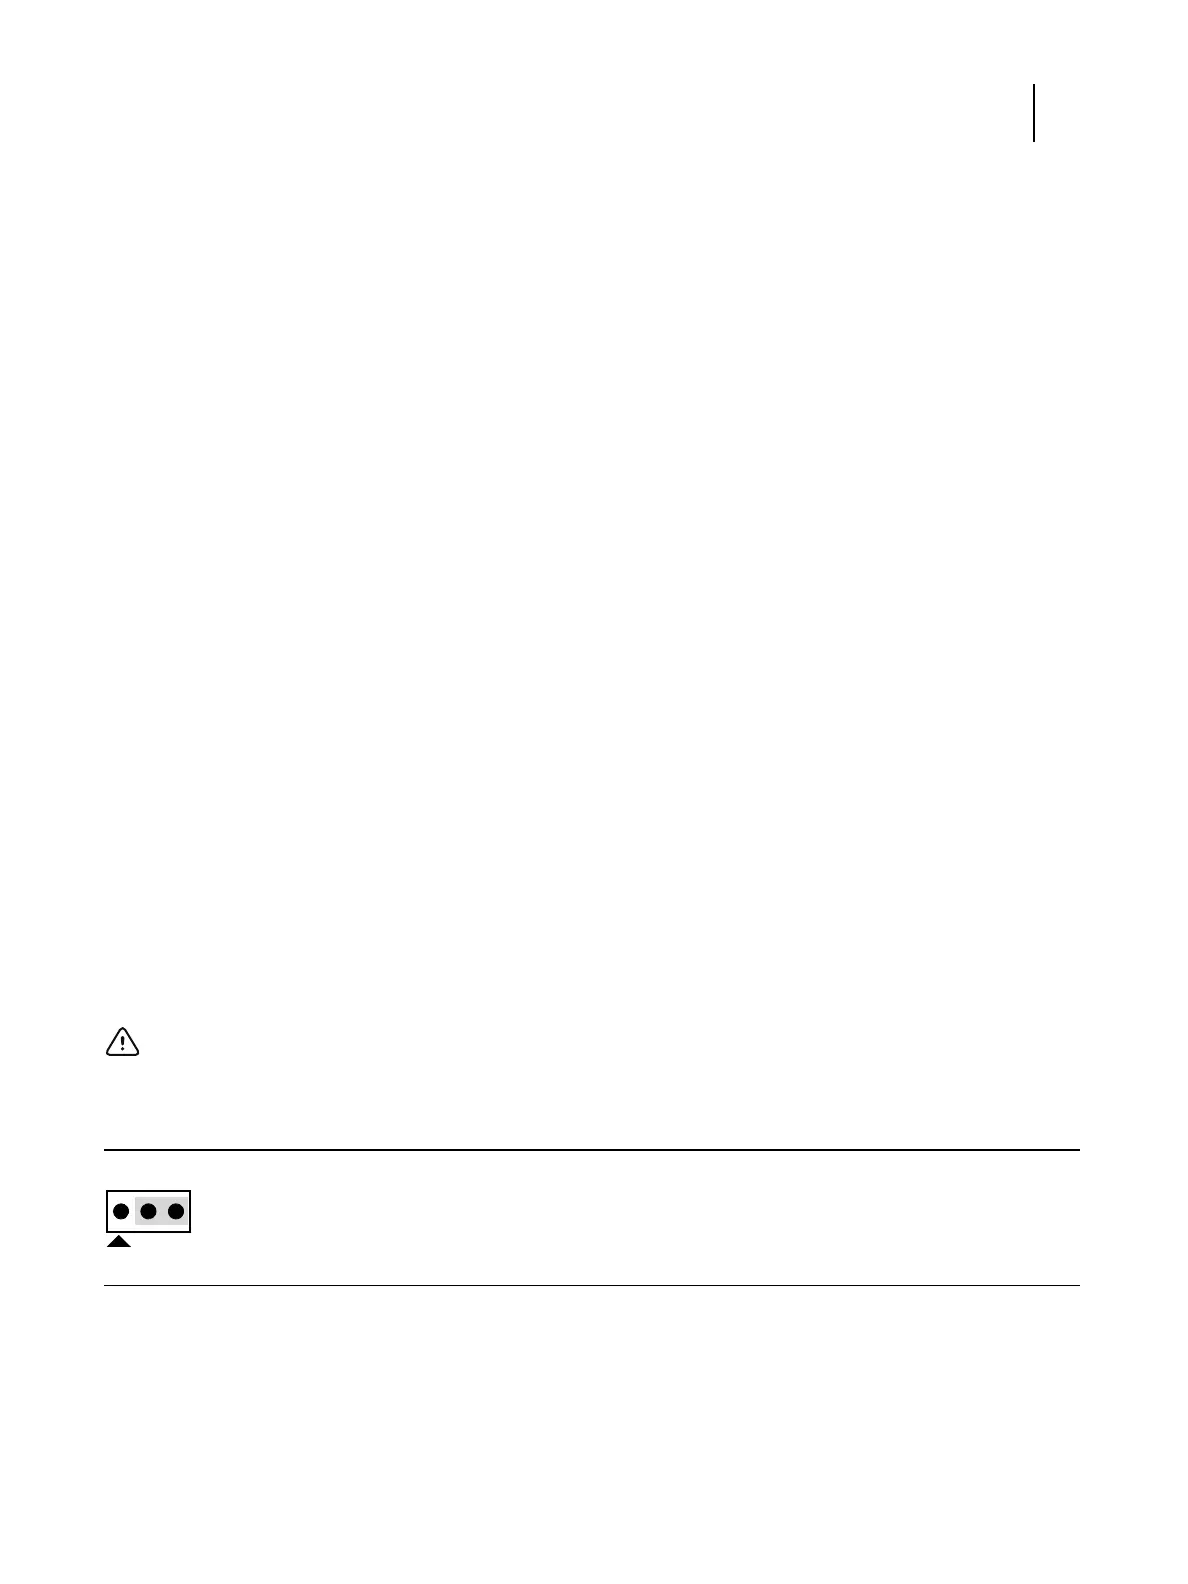
Important: Jumper configuration should not be changed.
Jumper Description
J4 J4 is the Clear CMOS and Password jumper.
Default configuration: jumper cap installed on pins 2 and 3.
Note:
Because the jumper cap is very small, it is not necessary—and could introduce an error—to
remove the jumper cap in order to clear the CMOS settings.