Installation
7
Fig.
: Connections inside B – Serial balance cable
NOTE
Normally the cables are already connected inside the TGA)
4. Connect the gas pipes (compressed air, Nitrogen, Oxygen) with the provided tubes at the
backside of the TGA (consider the required parameters in pre-installation guide)
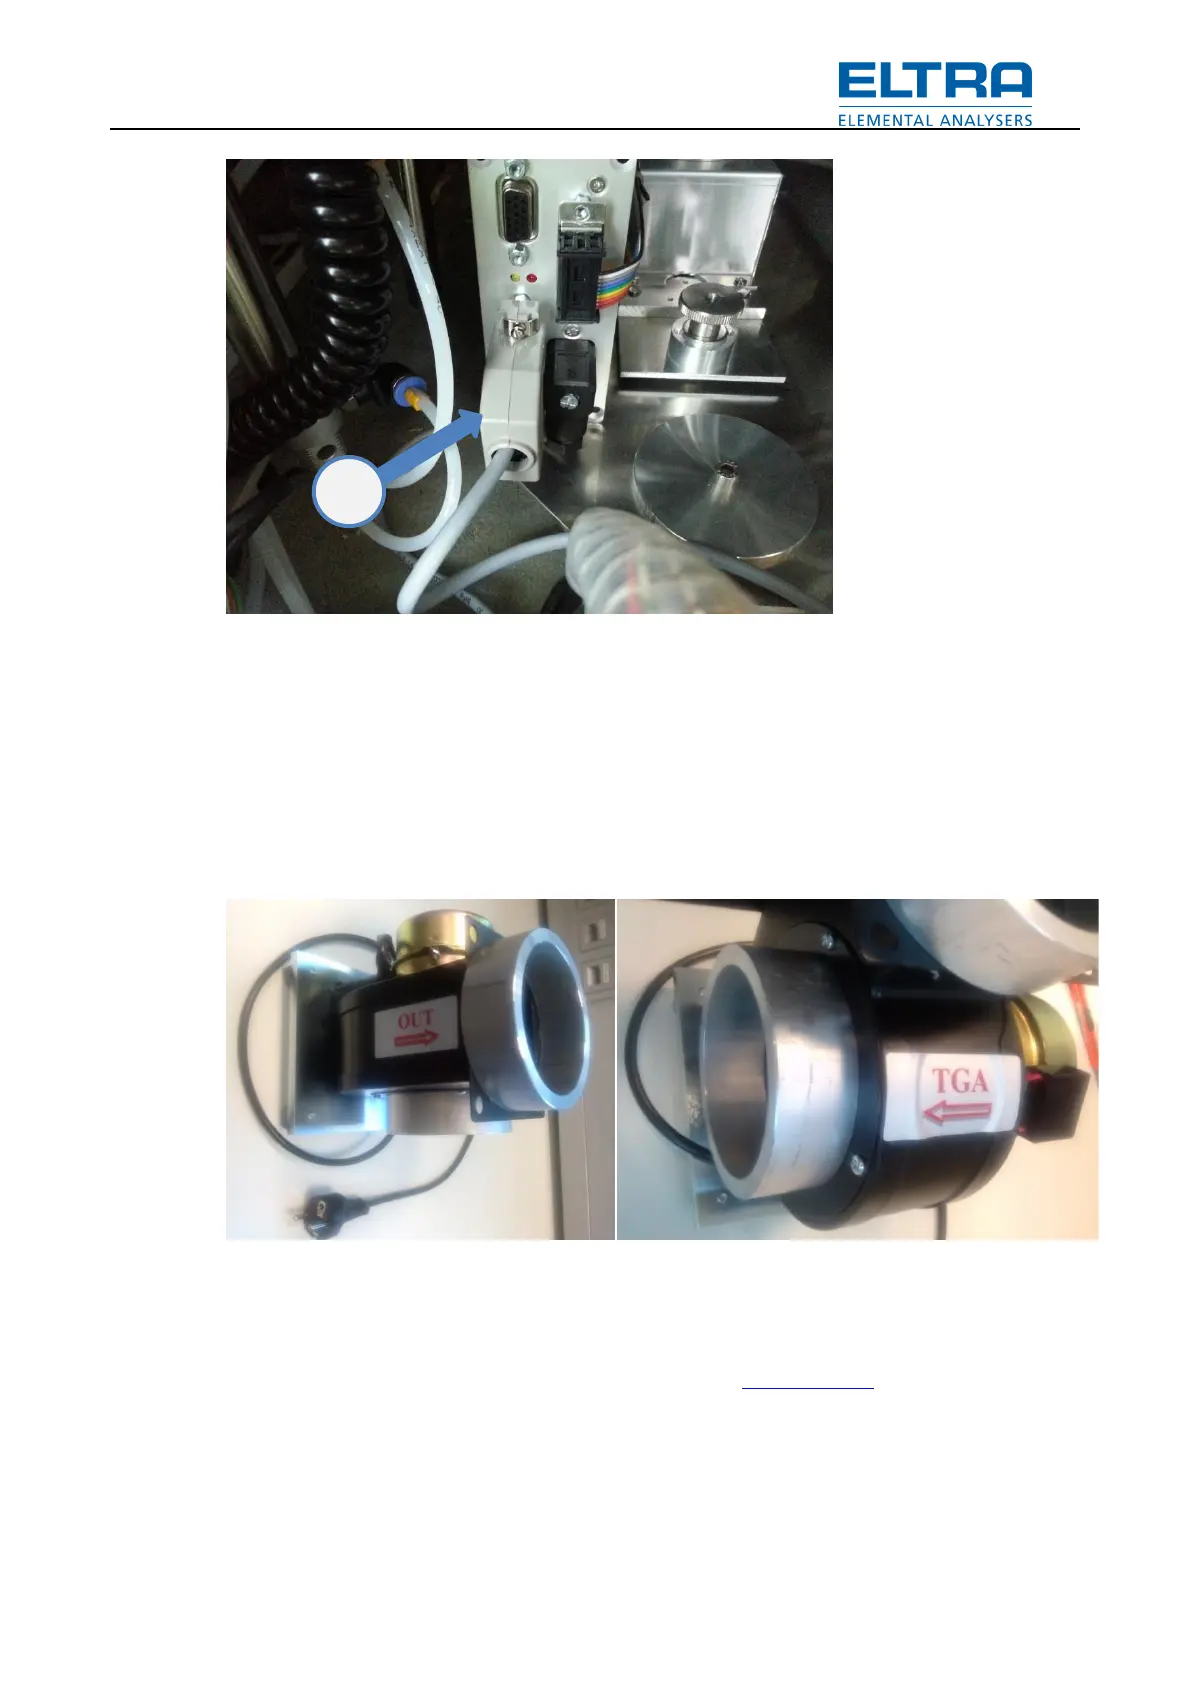
5. Attach the provided external fan with the provided tubes to the exit opening at the rear of
the TGA (label TGA) connect the other side (label OUT) to your exhausting system or to
outside. Connect the power cord of the fan into the power socket at the rear side of the
TGA (consider the in / out flow direction, see below)
6. Please pay attention that the main switch is positioned to zero, plug in the main plug to
your power supply (pay attention to the required voltage and current according to the
device label – pre-installation guide)
7. Switch TGA to position 1 and start the TGA software. After correct login (please follow the
“How to assign the COM ports” in the software help Window: Login the TGA starts an
initialization test automatically. If everything is connected correct (indicators in the Status
window) the cover will be opened automatically after finishing the initialization.
Note
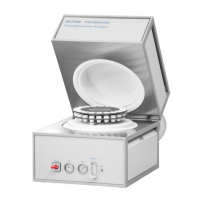
No objects have to be placed on the cover of the TGA!
 Loading...