SS2100i-1 Gas Analyzer
B–12 4900002224 rev. E 12-18-20
9. Carefully replace the mirror assembly onto the cell in the same
orientation as previously marked.
10. Tighten the 4 socket-head cap screws evenly with a torque wrench
to 30 in-lbs (28 m or 8 m measurement cell) or 13 in-lbs (0.1 m or
0.8 m measurement cell).
Toreplacethestainlesssteelmirror
If your system has been configured with a stainless steel mirror in the 0.1 m
or 0.8 m measurement cell, use the following instructions for replacing the
mirror.
1. After the mirror has been removed (refer to “To remove the
mirror assembly (0.8 m/0.1 m)” on page B-10), confirm the
need to replace mirror due to contamination. If yes, set mirror aside.
2. Put on clean acetone-impenetrable gloves.
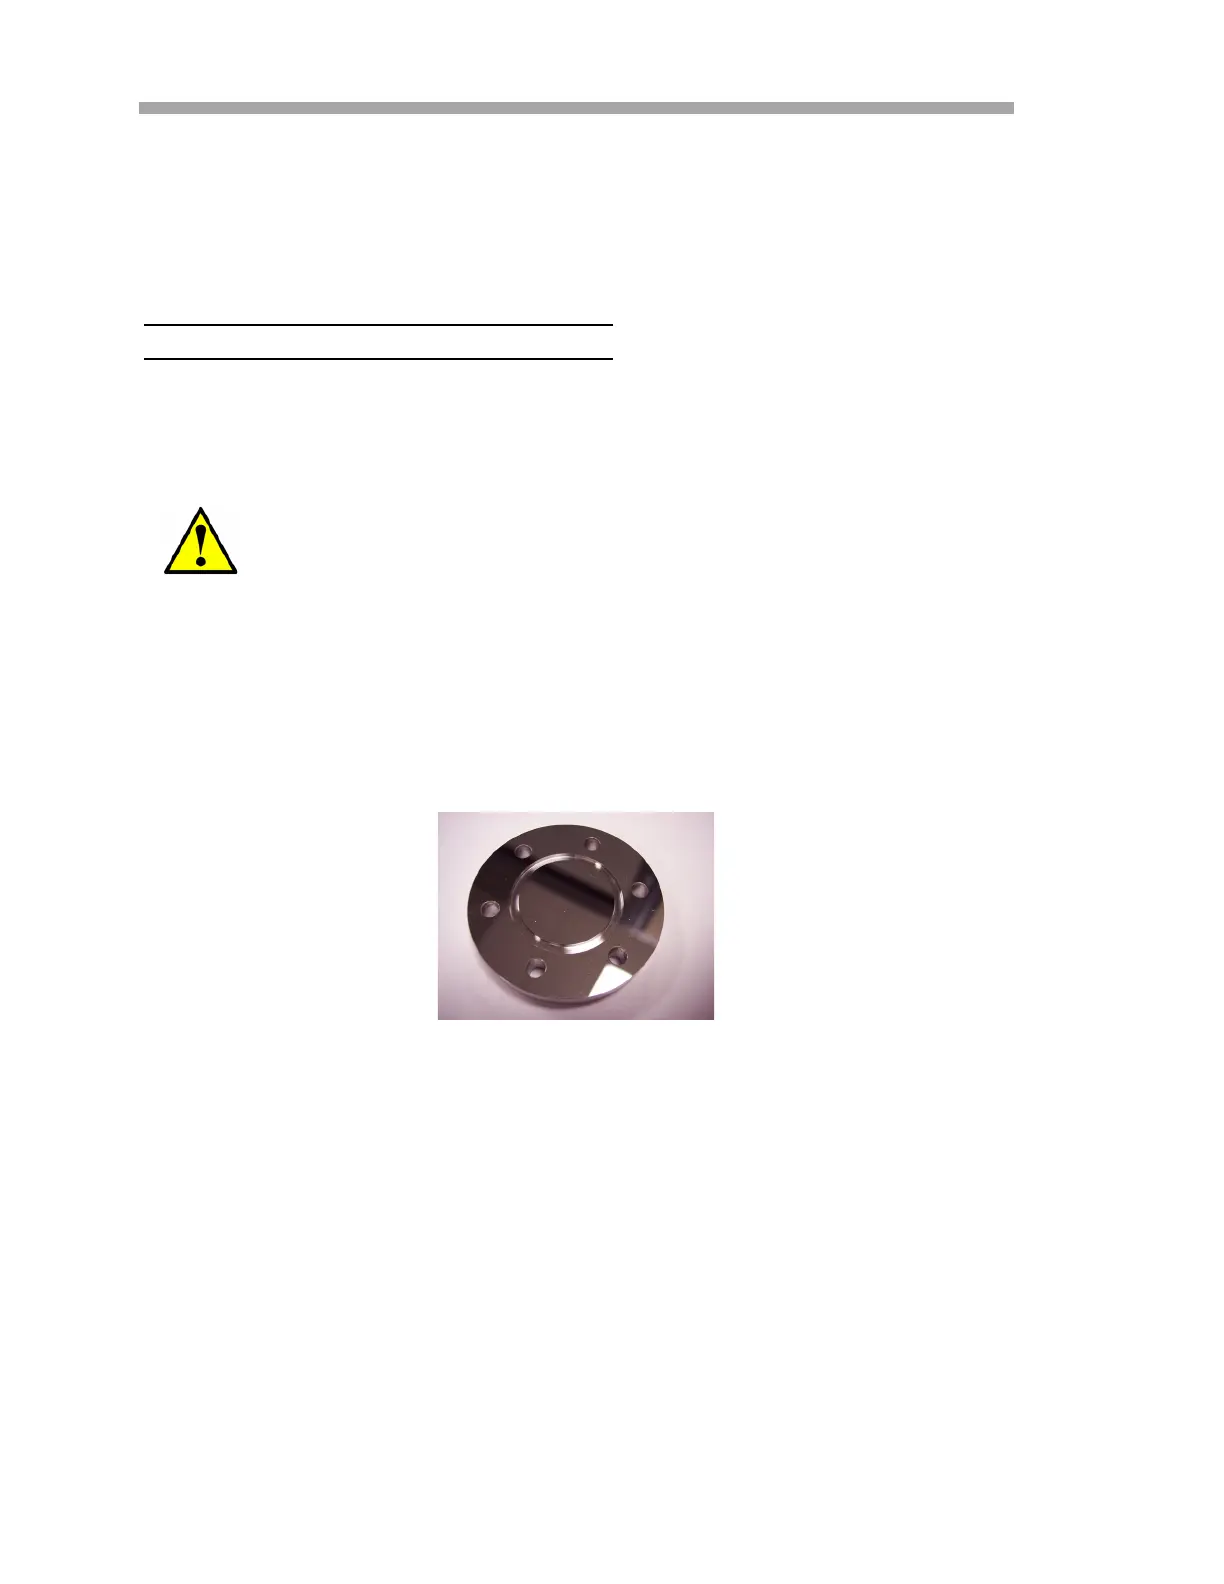
3. Obtain the new stainless steel mirror. Refer to Figure B–6 below.
4. Check the O-ring.
a. If a new O-ring is needed, apply grease on fingertips and then
to the new O-ring.
b. Place newly greased O-ring into the groove around the outside
of the mirror taking care not to touch the mirror surface.
5. Carefully place the new stainless steel mirror onto the cell making
sure the O-ring is properly seated.
6. Tighten the socket-head cap screws evenly with a torque wrench to
13 in-lbs.
If stainless steel mirrors are replacing another version of mirror in
the field, such as glass, the analyzer may need to be returned to
the factory for re-calibration to ensure optimal cell function. Refer
to “Service Contact” on page B-27.
Figure B–6 Stainless steel
mirror; mirror side up

 Loading...