Maintenance & Troubleshooting
Hardware Installation and Maintenance Manual B
–21
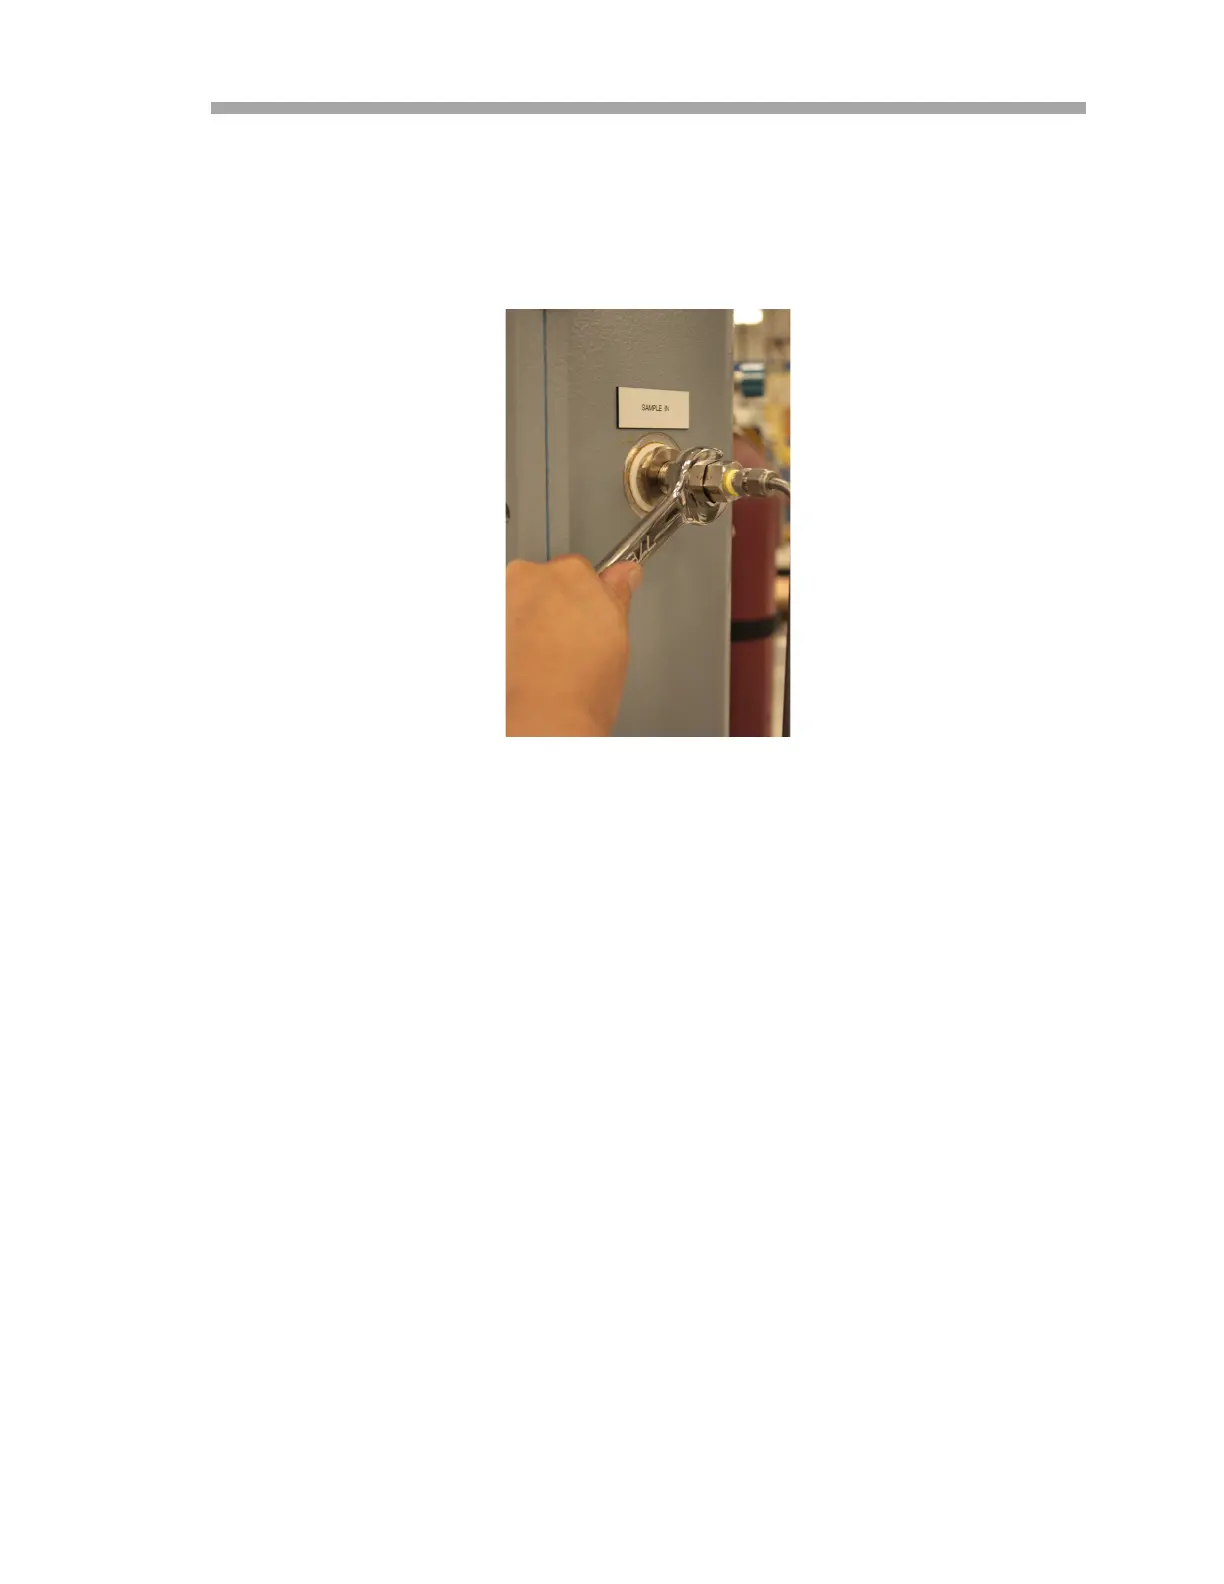
6. Remove the flame arrestor using a 7/8” wrench. Refer to Figure
B–15 below.
a. After the seal is broken, the flame arrestor can be loosened by
hand and removed.
7. Insert the new flame arrestor ensuring its proper seating inside the
washer.
8. Tighten the flame arrestor by hand turning clockwise. Use the hook
spanner wrench to fully tighten.
9. Reassemble SCS tubing and conduct a leak test.
10. Repack the insulation into the enclosure and replace the cover.
11. Replace screws to secure the enclosure cover.
Potential health effects
The flame arrestor enclosure is packed with insulation material that can cause
health issues if inhaled, exposed to bare skin or in direct contact with eyes.
Please follow the safety procedures for unpacking this enclosure to access the
flame arrestors and review the following potential health effects of the
insulation material before beginning maintenance on the flame arrestors.
Figure B–15 Removing the flame
arrestor

 Loading...