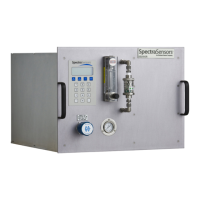
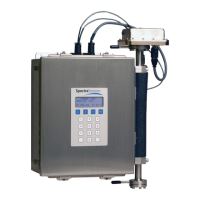
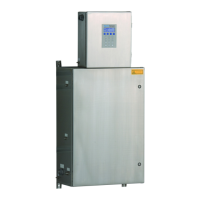
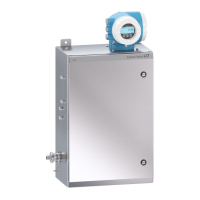
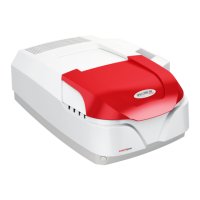
SS2100i-1 Gas Analyzer
B–24 4900002224 rev. E 12-18-20
Table B-1 Potential instrument problems and their solutions (Continued)
Symptom Response
Non-Operation (after start up)
(Continued)
Check fuse(s). If bad, replace with
equivalent fuse. Refer to Table C–2 on
page C–5.
Is the power connected to both the
analyzer and power source? Is the
switch on?
Is the power source good? (120/240
VAC 10% at 50/60 Hz).
Check fuse(s). If bad, replace with
equivalent fuse. Refer to Table C–2 on
page C–5.
Contact Service for information. Refer
to “Service Contact” on page B-27.
Laser Power Low Alrm
Turn off the power to the unit and
check the optical head cables for a
loose connection. Do not disconnect
or reconnect any optical head
cables with the power connected.
Check the inlet and outlet tubes to see
if they are under any stress. Remove
the connections to the inlet and outlet
tubes and see if the power goes up.
Perhaps the existing tubing needs to be
replaced with stainless steel flexible
tubing.
Refer to the Firmware Manual for
instructions to capture diagnostic data
and submit as instructed by Service.
Possible alignment problem. Contact a
service representative for information.
Refer to “Service Contact” on page
B-27.
Possible mirror contamination issue.
Contact Service for information. Refer
to “Service Contact” on page B-27. If
advised to do so, clean the mirrors,
refer to “Cleaning the Mirrors” on
page B-3.
Pressure Low Alarm or Pressure High
Alarm
Check that the actual pressure in the
sample cell is within specification
(Table A-1 on page A–1).

 Loading...

