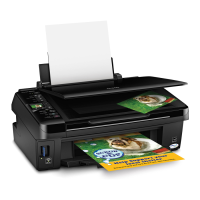
Using the control panel
Follow the steps below to align the print head using the product control panel.
A
Make sure that no warnings or errors are indicated in the control panel.
B
Make sure that A4-size paper is loaded in the paper cassette 1.
C
Enter Setup mode from the Home menu.
D
Select Maintenance.
E
Select Print Head Alignment.
F
Select Vertical Alignment or Horizontal Alignment, and then follow the on-screen instructions to print an
alignment pattern.
Note:
If your printouts look blurry or vertical ruled lines appear misaligned, select Vertical Alignment. If you see horizontal
banding at regular intervals, select Horizontal Alignment.
G
When you selected Vertical Alignment, find the most solid pattern in each of #1 to #6 groups, then enter the
pattern number.
When you selected Horizontal Alignment, find the least separated and overlapped pattern.
H
Finish aligning the print head.
User’s Guide
Maintaining Your Product and Software
131
 Loading...


