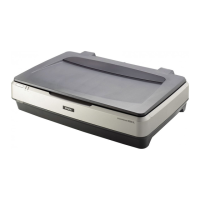
Expression 10000XL Revision A
DISASSEMBLY/ASSEMBLY Disassembly Procedure 57
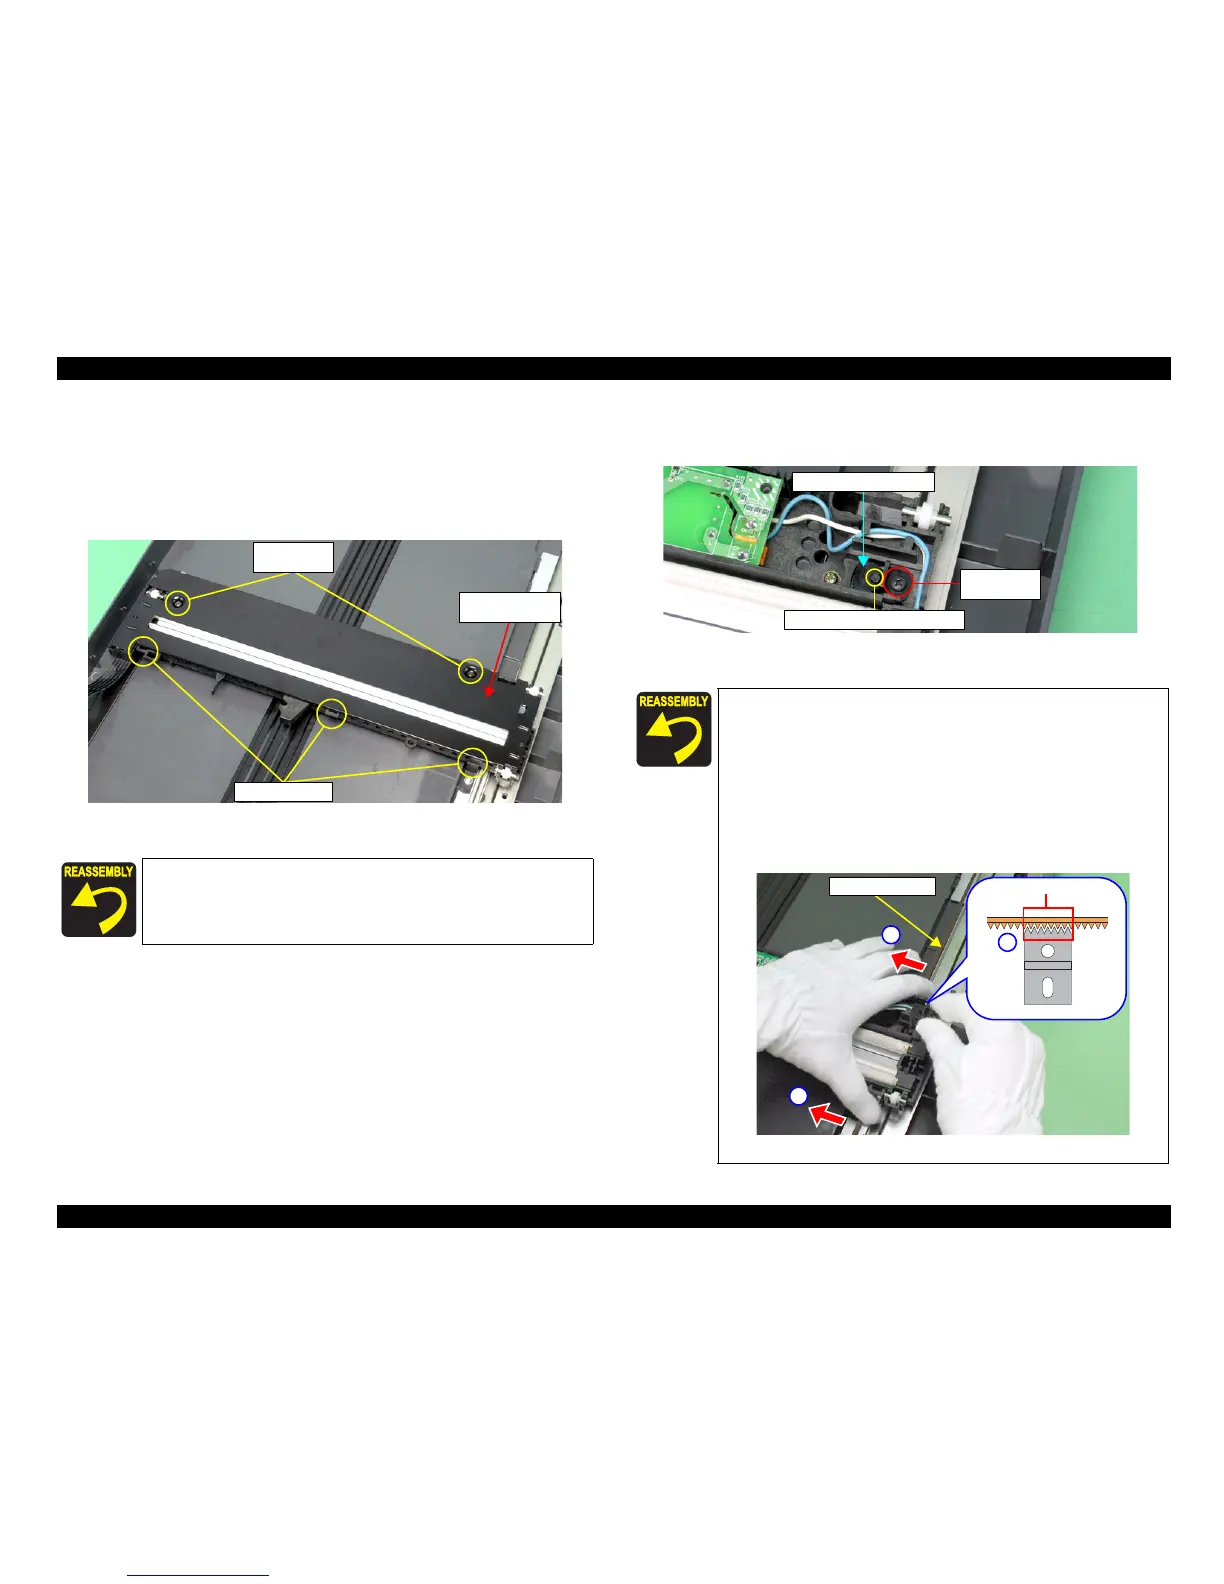
4.2.12.6 Removal of TPU Carriage Unit
1. Move the TPU Carriage Unit to the center.
(Refer to 4.2.12.3 Removal of TPU Main
Board Step 1 to Step 2.)
2. Remove the two screws (CBP, M3x10) that are securing TPU Carriage Cover, and
remove the TPU Carriage Cover.
Figure 4-48. Removal of Carriage Cover
3. Remove the one screw (CBP, M3x6) that is securing the Timing Belt Retainer, and
remove the Timing Belt Retainer.
Figure 4-49. Removal of Timing Belt Retainer
When reinstalling the TPU Carriage Cover, be sure to insert the three
Ribs of the TPU Carriage Cover shown in
Figure 4-48
into the Slots
of the TPU Carriage Unit.
M3x10
(50±10Ncm)
Slots and Ribs
TPU Carriage
Cover
When reinstalling the Timing Belt Retainer, do it in the following
order.
1. Pull the TPU CR Belt by hand to prevent the Belt from
twisting.
2. Match the both tooth of the Timing Belt Retainer and the
TPU CR Belt.
3. Match the Positioning Holes and Dowels.
(Refer to Figure 4-49)
4. Secure the Retainer with a screw.
(Refer to Figure 4-49)
Timing Belt Retainer
M3x6
(50±10Ncm)
Positioning Holes and Dowels
2
TPU CR Belt
Tooth
1
1
 Loading...