EasyManuals Logo
Home>Epson>Robotics>G20 Series

Epson G20 Series User Manual

Epson G20 Series
252 pages
To Next Page IconTo Next Page
To Previous Page IconTo Previous Page
Page #183 background imageLoading...
Page #183 background image
Maintenance 8. Arm #4
G10 / G20 Rev.20 171
(6)
When you use the plate of 3
-point mounting,
mount the plate with pressing it to the J
oint #4
motor.
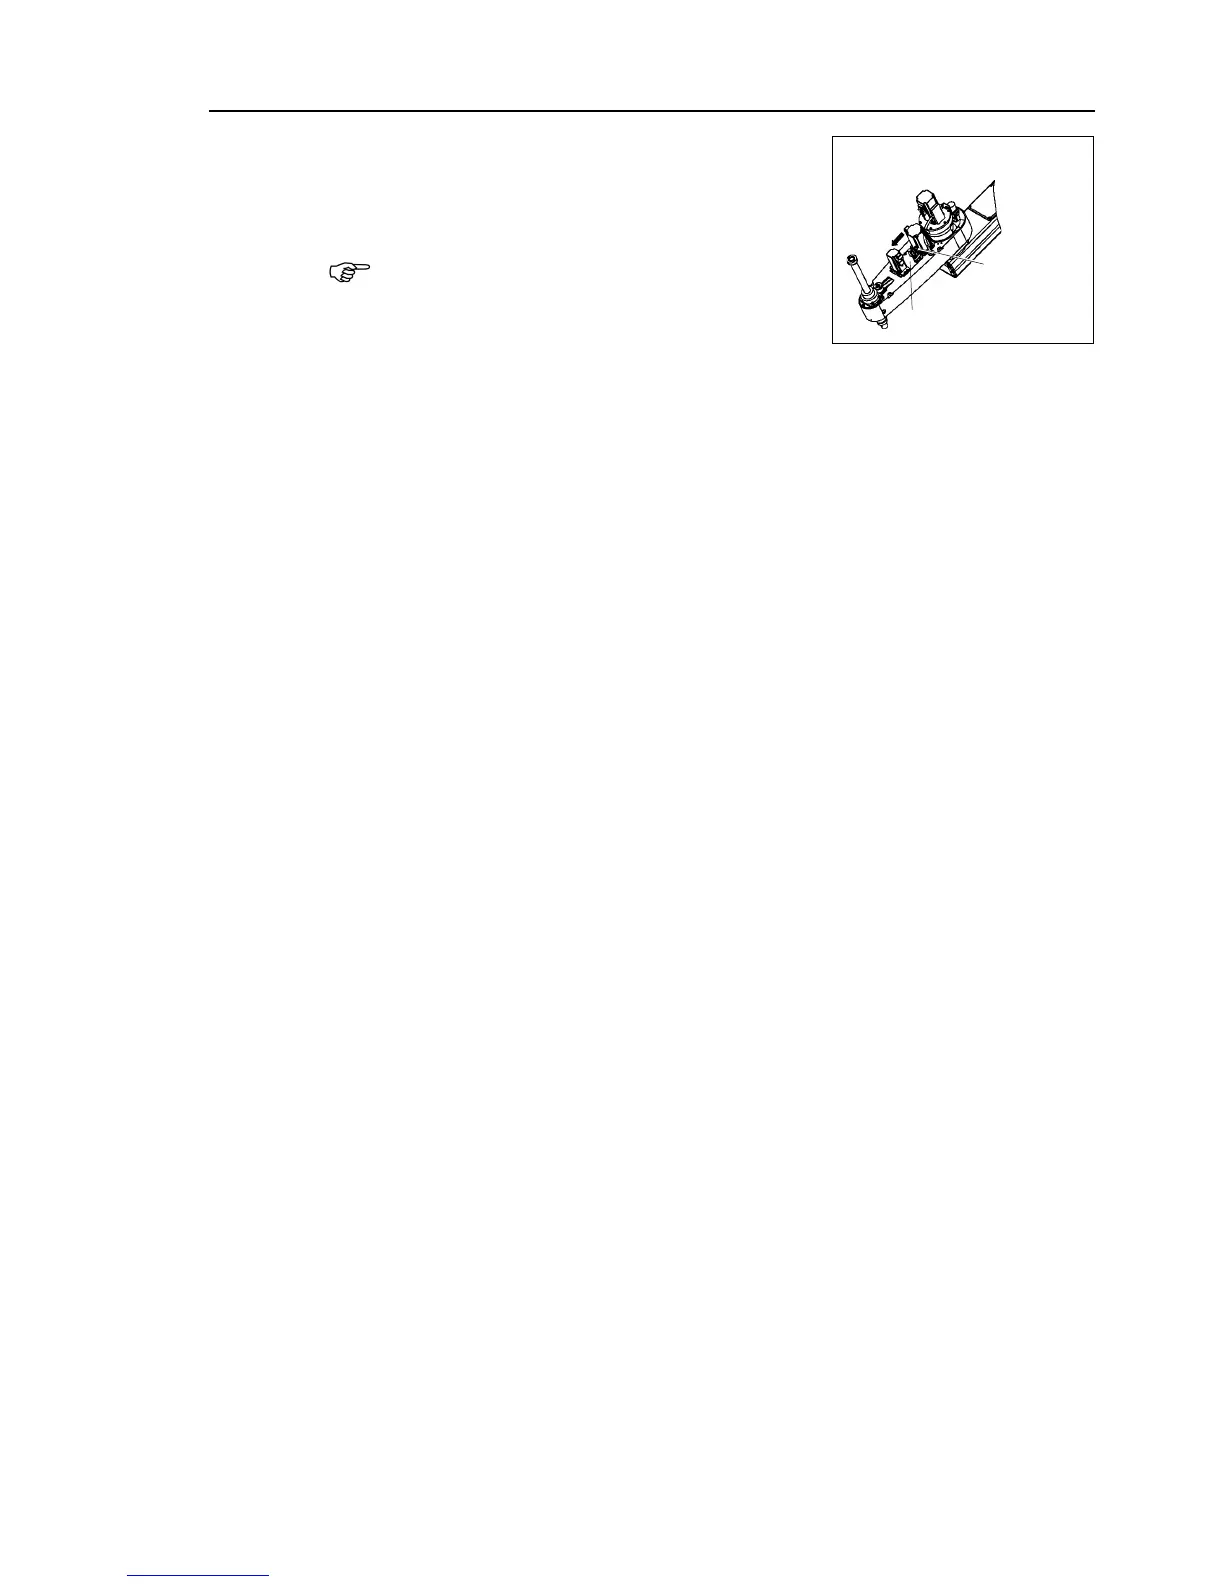
Be sure to keep the connectors connected to the
battery unit.
If connectors of the battery unity are disconnected,
you need to perform calibration again.
When you use the plate of
4-point mounting, you
do not have to mount the plate.
3-point mounting
Plate
Battery unit
(7)
Connect the connectors X241, X41, and X64.
(8)
Re
-bundle the cables in their original positions with a wire tie removed in step (5).
Do not
allow unnecessary strain on the cables.
(9)
Install the arm
top cover and the arm bottom cover.
For details, refer to Maintenance: 3. Covers.
(10)
Perform the calibration of Joint #4.
For details on the calibration method, refer to Maintenance: 14. Calibration.
NOTE

Table of Contents

Questions and Answers:

Question and Answer IconNeed help?

Do you have a question about the Epson G20 Series and is the answer not in the manual?

Epson G20 Series Specifications

General IconGeneral
BrandEpson
ModelG20 Series
CategoryRobotics
LanguageEnglish

Related product manuals