43
4.2.3.1 Replacing the Waste Ink Unit
To keep the printhead clean and maintain quality, the printer drains waste ink away from
the printhead surface and nozzles into the Waste Ink Unit. Once a predetermined amount of
waste ink has been drained, the printer displays the “Maintenance Call 0100” message to
indicate the pads are 99% full and then displays the “Service Call 00000100” message to
indicate the pads are completely full and need to be replaced before printing can continue.
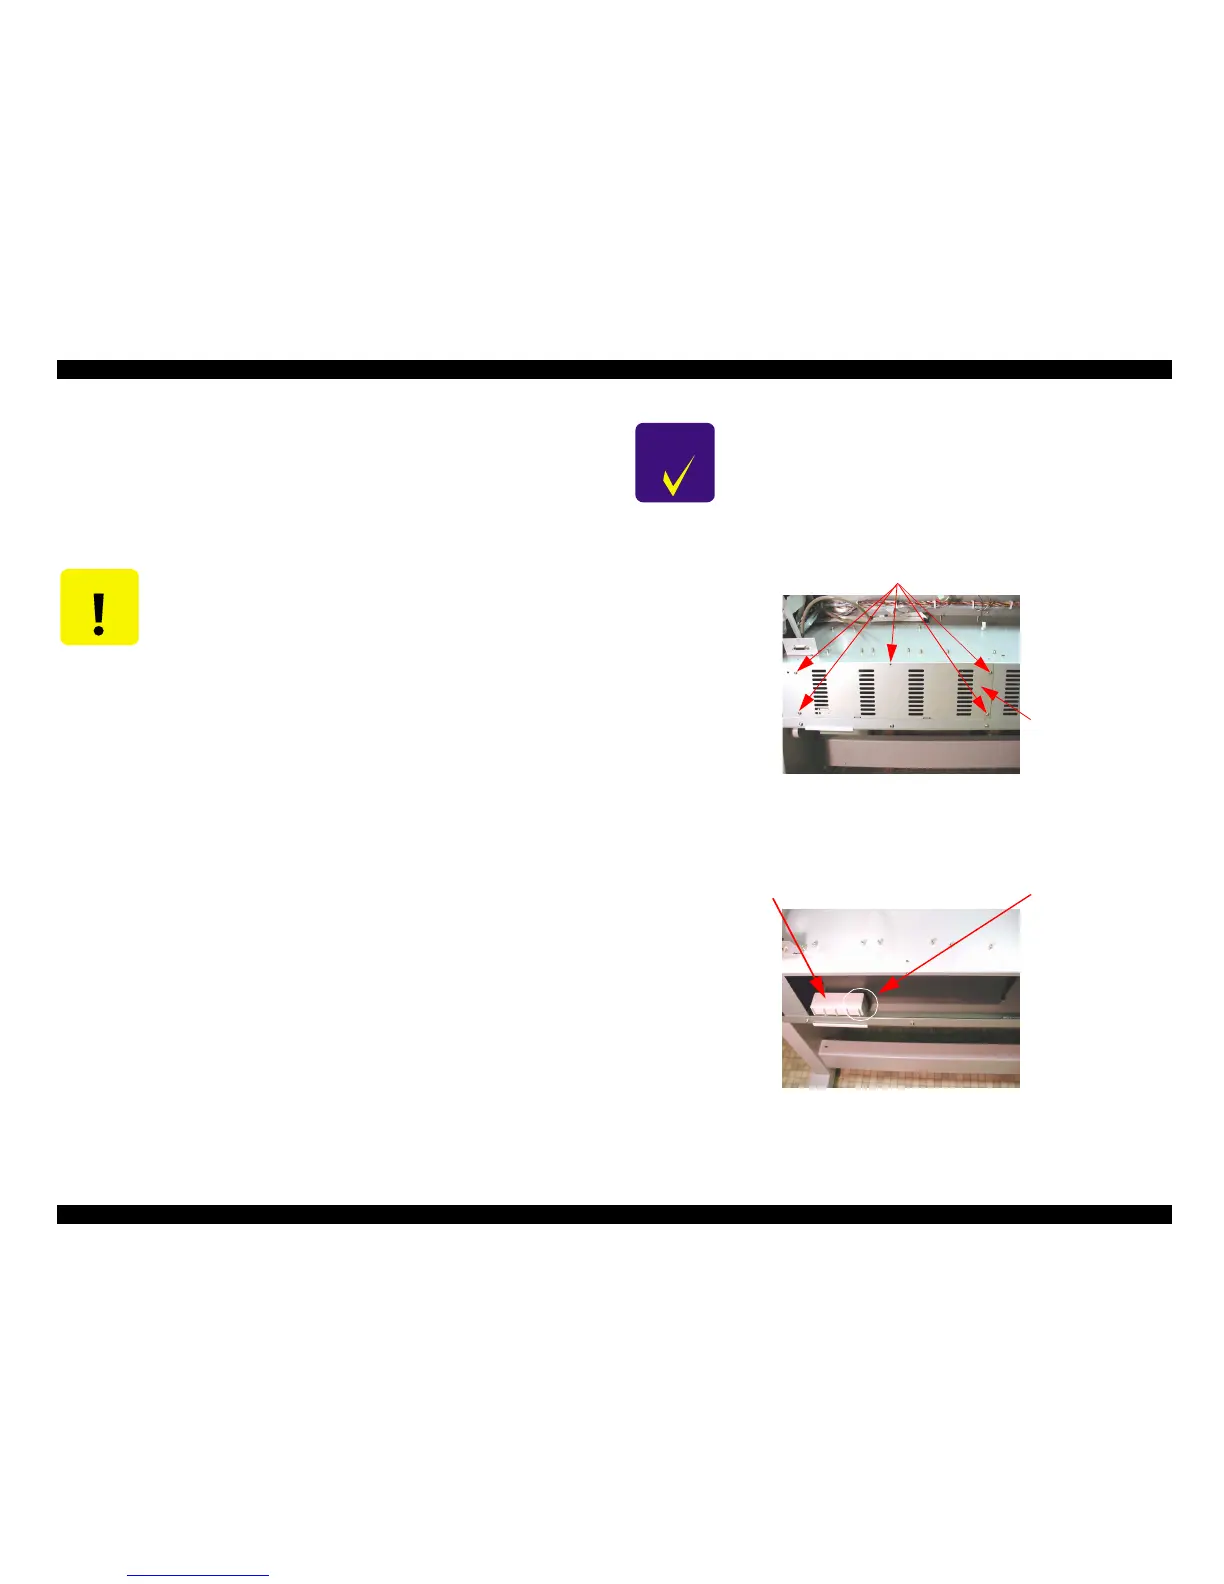
1. Remove five screws (CP(W):M4x8)securing waste ink cover.
Figure 4-63.
2. Remove handle by pressing latches.
Figure 4-64.
C A U T I O N
When the waste ink counter indicates the ink pads need to be
replaced, the following parts all need to be replaced at the same time.
n Waste Ink Unit
n Pump ASSY
n Cap ASSY
n Head Cleaner
n Flushing Box
Then reset the following counters:
n INIT. WASTE INK
n INIT. CLEANING
C H E C K
P O I N T
The above mentioned parts are available as a kit.
Description: MAINTENANCE KIT Stylus Pro 10000/10000CF
Parts code: TBD
Screw
Waste ink cover
Handle
Latch (both side)