60
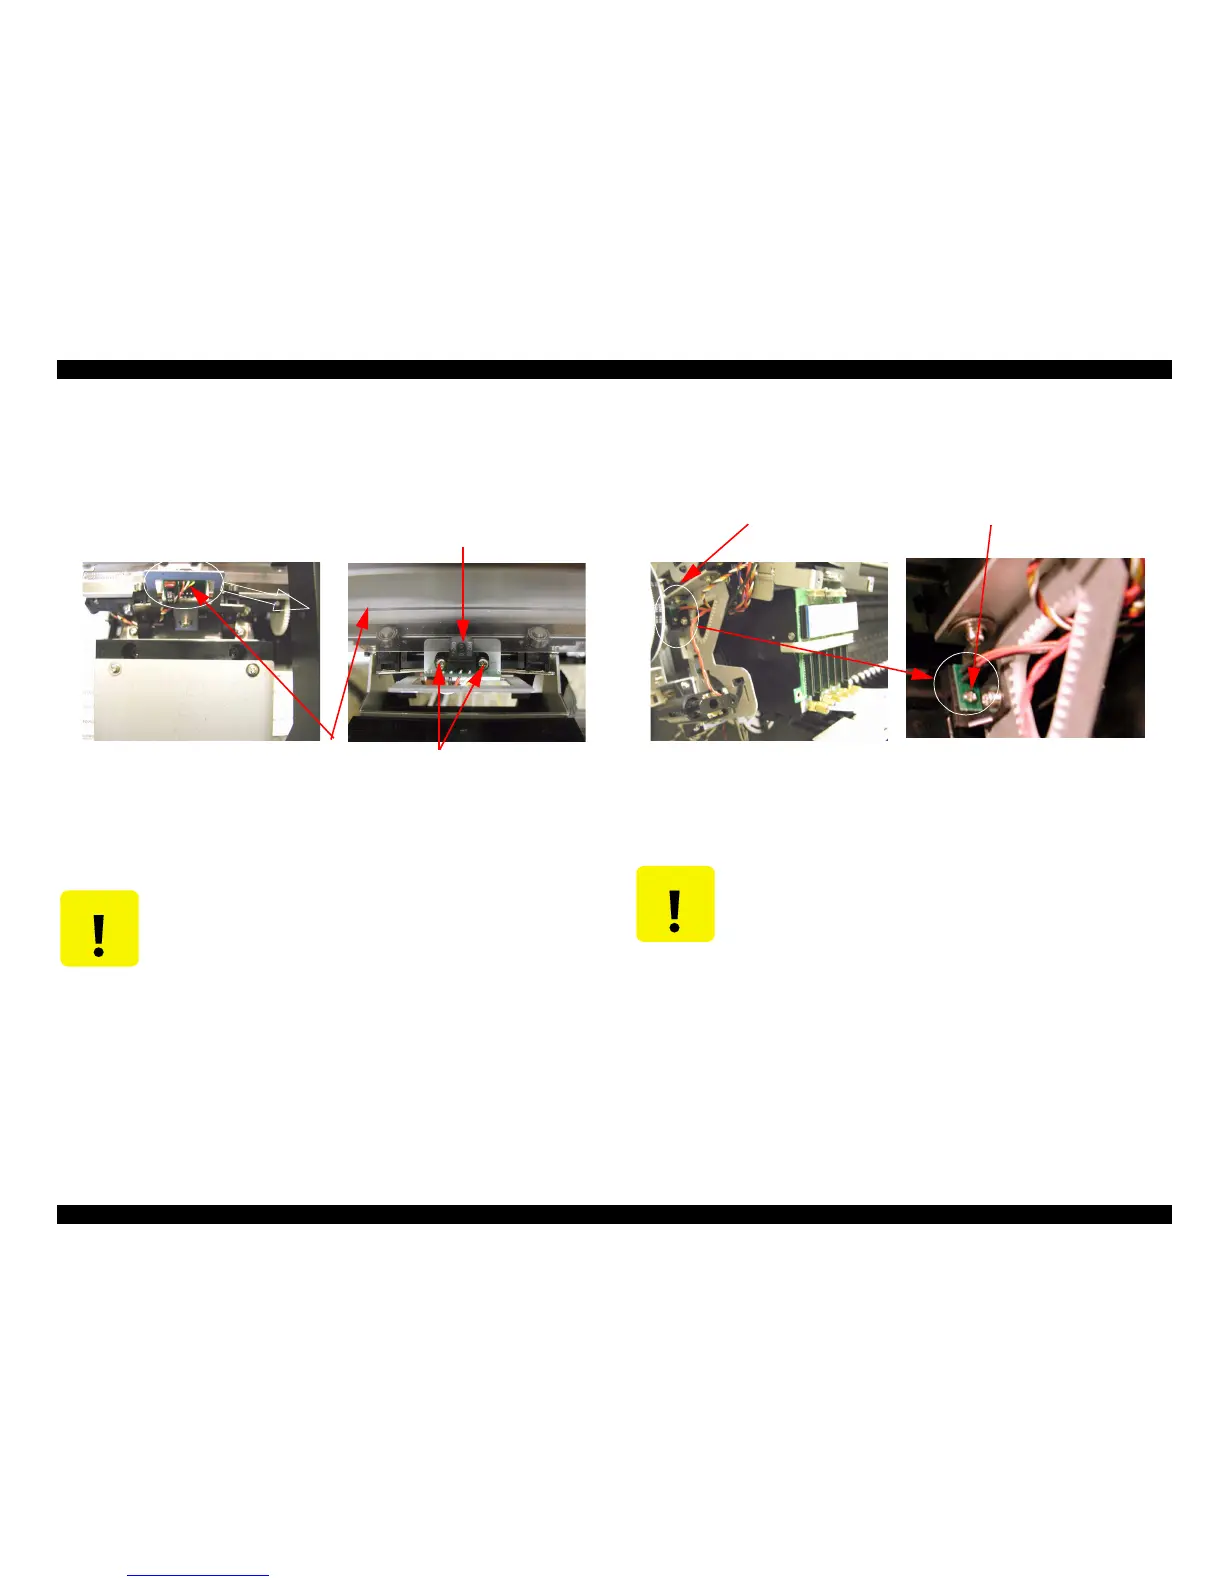
4.2.3.5 Removing the CR Encoder Sensor
1. Disconnect the CR Encoder cable connector from Head board.
2. Remove two screw (CPP M3x8) securing the CR Encoder Sensor, then remove the CR
Encode Sensor.
Figure 4-105.
4.2.3.6 Removing the P_Edge Sensor
1. Disconnect the P_Edge Sensor cable connector from Head board.
2. Remove one screw (CBP M3x6) securing the P_Edge sensor and remove the sensor.
Figure 4-106. P_Edge Sensor Removal
C A U T I O N
When Disassembly and reassembly, do not bend or injure the CR
encorder.
TFence
CR encorder sensor
Screw
C A U T I O N
n When assembly, combine the boss location of the hole of the head
base and P_EDGE sensor.
n When assembly, fix P_EDGE sensor pushing toward platen side.
P_Edge sensor
Screw

 Loading...


