36
Figure 5-52.
o
If the ink cartridge is installed, print out the sample even if the ink charge is not
yet.
o Press the "Enter" key during the message of "Authen.HeadRank?",you can check
the head rank on the print sample.
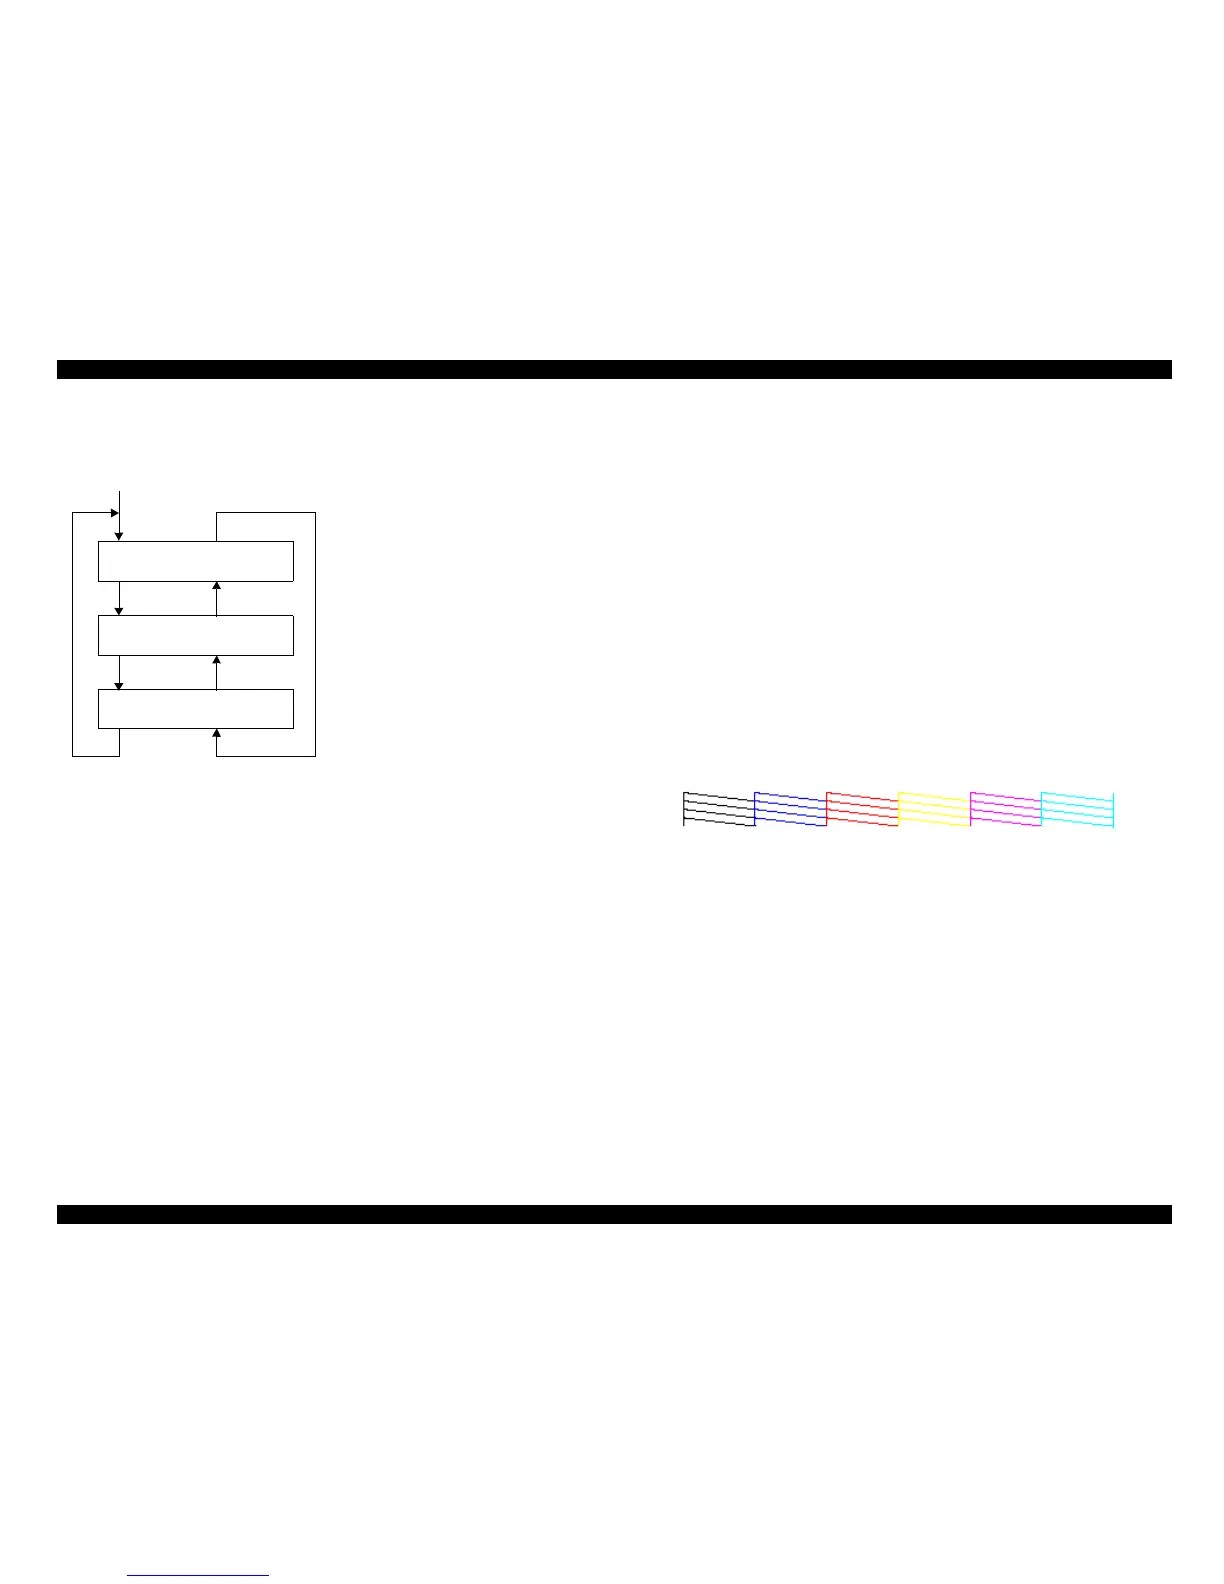
<Print sample for nozzle check pattern>
1. Check items:
o Nozzle ink injection (missing / uncontinuation / wind line)
o Satellite
o Timing fence
o Vertical direction nozzle lineup confirmation
o Horizontal direction nozzle lineup confirmation
2. Printing method:
o One pass with Bi-D at 180dpi resolution for PF and CR.
3. Pattern: Refer to following figure.
o It prints in the order of Black/Cyan/Magenta/Yellow/Light Magenta/Light Cyan
from the left.
Print sample
Figure 5-53.
4.Version/ink remainder quantity
o Version: T0xxxx.yyyy.zzzz
o Ink Pad: 9.9
o Head Rank: 6AT2A43 78Q3DN4 7,343,253
422E2VV 6K3FWWW EY3B7YX
TU U1YR TX UUTQ UX VUYX
3X05VVS XYWWVWS Y1YZXWV
W 45Y13 X 3L4E3 X 3Z2U3
5. Horizontal nozzle lineup confirmation
Item
Item
Item
SelecType
SelecType
SelecType
Nozzle Check End
Cleaning : Standard
Output Pattern
1
Press the [Enter] key to select
the [A13 slant adjustment].
Press the [Pause] key to select
the [Nozzle check].
Press the [Enter] key to cleaning.
Press the [Pause] key to select
the [Nozzle check].
Press the [Enter] key to output
the pattern.
Press the [Pause] key to select
the [Nozzle check].

 Loading...


