MAINTENANCE MANUAL
Page 33-22
Effectivity: All
Edition 2 | Rev. 1
D. 7114112 landing / taxi light
Maintenance type: Line
Personnel qualification: Independent verification personnel qualified in accordance with
Part 66 or higher
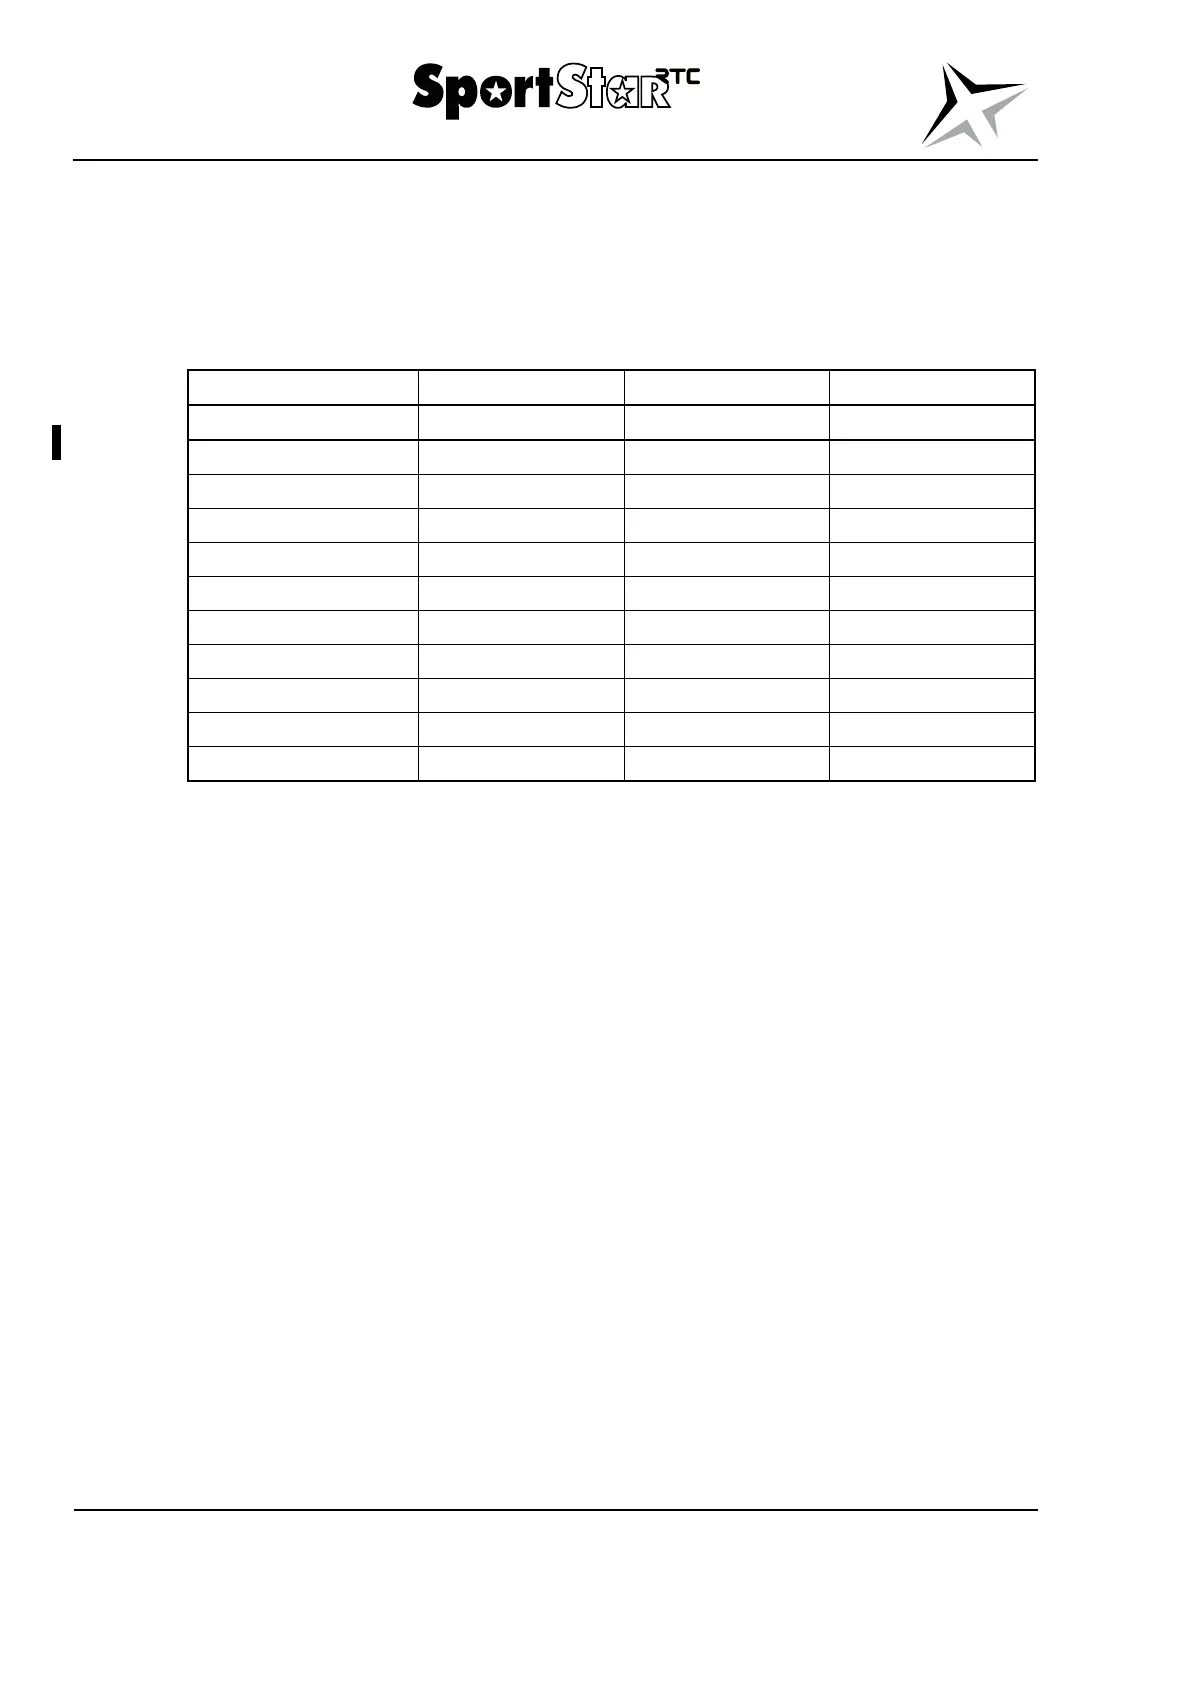
Recommended tools and material:
Item Designation / Size Quantity Note
Test jig 7810E2550001 1 pc. Light adjustment
Jig with magnifier 7910S7911099 1 pc. Light adjustment
Flat screwdriver - 1 pc.
Phillips screwdriver No. 2 1 pc.
Wrench No. 7 1 pc.
Wrench No. 10 2 pc.
Hex wrench No. 3 1 pc.
Crimping pliers - 1 pc.
Pincers - 1 pc.
Connector P/N 1-480319-0 1 pc.
Contact P/N 163305-2 2 pcs.
(1) Removal – landing / taxi light
(a) Switch the electrical network off and disconnect the battery.
(b) Remove the light cover W8L (Fig. 06–2).
(c) Unscrew the bolts (17, Fig. 33-8) and remove the cover (16).
(d) Remove the nut (9), washer (10), bolt (8) and slightly pull the light out including the
bracket (3).
(e) Disconnect wires with the connector (2) from the harness and remove the light
including the bracket (3).
(f) Remove the nuts (9), washers (10), bolts (8) and remove the bracket (3).
(g) Remove the nuts (13), washers (14; 15), spacers (11), bolts (12) as necessary and
remove the bracket (7).
(2) Installation – landing / taxi light
(a) Adjust the bracket (7, Fig. 33-8) between the holders (18; 19) as necessary and
attach it with bolts (12), spacers (11), nuts (13) and washers (14; 15). Slightly
tighten the nuts.
(b) If you install a new light, crimp new contacts on wires of the light and install the
connector (refer to the table Recommended tools and material).