16
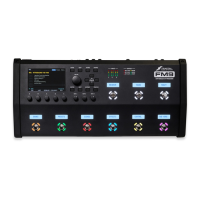
1 INTRODUCTION
GRID EDITING: QUICK START
Learn more about the Layout grid in Section 5. Meanwhile, here’s a very quick primer:
From the Home page, press LAYOUT (knob B) or ENTER to show the
grid (that is, the “Edit” page of the Layout menu).
Use the NAV buttons to move the cursor around the grid.
To change any block, turn the VALUE knob to cycle through the list of available blocks.
When you nd the block you want, press ENTER to conrm. Press EXIT to cancel changes.
On the grid, “push” functions of the B, C, and D knobs allow you to toggle a block’s Bypass state,
Delete a block, or create/remove a connector Cable between any two blocks in adjacent columns.
To save any changes, press STORE, ENTER, ENTER.
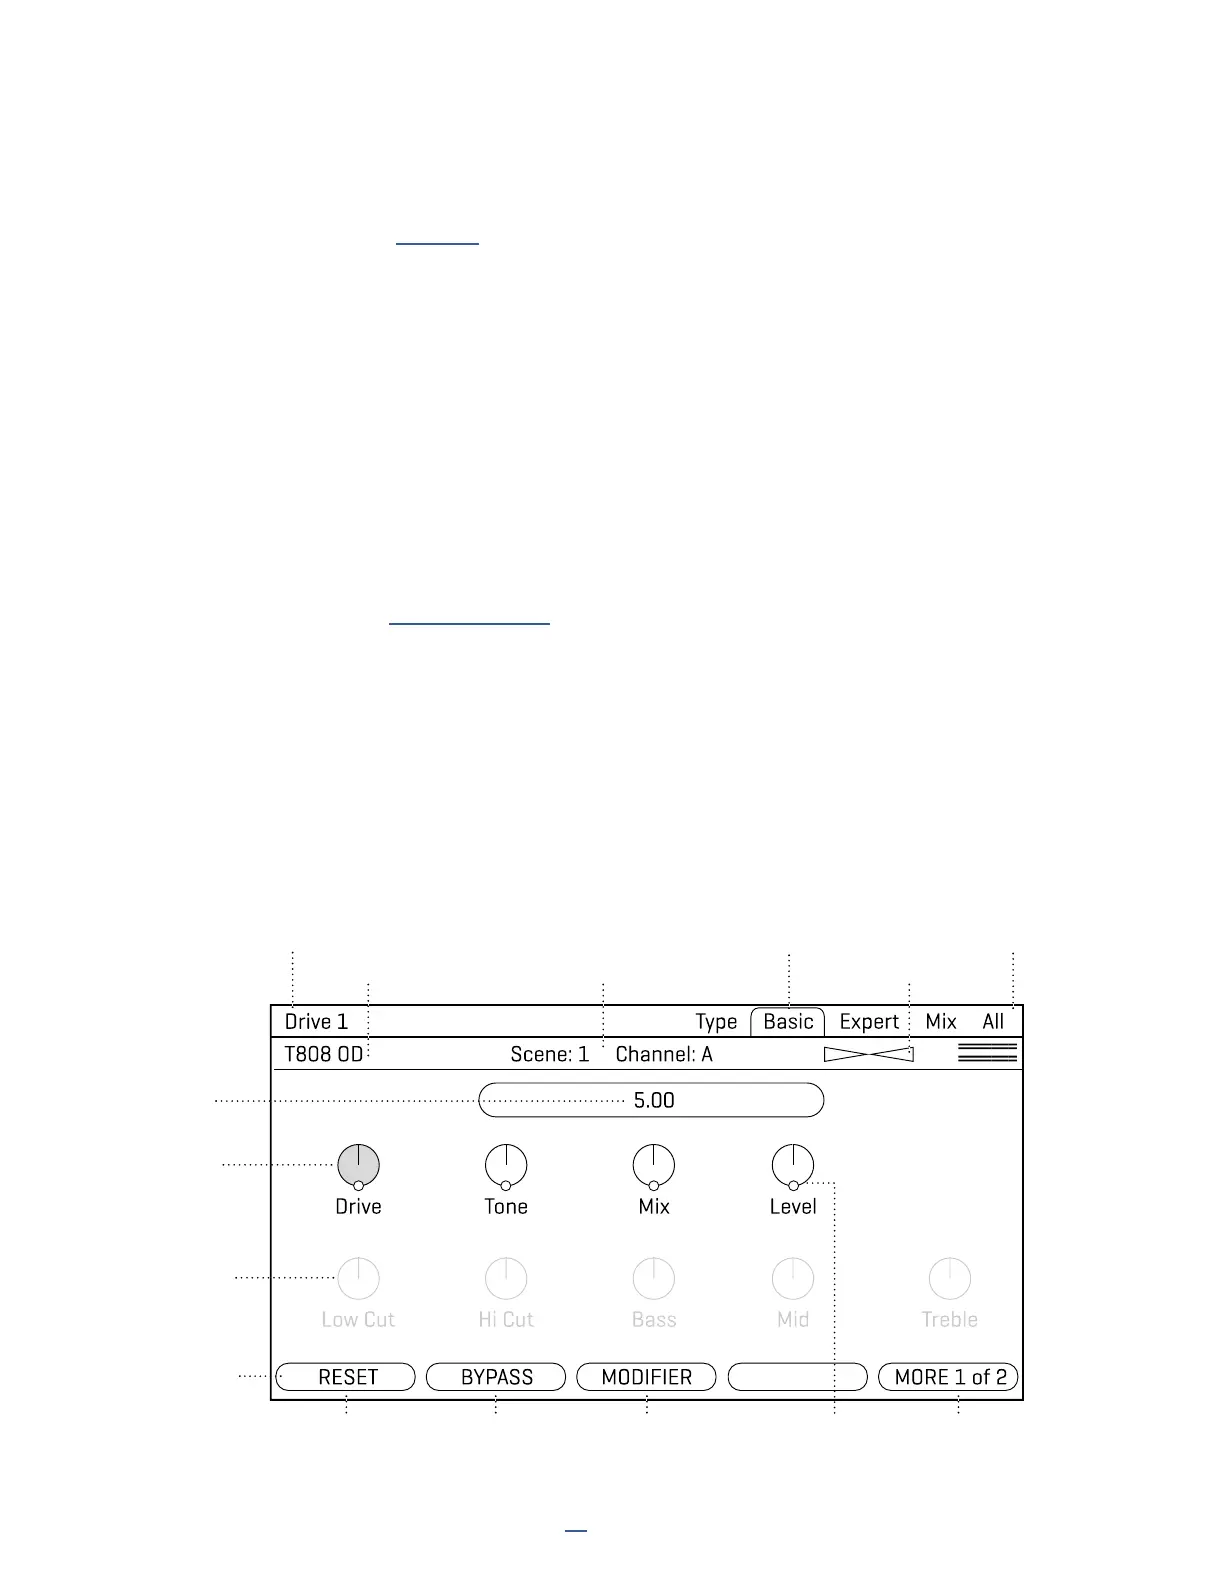
Block Name and Number Menu Pages (Tabs) I/O Meters
Block Type
Current
Parameter
Highlighted
Inactive Row
is dimmed
(NAV Up/Down
)
Push Functions
(A—E)
Current
Parameter
Value Box
TunerCurrent Scene/Channel
Resets
this Block to
defaults
Bypass or
Engage this
block
Adds a Modifer
to the current
parameter
A yellow dot
shows Modifier
capability
Reveals the
Selector
BLOCK EDITING: QUICK START
Learn more about editing blocks in Section 5: Presets. Meanwhile, here’s a very quick primer:
Open the Layout grid (see above), select the desired block and press EDIT to open its menu.
Use the PAGE buttons to navigate menu pages.
Many blocks have a TYPE page, which allows you to dial in multiple settings with one knob.
Examples include setting an Amp to “USA Lead+” vs. “Tweed 5F1”, or a reverb to “Cavern” or “Large Spring”.
Use the A, B, C, D, and E knobs to edit on-screen parameters. From
any block’s Edit menu, press EXIT to return to the grid.
To save any changes, press STORE, ENTER, ENTER.
The stylized diagram below shows a typical edit menu page with annotations: