ure
1
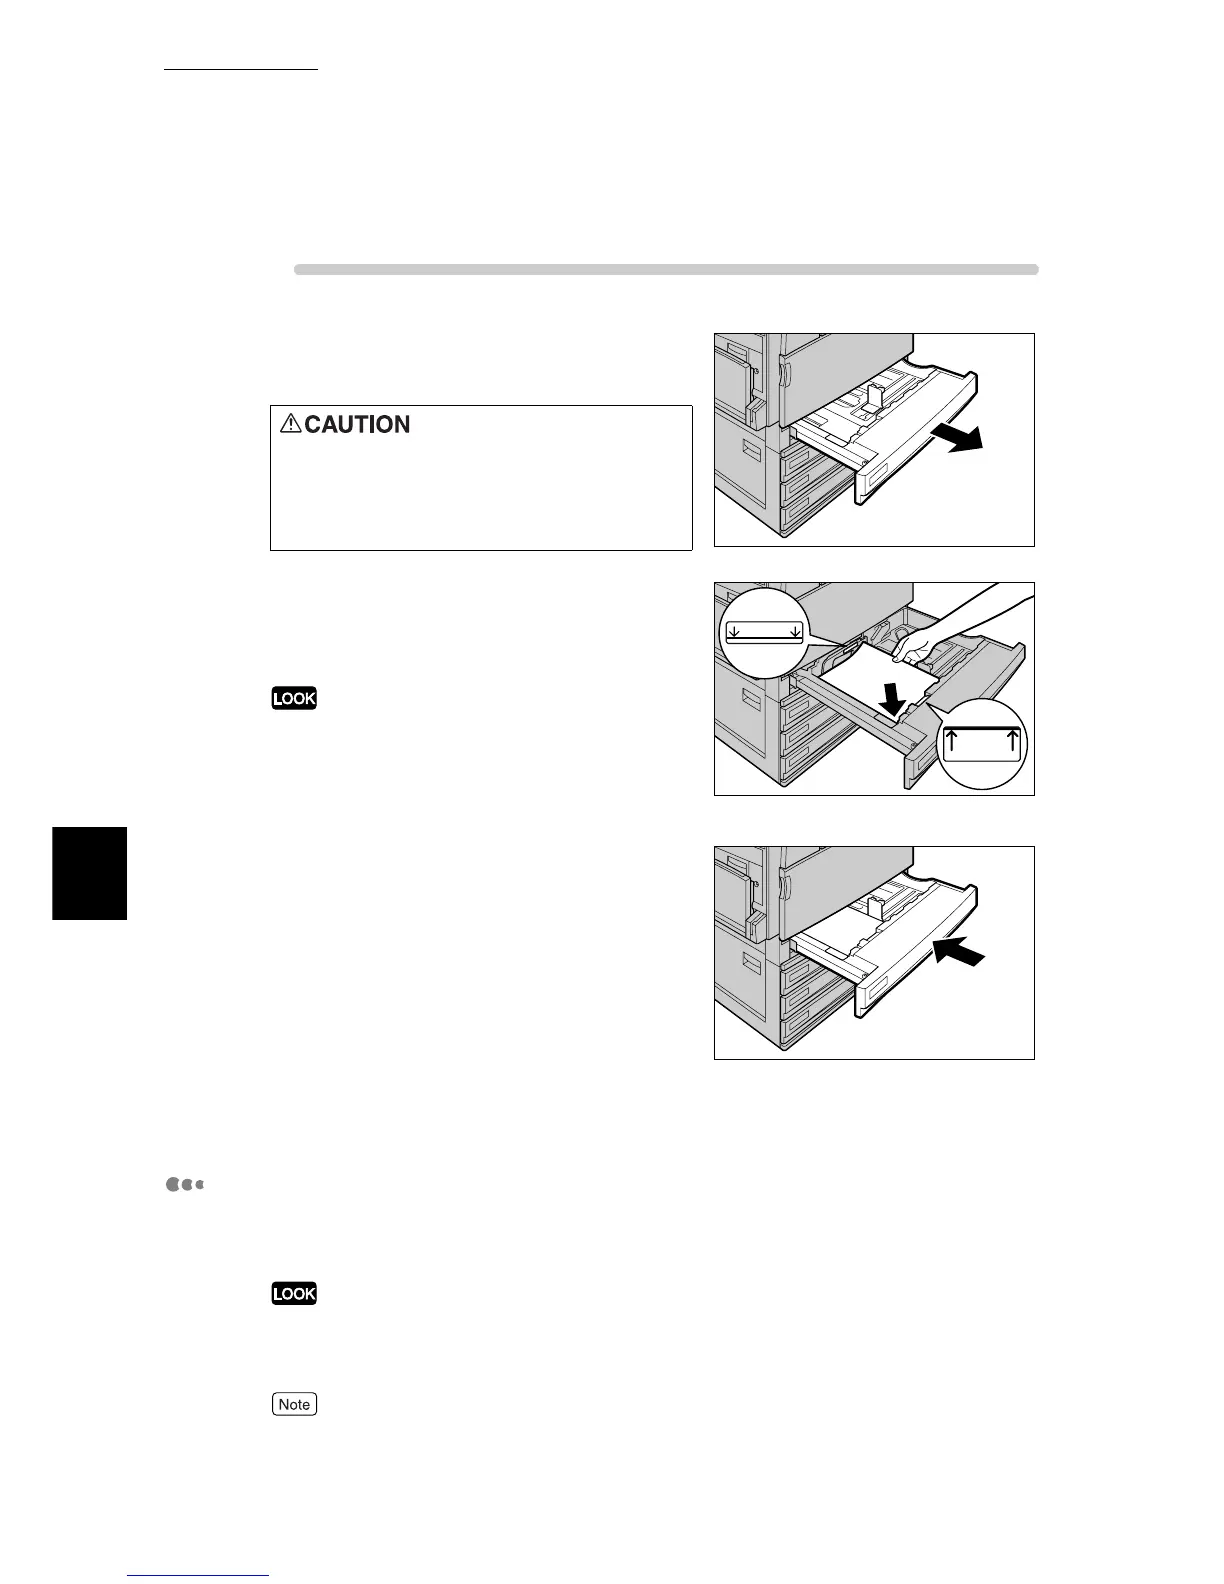
Pull out the tray towards you until it
stops
2
Load and align the edge of the paper
against the left edge of the tray with the
side to be printed on facing up.
Do not load paper exceeding the maximum fill line.
Doing so might cause paper jams or machine trouble.
3
Push the tray in gently until it comes to
a stop.
Printing is automatically resumed when paper is loaded
correctly.
4
On the control panel, set the type of
paper you have loaded.
For how to configure, refer to the next section, "Setting
the type of paper loaded in Trays 1 to 4".
Setting the type of paper loaded in Trays 1 to 4
When special paper is loaded in trays 1 to 4, set that paper type on the control
panel. The printer will control the image quality according to the set paper type.
If the paper setting does not match the paper type actually loaded in the tray, image quality processing
will not be performed correctly. In such a case, toner may not be fused on paper, dirt may appear on
the printed paper, or the print quality may be deteriorated.
The machine automatically detects the size and orientation of paper loaded in trays 1 to 4.
When pulling out a paper tray, do it
slowly. If pulled out with too much
force, the tray can hit and injure your
knees.
MAX
MAX

 Loading...


