System expansions
Installing and removing drives
in the
lower bay (optional)
In the lower bay you can install
a non-accessible 3½ inch drive, two non-accessible 2½
inch drives with a 3½ i nch adap
ter or a non-accessible 2½ inch drive.
Depending on the type of driv
e, fixing to the casing is either by EasyChang e rails or by screw fastening.
Installing and removing a 3½ inch drive o r a 3½ inch adapter
The following procedure de scribes installation and removal using the example of a 3½ inch drive.
The approach is the same for all variants. Any differences are indicated accordingly.
Installing a drive
► Remove the casing cover (see Chapter "Re moving the casi ng cover", Page 36).
► Fold out the drive cage (see chapter "
Opening the drive cage", Page 47).
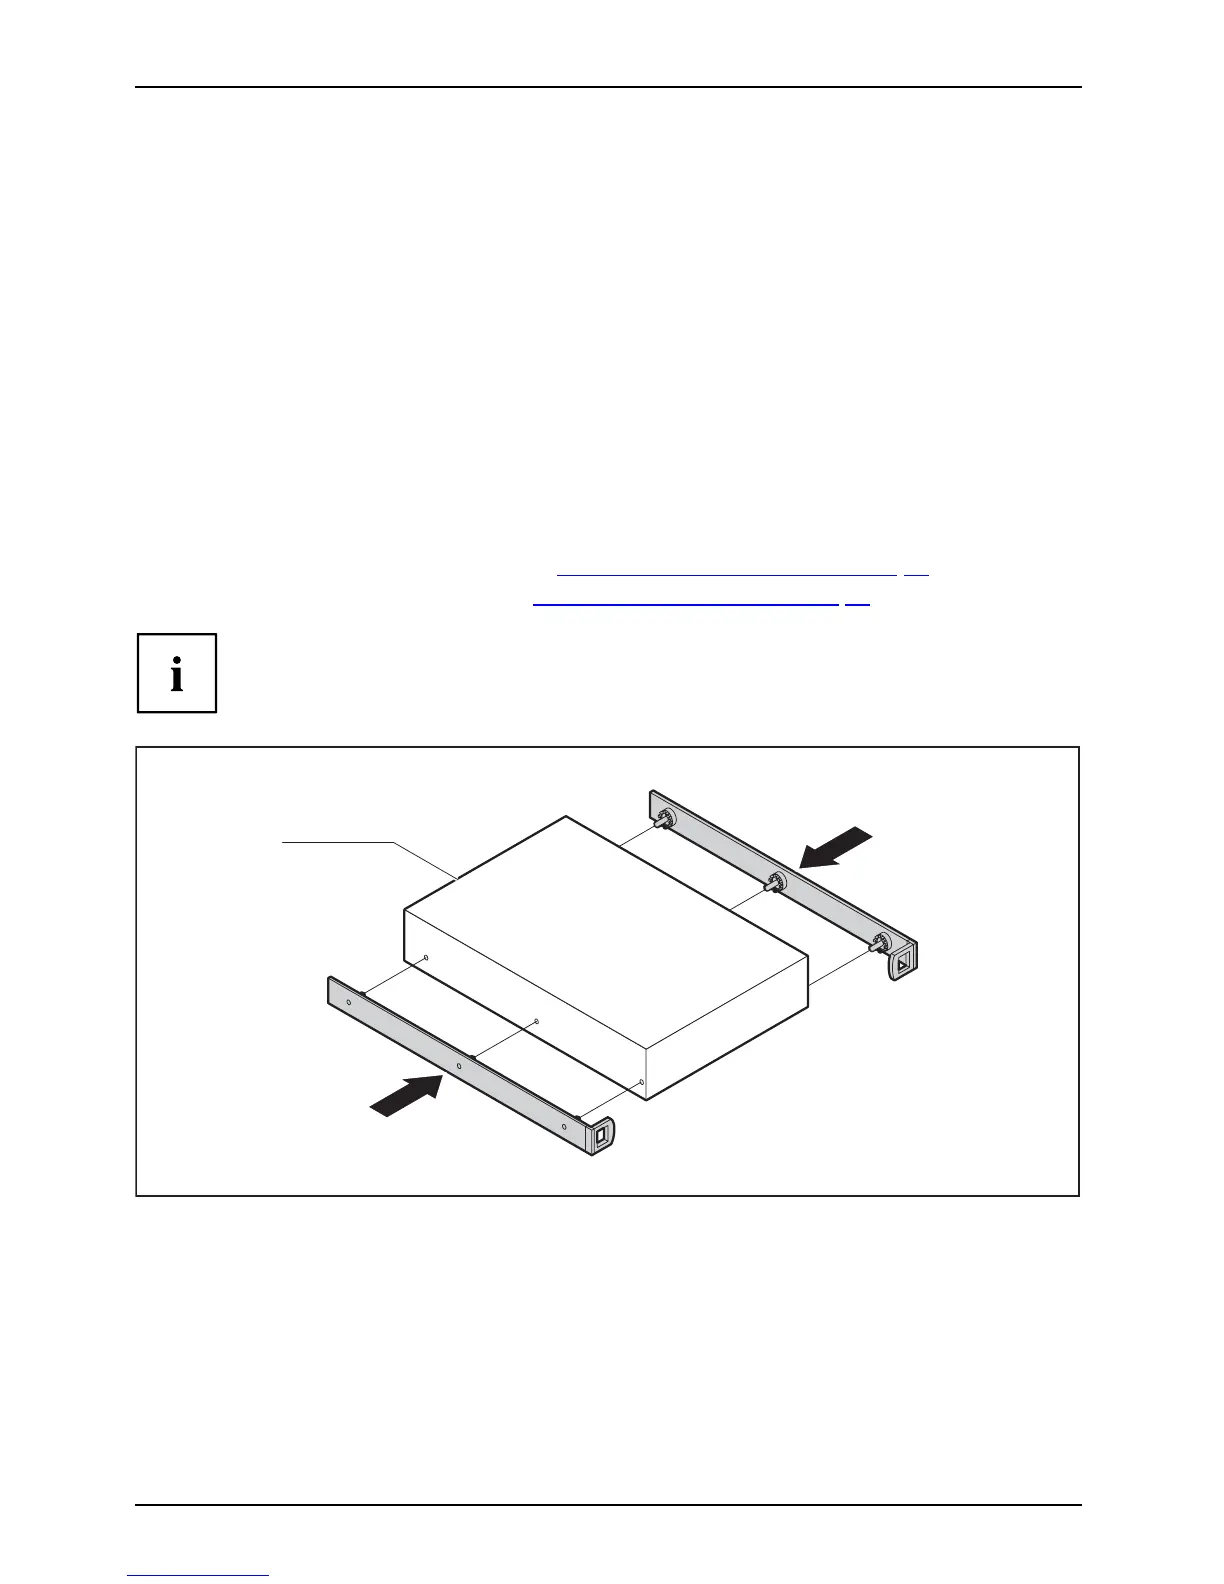
EasyChange rails for the drive are located in the lower bay.
a
► Fasten the EasyChange rails to the side of the drive or adapter by inserting each pin of
the EasyChange rail in the corresponding holes on the drive. In doing so, make sure
that the ports on th e drive are located at the rear as shown (a).
52 Fujitsu
 Loading...