02–TX150S2–88 July 2004 U41057-J19-Z146-1-76
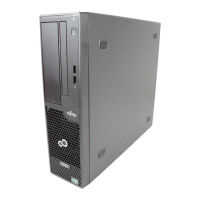
Hard disk subsystem Removal/installation routines
Ê Swing the carrier handle of the hard disk module completely down to enable
the locking button to engage (2).
Removing hard disk module
Ê Solve the locking mechanism by pressing the locking button.
Ê Swing the handle of the hard disk module fully upwards.
Ê Remove the hard disk module.
If a hard disk drive has been removed and no new drive is installed in its
place, then install a dummy cover in the empty bay.
Replacing a hard disk module during operation (hot-plug)
A hard disk drive may only be replaced during operation if the orange
LED on the hard disk module remains lit.
Never pull out a hard disk module during operation if you are not sure that
the hard disk drive is operated on a RAID controller and is part of a disk
array operates in RAID Level 1 or 5.
If you replace a hard disk module during operation, proceed as follows:
Ê Solve the locking mechanism of the hard disk module indicated as defective
by pressing the locking button.
Ê Swing the handle of the hard disk module fully upwards.
Ê Pull out the hard disk module a few centimeters.
Ê Wait at least 60 seconds so that the RAID controller can recognize that a
hard disk module has been removed and the rotation of the hard disk can
come to rest.
Ê Pull the hard disk module completely out.
Ê Solve the locking mechanism of the new hard disk module by pressing the
locking button.
Ê Swing the handle of the hard disk module fully upwards.
Ê Insert a new hard disk module.
Ê Now swing the carrier handle of the hard disk module completely down to
enable the locking mechanism to engage.
!
!

 Loading...