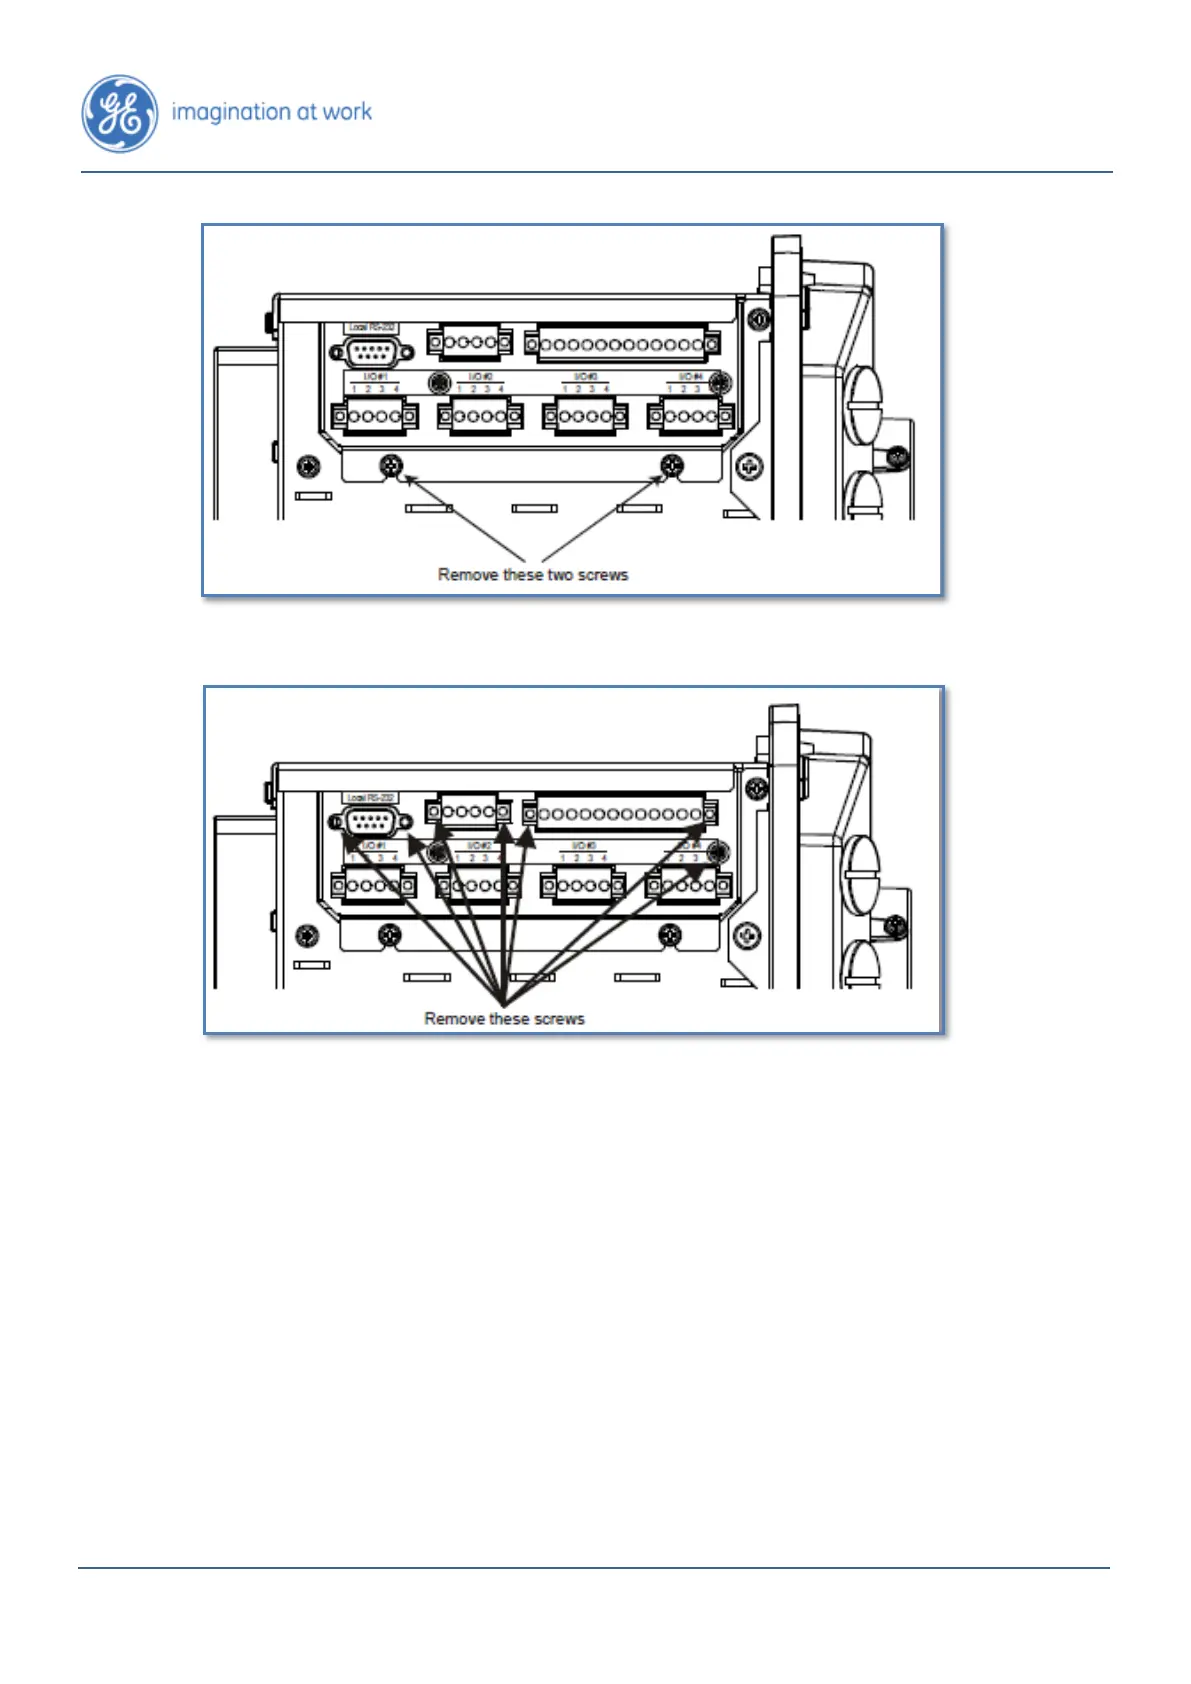
Figure E-2: Removing the I/O Assembly
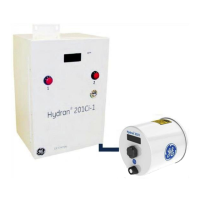
Figure E-3: Removing the I/O Plate
10. Put back and tighten the four screws holding in place the cover plate of the
electronic card cage. See Figure E-1 E-3 above.
11. Put back the Hydran M2-X cover.
12. Put back and tighten the four screws holding the cover in place. See Figure
4-11.
The hardware installation of the I/O interface(s) is now complete.
See the following sections to verify the I/O interface(s) that have just been
installed:
• Analog input: Section 4.2.8.
• Analog output: Section 4.2.9.