DIRECTION 5750007-1EN, REV. 1 LOGIQ E10 BASIC SERVICE MANUAL
Chapter 3 LOGIQ E10 Setup 3 - 29
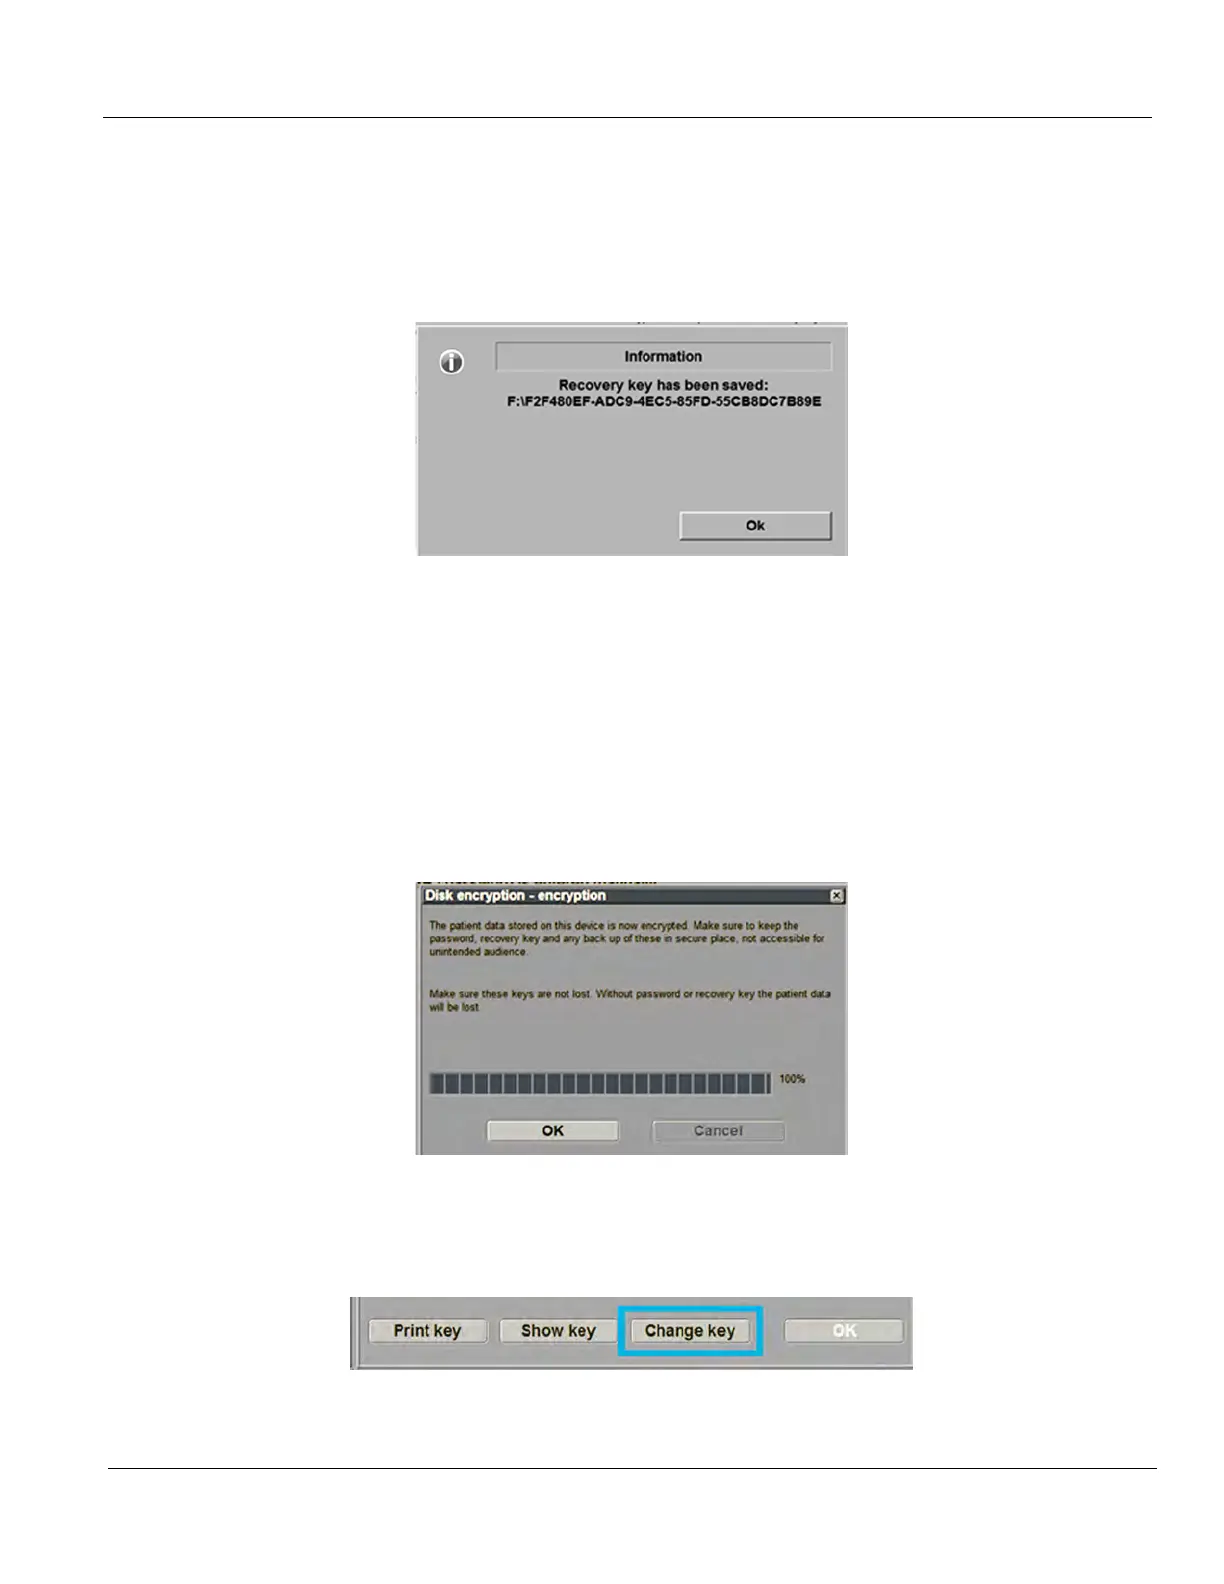
10.)Select Change key if there is a need to create a new key.
NOTE: DO NOT use the USB media for ANY other storage. This should be used for recovery key
storage ONLY.
11.)Select Save and the recovery key will be displayed one more time.
12.)If you have not already written the key down you can do so now before moving on.
NOTE: It is important to write down or take a print of the password and recovery key. Store these and
the USB key in a secure location.
The displayed recovery key string shown is an example and not a real recovery key. The
generated key will always be different.
13.)Select Ok to continue.
14.)Encryption of data will begin. This may take up to 90 minutes the first time. After the initial encryption
there is no long process for daily use.
15.)If the recovery key needs to be changed, the disk encryption can be performed again. Insert the
USB flash drive and select Change key.
After the disk is encrypted, you will be required to unlock the disk at each startup of the system.
The unlock dialog box will appear when the new patient or print button is pushed.
Figure 3-15 Disk Encryption - Recovery Key Window
Figure 3-16 Disk Encryption - Encrypting Window
Figure 3-17 Disk Encryption - Change key