DIRECTION 5750007-1EN, REV. 1 LOGIQ E10 BASIC SERVICE MANUAL
8 - 12 Section 8-4 - Loading / Reloading / Upgrading the Software
Overview
The Hard Disk Drive on LOGIQ E10 is divided into five partitions.
NOTE: The Hard Disk Drive on LOGIQ E10 has three visible partitions (two partitions are hidden).
When installing (and re-installing) software, you get the choice to either replace all the contents on the
Hard Disk Drive, or only install the software on the C: partition. If you chose to replace all the contents
on the Hard Disk Drive, all stored data, including all set-up data will be lost. It is considered to be the
best practice to always move images away from the Hard Disk Drive, do backup of databases etc. and
record important configuration data on paper before starting a software load or reload, as described
earlier in this section.
The software is delivered on one Thumb Drive with the Base Load Image and LOGIQ E10 Application
Software. In some cases, a second Thumb Drive with a software patch, may also be included. A
software patch is used when a few new files should be installed or changed, but the changes do not
require a complete software load.
When installing the software, start with the system software, then the application software and if
included, install the patch software at the end. This is described in detail over the next pages.
NOTE: System Software may also be referred to as the Base Image or Ghost.
Before the System Software Load, you must perform the following steps:
• contact the customer to allow enough lead time to back up the system.
• be sure no images are in the clipboard or opened exams.
• review troubleshooting section to collect information for future analysis if you are troubleshooting
loss of image or patient data.
• disconnect the system from the network and remove all transducers from the system.
• be sure all USB devices (printers only) are connected and turned on (except for USB Flash Drives).
If a printer is plugged in at this time, it is automatically installed.
• save all Service Presets to restore remote connectivity after software installation is completed.
• save all User Presets.
NOTE: After a full or partial system software load, confirm the Windows automatic Daylight Saving
Time feature is turned off (Utility -> System -> General -> Date/Time -> Time Zone tab ->
Automatically Adjust Clock checkbox). Be sure the system and DVR date, time and time zone
are set correctly.
NOTE: System and Application software disables the Run window normally accessed from Start ->
Run, and the mouse right-click (left set key) feature.
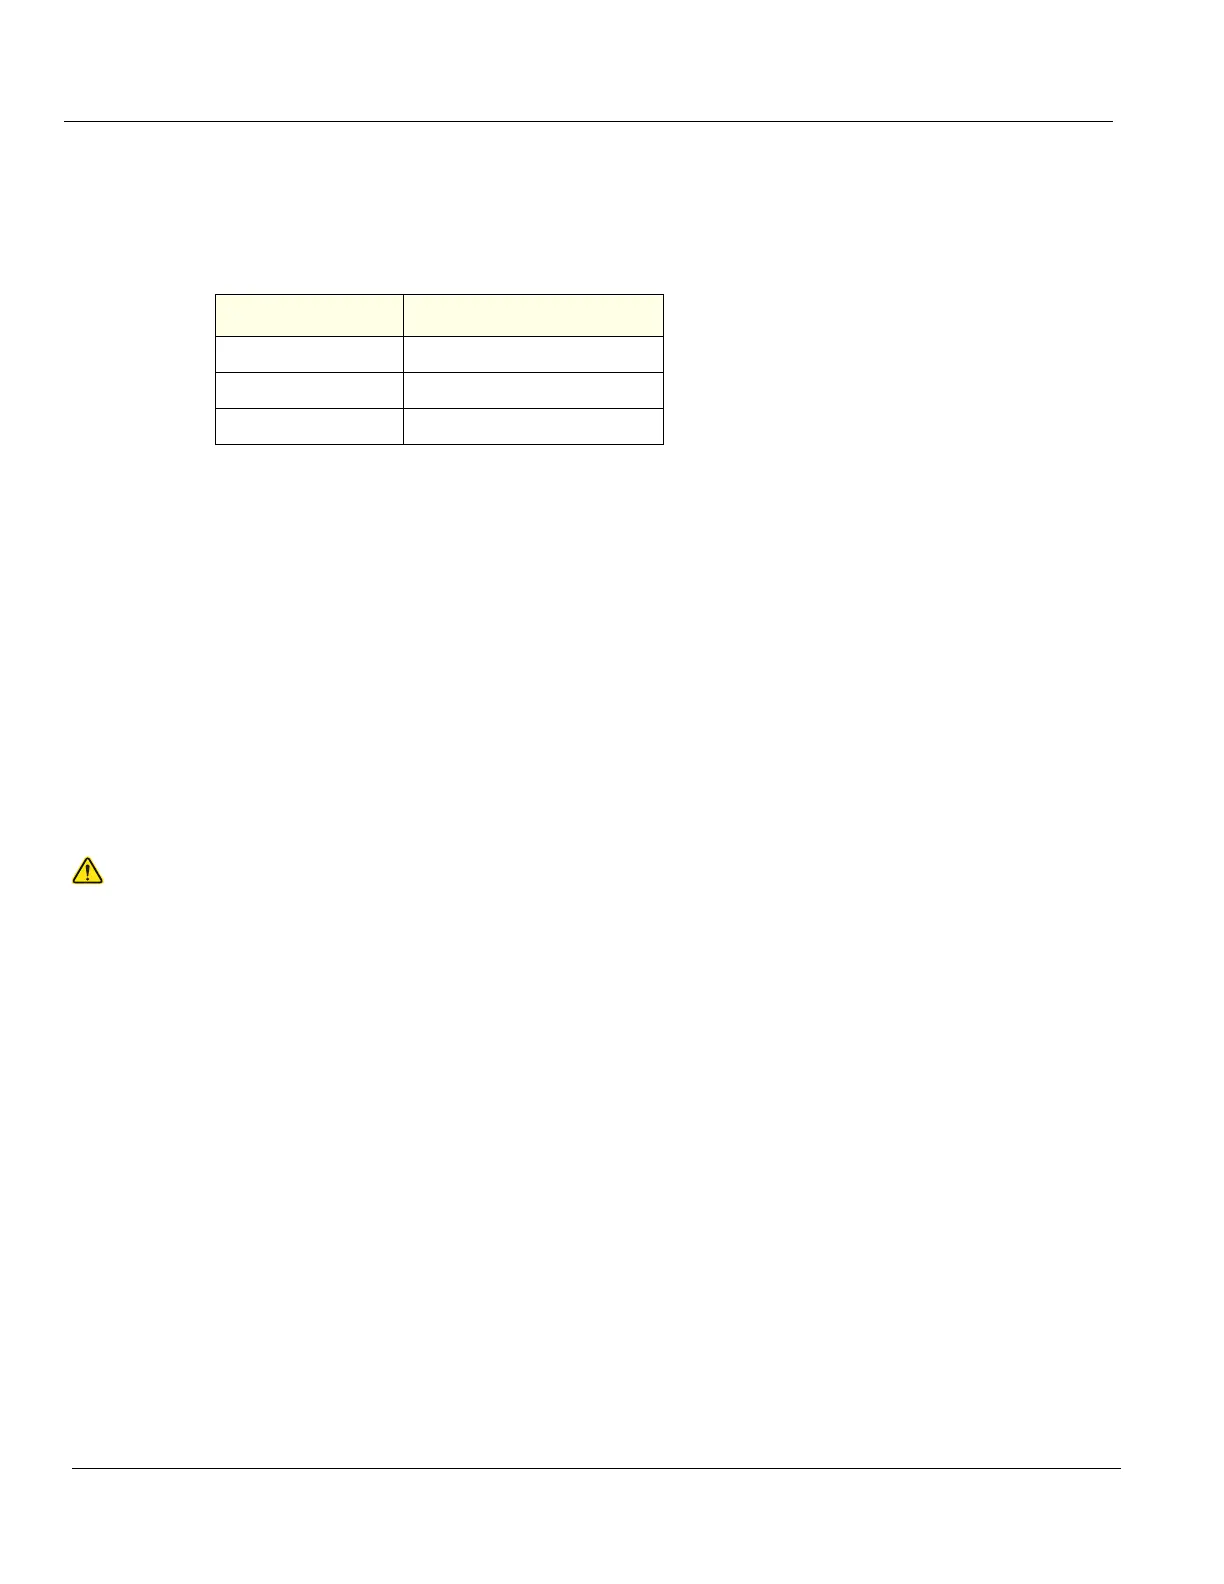
Table 8-6 Use of the Partitions
DRIVE LETTER LABEL
C: SYSTEM
D: USER
E: ARCHIVE
WARNINGWARNING
WHILE THE SOFTWARE INSTALL PROCEDURE IS DESIGNED TO PRESERVE DATA,
YOU SHOULD SAVE ANY PATIENT DATA, IMAGES, SYSTEM SETUPS AND
CUSTOMER PRESETS TO CD, DVD OR HARDCOPY BEFORE DOING A SOFTWARE
UPGRADE