DIRECTION 5750007-1EN, REV. 1 LOGIQ E10 BASIC SERVICE MANUAL
8 - 34 Section 8-6 - Replacing Covers and Bumpers
Side Cover(s)/Side Air Intake (Filter) removal
The Side Covers are attached to the LOGIQ E10 with tabs at the top, inside of the Cover and slots in
the Top Cover, and three self-clinching studs. One is located at the front, center and two are located at
the bottom of the cover. An M4 screw, is also located at the bottom, center of the cover.
NOTE: When the Side Cover(s) are removed, always inspect the filter for debris, blockage or damage.
If the Filter is blocked, clean it. If the Filter is damaged, replace it. If the Side Covers are
replaced, the Filters must be transferred to the replacement cover.
Table 8-23 Side Cover(s)/Side Air Intake (Filter) inspection / removal
Steps Corresponding Graphic
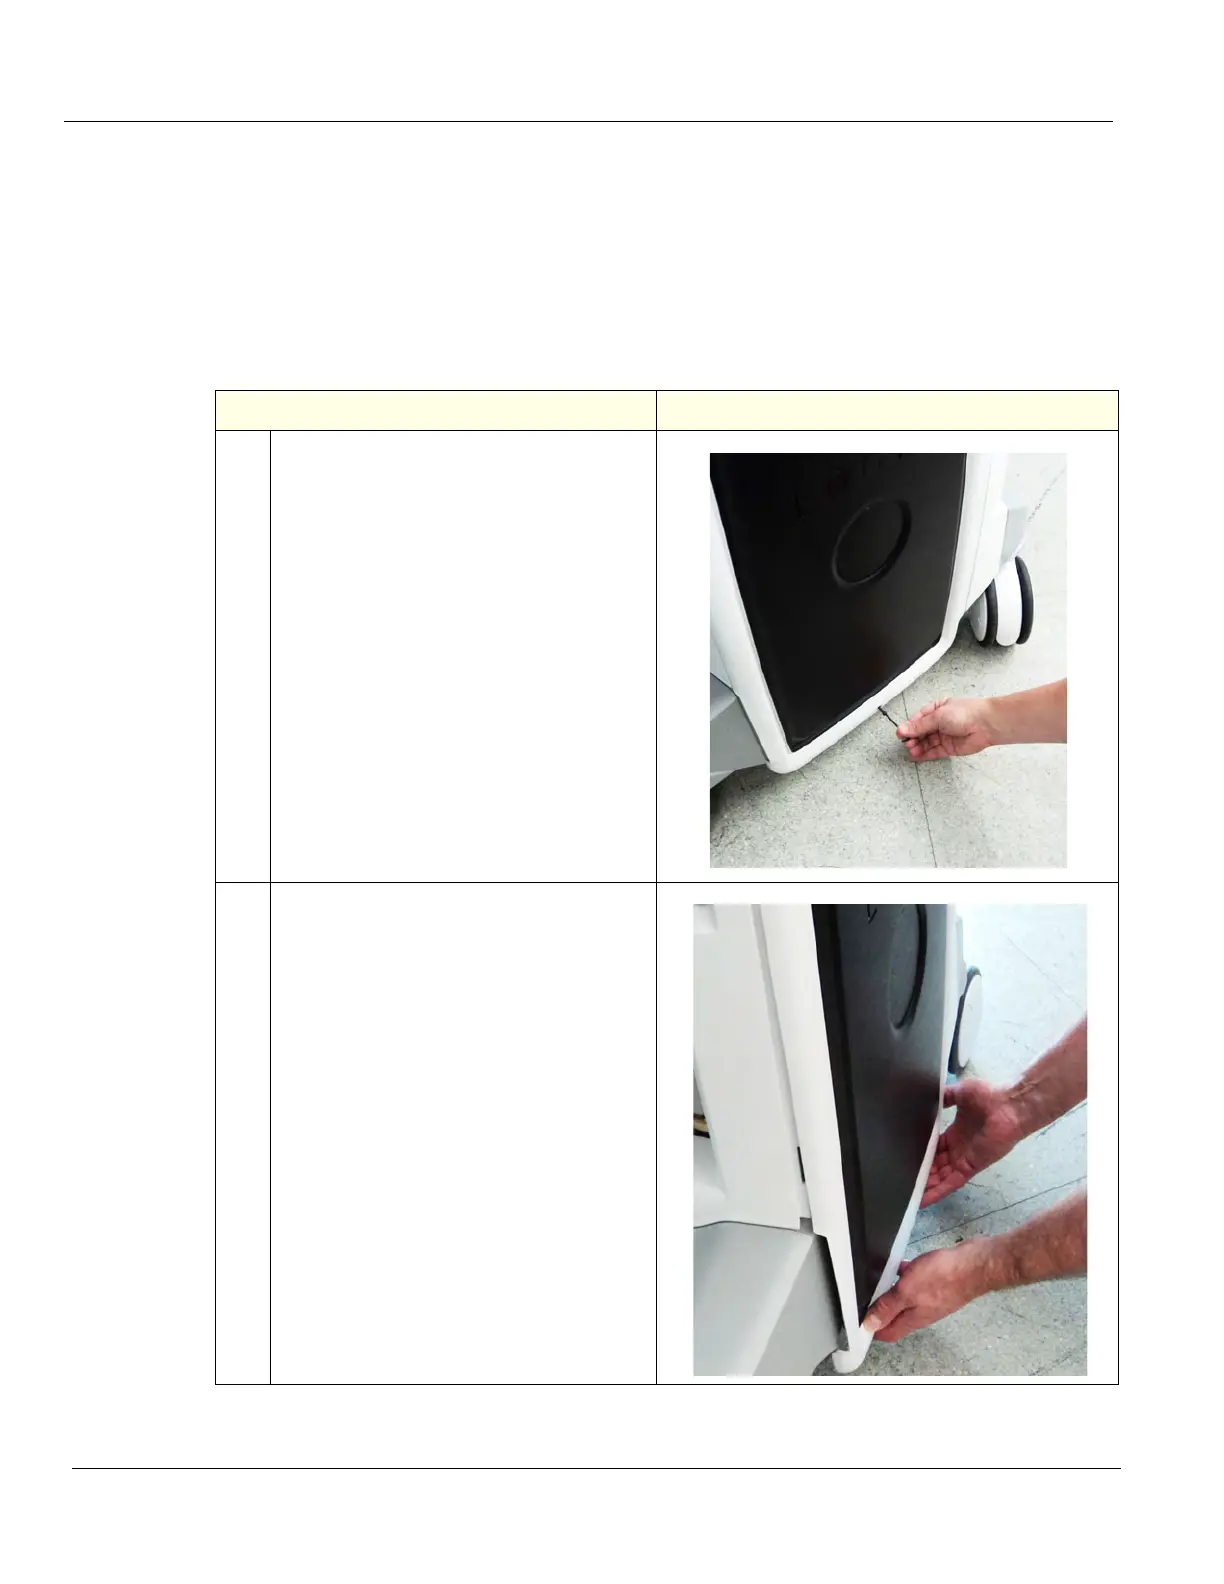
1.
Activate the caster brakes.
Remove the Side Cover screw, using a 3
mm hex wrench.
2.
With both hands at the bottom, outer edge
of the cover, gently and evenly, pull the
cover out and lift up.
Repeat steps for the opposite side.
Set cover(s) in a safe place.