DIRECTION 5750007-1EN, REV. 1 LOGIQ E10 BASIC SERVICE MANUAL
Chapter 8 Replacement Procedures 8 - 47
Rear Cover/Air Exhaust installation
NOTE: When installing the Rear Cover place the Mains Power Cable clamp in so it will clear the cover
installation. The cover should be flush with the Circuit breaker and ON/OFF panel and Rear
I/O panel when installed.
Table 8-43 Rear Cover/Air Exhaust installation
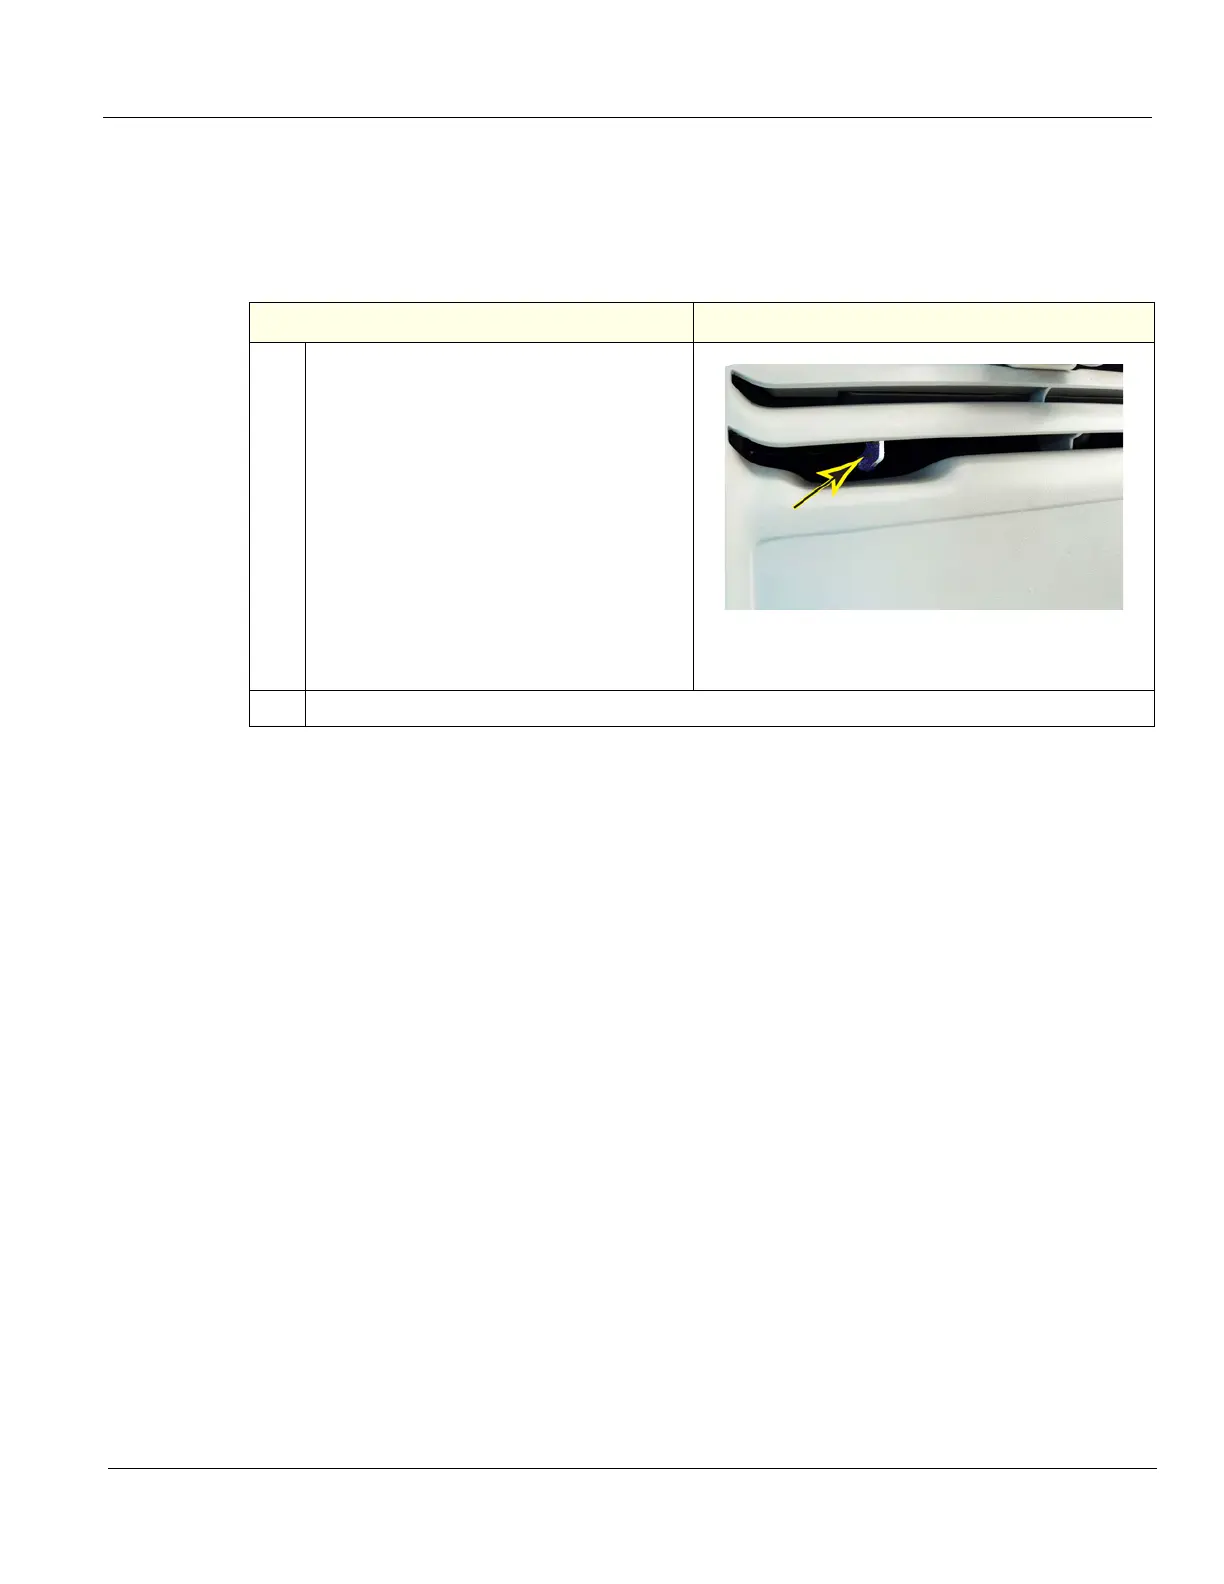
Steps
Corresponding Graphic
1. Position the lower edge of the Rear Cover
into place on the rear of the Rear Bumper/
Air Intake. Make sure the Z-Mech manual
release lever is accessible when position-
ing the cover.
Align the Cover mounting holes with the
Frame and install screws on each side, al-
ternately.
NOTE: These mounting screws are self-
tapping screws into plastic. Hand tighten
and use care during installation, DO NOT
overtighten. MAKE SURE there is no gaps
between the screws, cover or mounting sur-
face.
2. Re-install all Covers removed and Mains Cable Hook.