DIRECTION 5750007-1EN, REV. 1 LOGIQ E10 BASIC SERVICE MANUAL
8 - 56 Section 8-6 - Replacing Covers and Bumpers
Top Cover removal
The Top Cover is attached to the LOGIQ E10 with two Bin Pivot Brackets, at the rear. One Pivot Bracket
on each side. The Pivot Brackets are secured to the Cover Supports.
Top Cover installation
Table 8-57 Top Cover removal
Steps
Corresponding Graphic
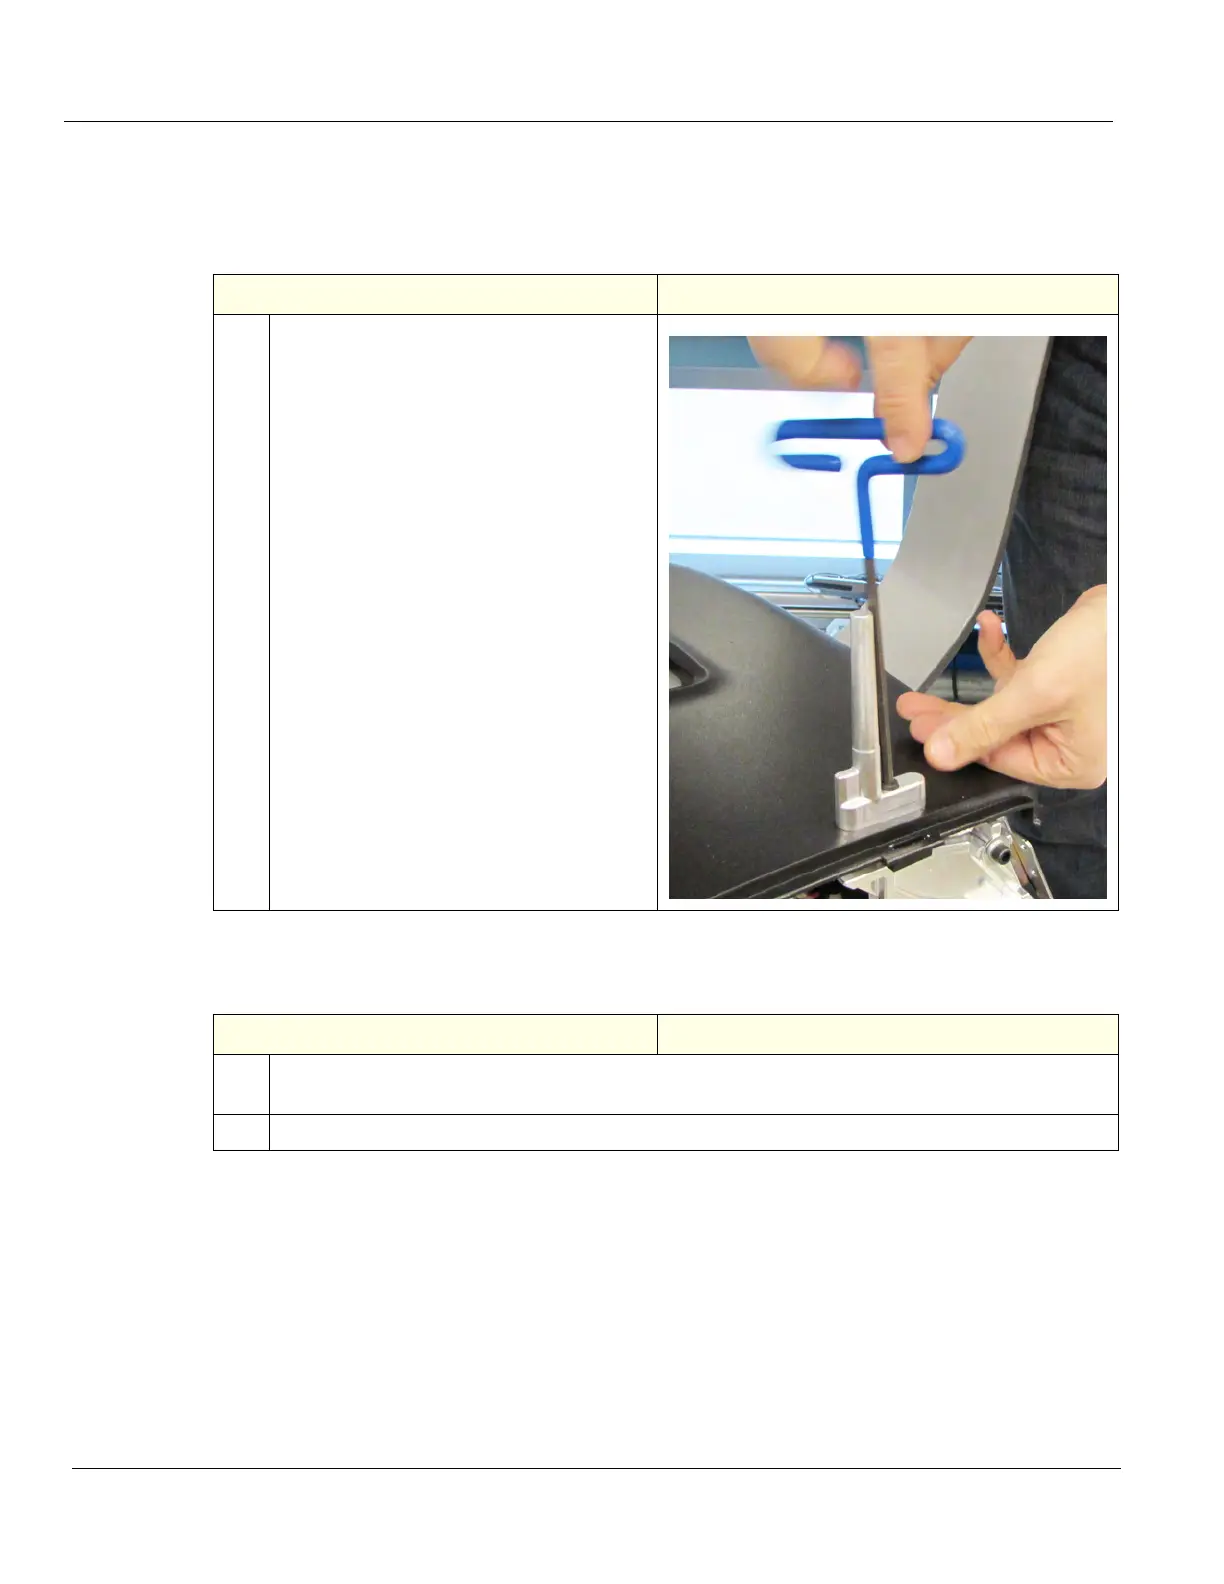
1. Remove the Bin(s) Option by lifting the
Bin(s) straight up. Place in a safe location.
Remove the two screws that secure the Bin
Pivot Brackets and the Top Cover, using a
5 mm hex wrench.
Remove the Bin Pivot Brackets.
Gently lift up and away to remove the cover.
NOTE: If the Bin Pivots are not present, the
Top Cover retainers are removed in the
same manner, except a 4 mm hex wrench
is required.
Table 8-58 Top Cover Installation
Steps
Corresponding Graphic
1. Position Top Cover onto the Cover Supports.
Re-install the two screws to secure the Bin Pivot Brackets or No-Bin Plugs and the Top Cover.
2. Re-install all Covers removed.