DIRECTION 5750007-1EN, REV. 1 LOGIQ E10 BASIC SERVICE MANUAL
Chapter 8 Replacement Procedures 8 - 149
Upper Op Encoders/Joysticks
If replacing the Upper Op Encoders, ONLY remove the Upper Op and Lower Op, then replace the
Encoder(s). Follow Step in 8-7-15 "Lower Bezel replacement" on page 8-144 and Perform Functional
Checks.
Table 8-172 Upper Op Encoders/Joysticks replacement
Steps Corresponding Graphic
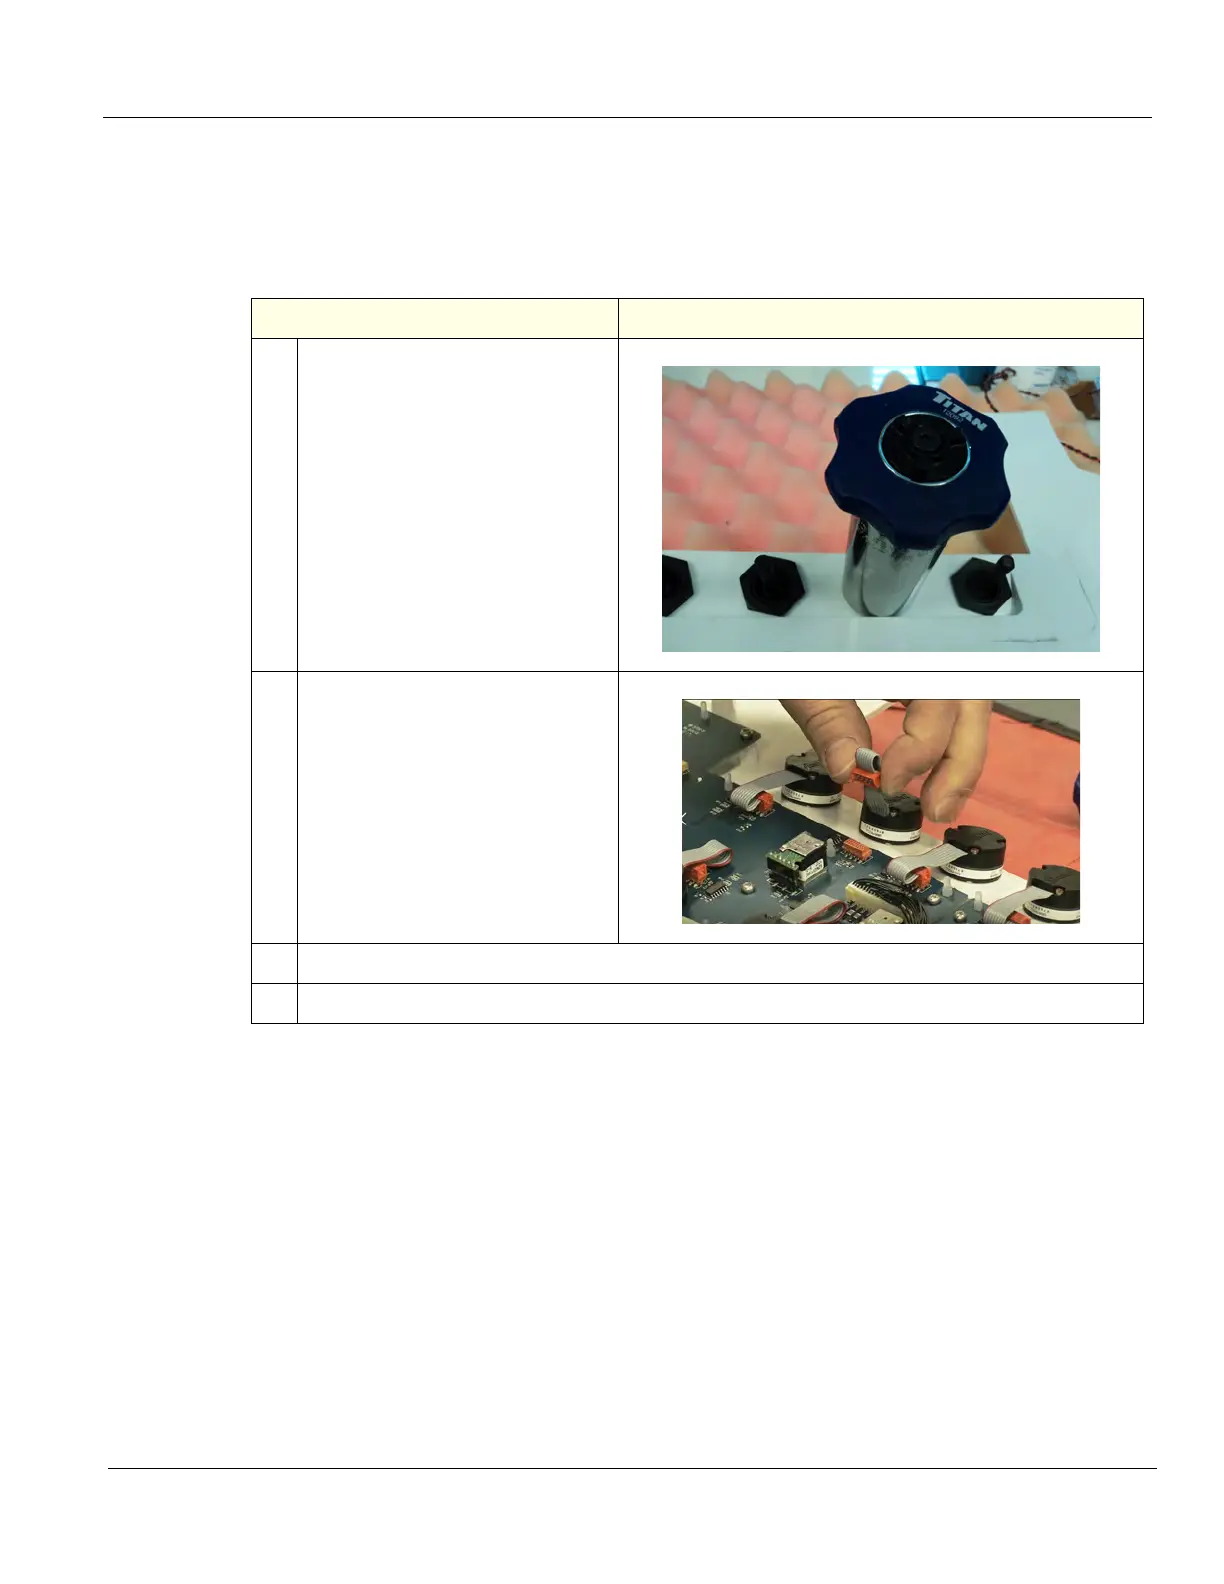
1. Loosen the Encoder nut(s), using a
24 mm socket or an adjustable
wrench and remove the nut(s).
2. Disconnect the Encoder(s) for the
Upper OP/Touch Panel.
Grasp the connector and pull
straight away from the board.
3. Replace Encoder(s) as necessary. Secure the Encoder(s).
4. Re-install Lower Op, Upper Op and all Covers removed.