DIRECTION 5750007-1EN, REV. 1 LOGIQ E10 BASIC SERVICE MANUAL
Chapter 8 Replacement Procedures 8 - 371
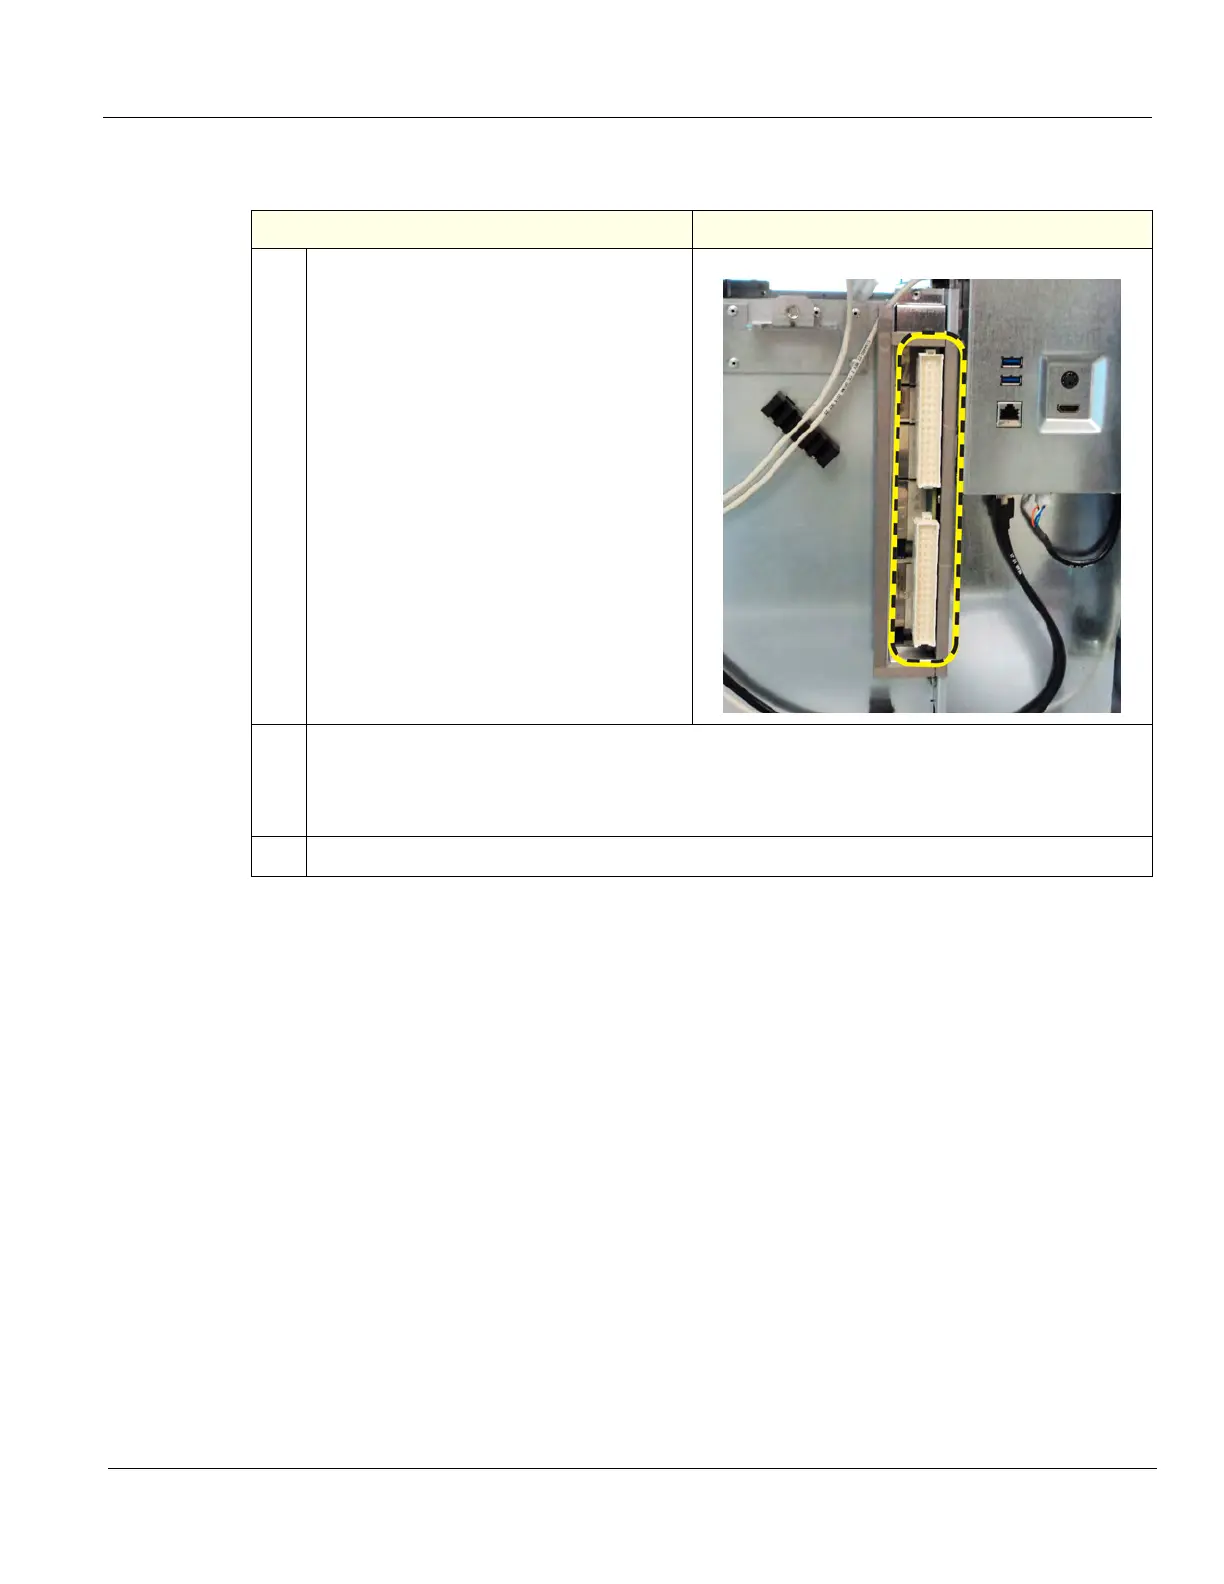
Main Power Supply installation
Table 8-378 Main Power Supply installation
Steps Corresponding Graphic
1.
Ease the PS onto the fang bracket (located
at the top mounting screw), while
supporting the PS at the bottom center.
Push/slide the entire PS forwards until the
connectors from the PS are seated to the
connectors on the Backplane (shown).
Attach the lockwasher and flat washer onto
the screws and re-install the three screws
to secure the PS, using a 5 mm hex
wrench. Torque: 10 Nm {7.4 lbf-ft}.
2.
Re-connect the PS Cables:
P6 - USB to ECB J8.
P8 - 24VDC to Printer, if present.
P9 - 48VDC to XYZ Controller.
3.
Re-install all Covers removed.