DIRECTION 5750007-1EN, REV. 1 LOGIQ E10 BASIC SERVICE MANUAL
8 - 428 Section 8-16 - Options replacement
Printer (Digital Graphic) removal
For location of the Option in the LOGIQ E10, see: Table 8-401 "LOGIQ E10 Option Location" on page
8-408.
Table 8-423 Removal
Steps Corresponding Graphic
1.
Raise the Upper OP to the highest position.
2.
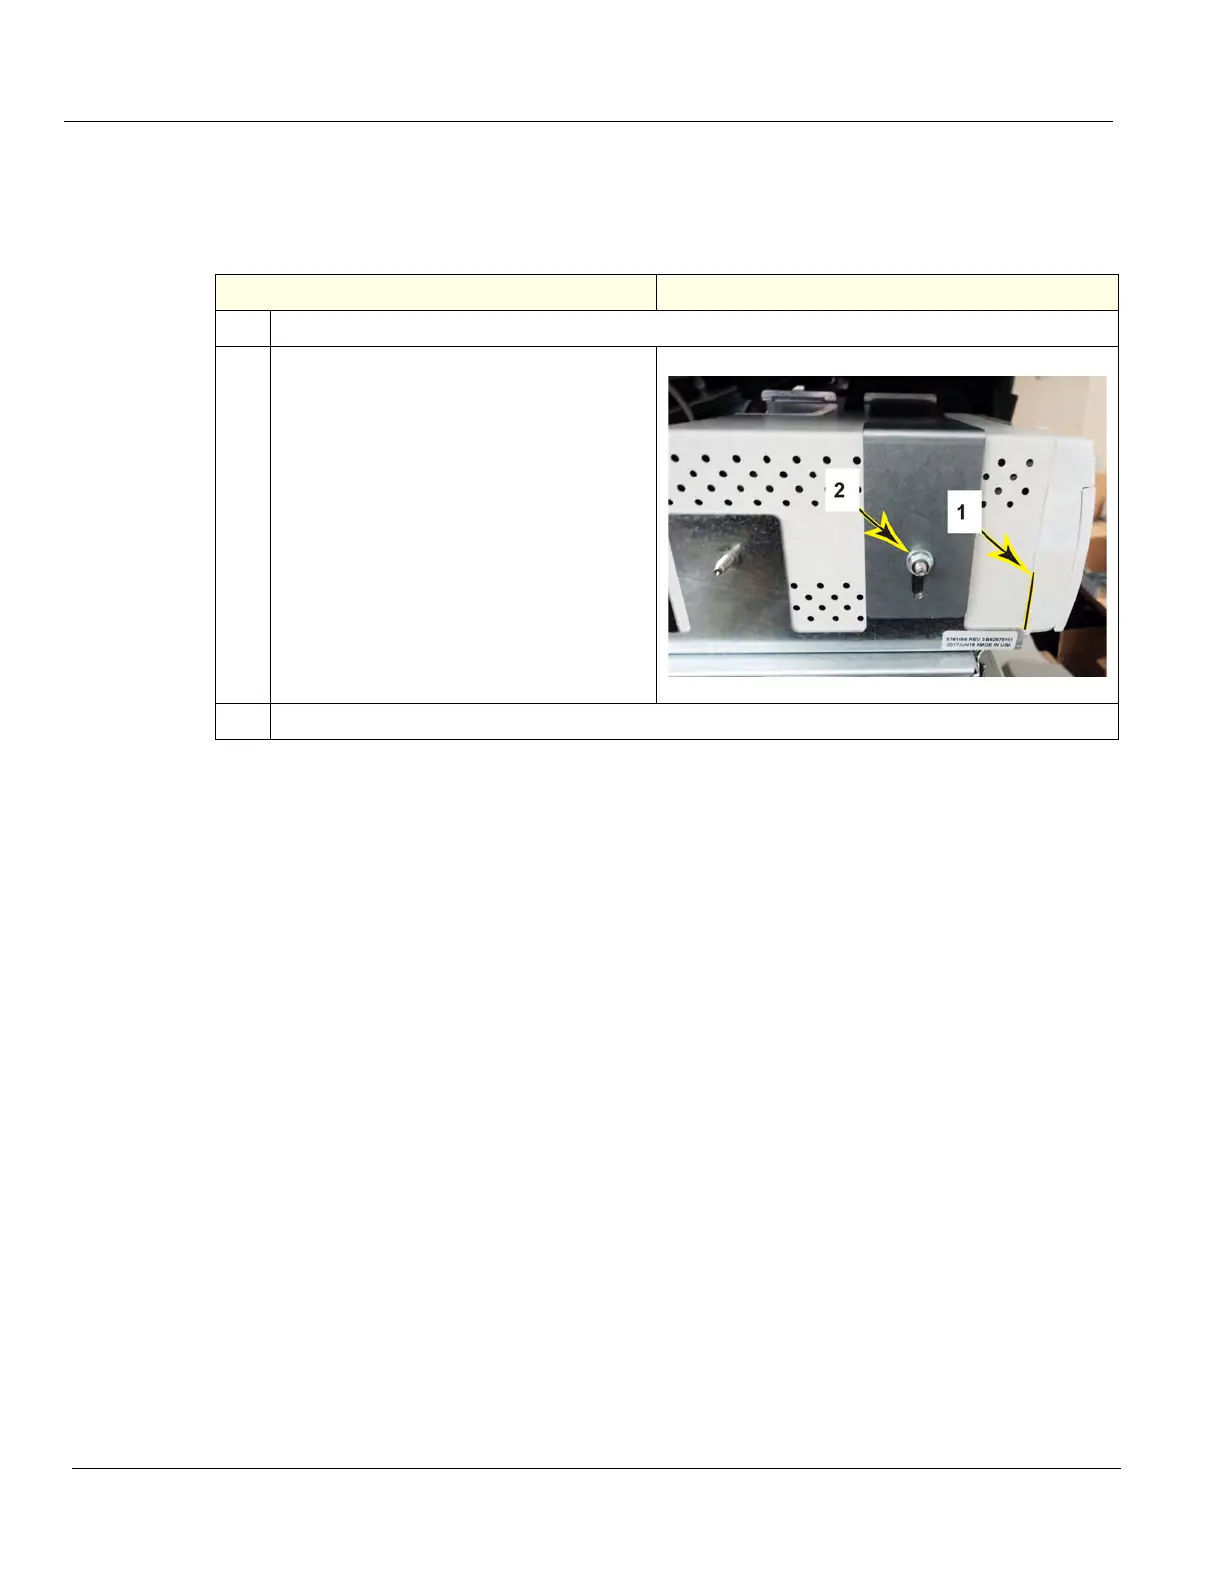
Note the location of the Printer in the fixing
bracket of the Tray. The leading edge of the
Printer housing (1), is aligned with the
leading edge of the Tray. When the
replacement Printer is installed, it should
be in this same position.
Remove the flange nut (2), using a 7 mm
driver and release the fixing bracket.
Disconnect cables from the back of Printer,
from the Power Supply and the ECB I/O
panel.
3.
Slide the Printer out of the Tray.