DIRECTION 5750007-1EN, REV. 1 LOGIQ E10 BASIC SERVICE MANUAL
8 - 432 Section 8-16 - Options replacement
Shear Wave Option removal
For location of the Option in the LOGIQ E10, see: Table 8-401 "LOGIQ E10 Option Location" on page
8-408.
Shear Wave Option installation
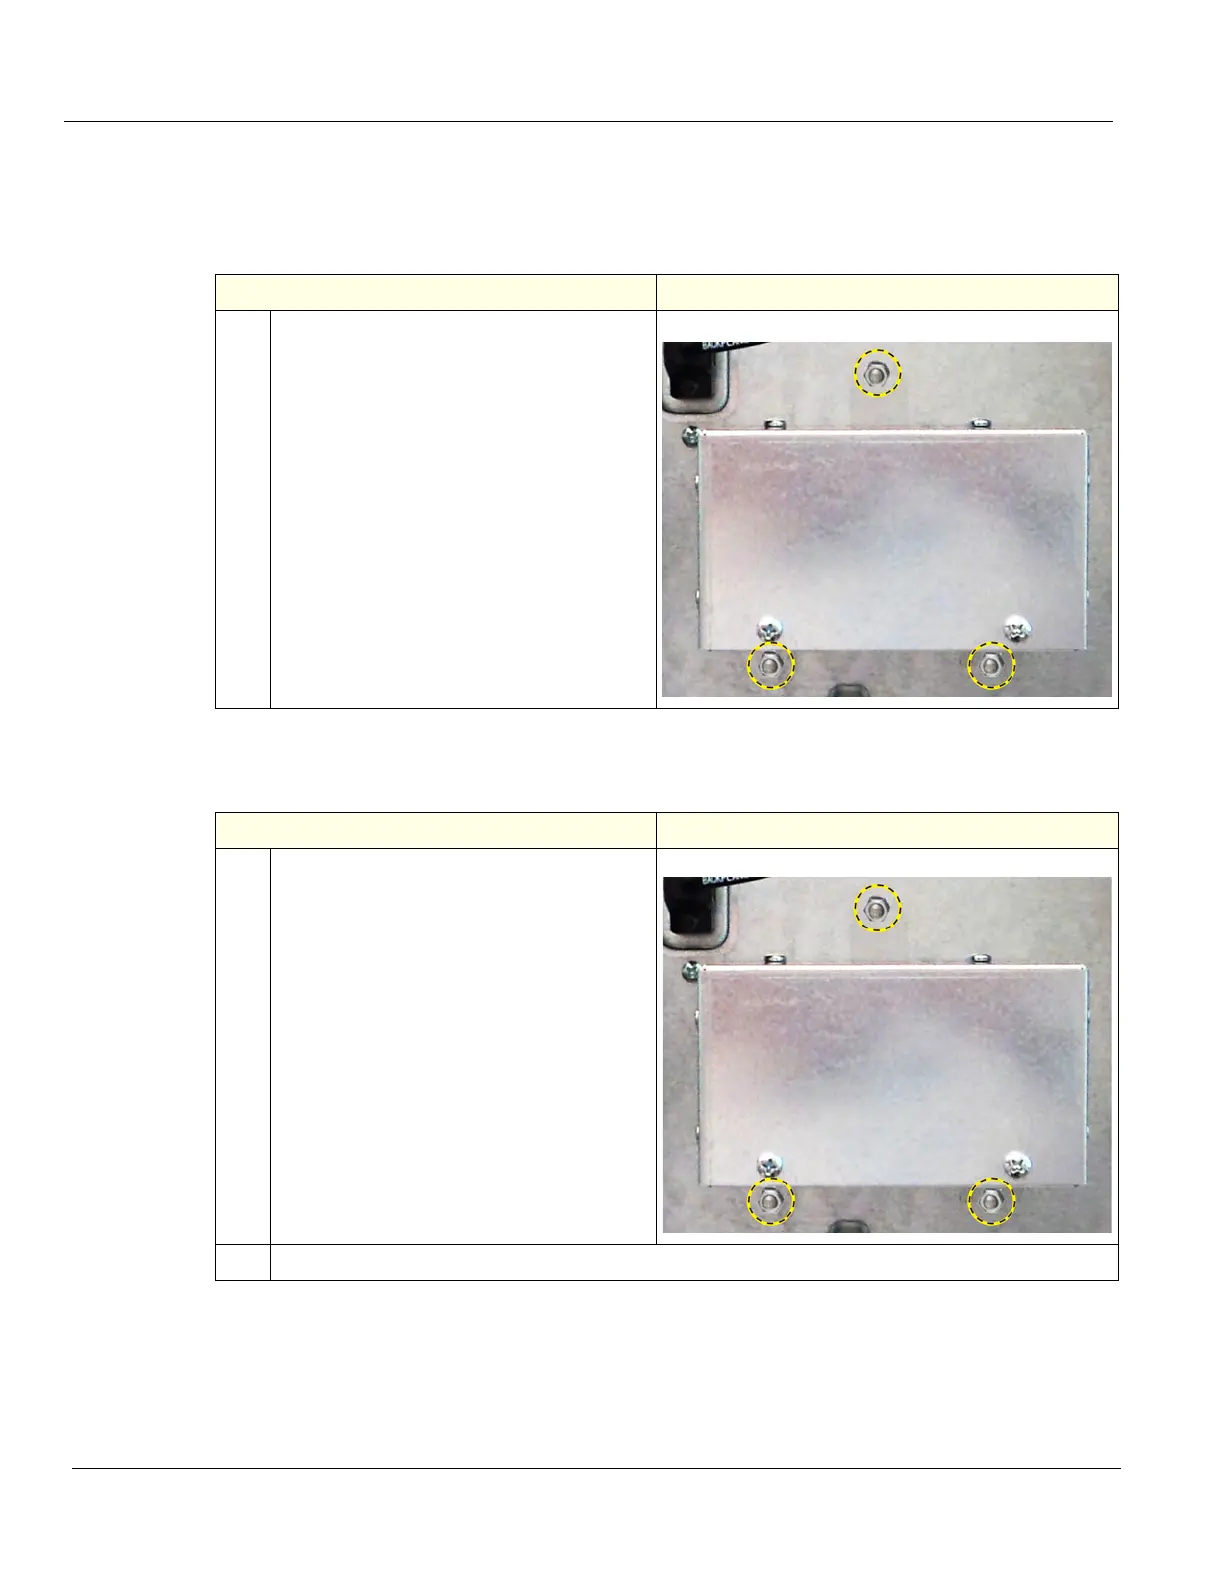
Table 8-428 Shear Wave Option removal
Steps Corresponding Graphic
1.
Remove the three flange nuts securing the
Shear Wave Capacitor Pack, using a 7 mm
driver.
With two hands, slide the Capacitor Pack
from the Backplane.
Table 8-429 Shear Wave Option installation
Steps Corresponding Graphic
1.
Align the mounting holes for the Capacitor
Pack.
With two hands, gently slide the Capacitor
Pack to the Backplane. The Pack will
support itself on the options bracket.
Re-install the three flange nuts removed to
secure the Pack to the options bracket.
Torque: 1.5 Nm (1.1 lbf-ft).
2.
Re-install Left Side Cover.