Getting Started 7
3.
From the Devices box, click on enVision 750 or 375 to highlight it. If more
than one plotter is connected to your system, highlight the enVision, then
click Preferences to set the enVision as the default plotter.
4.
Click on the port to which the plotter is connected (COM1, COM2, COM3,
or COM4) in the Ports box.
5.
Click on Add. The enVision appears in the Ready for Plotting list box.
6.
Click on Continue and exit GSP Setup.
Using the control panel and menus
The plotter's control panel contains 10 keys that perform functions such as
positioning the tool head, starting and pausing jobs, and changing settings. The
display on the control panel changes to provide information about the status of
the plotter and offer menu choices.
Note: For an outline of the menu structure, please refer to the reference card at
the back of this manual.
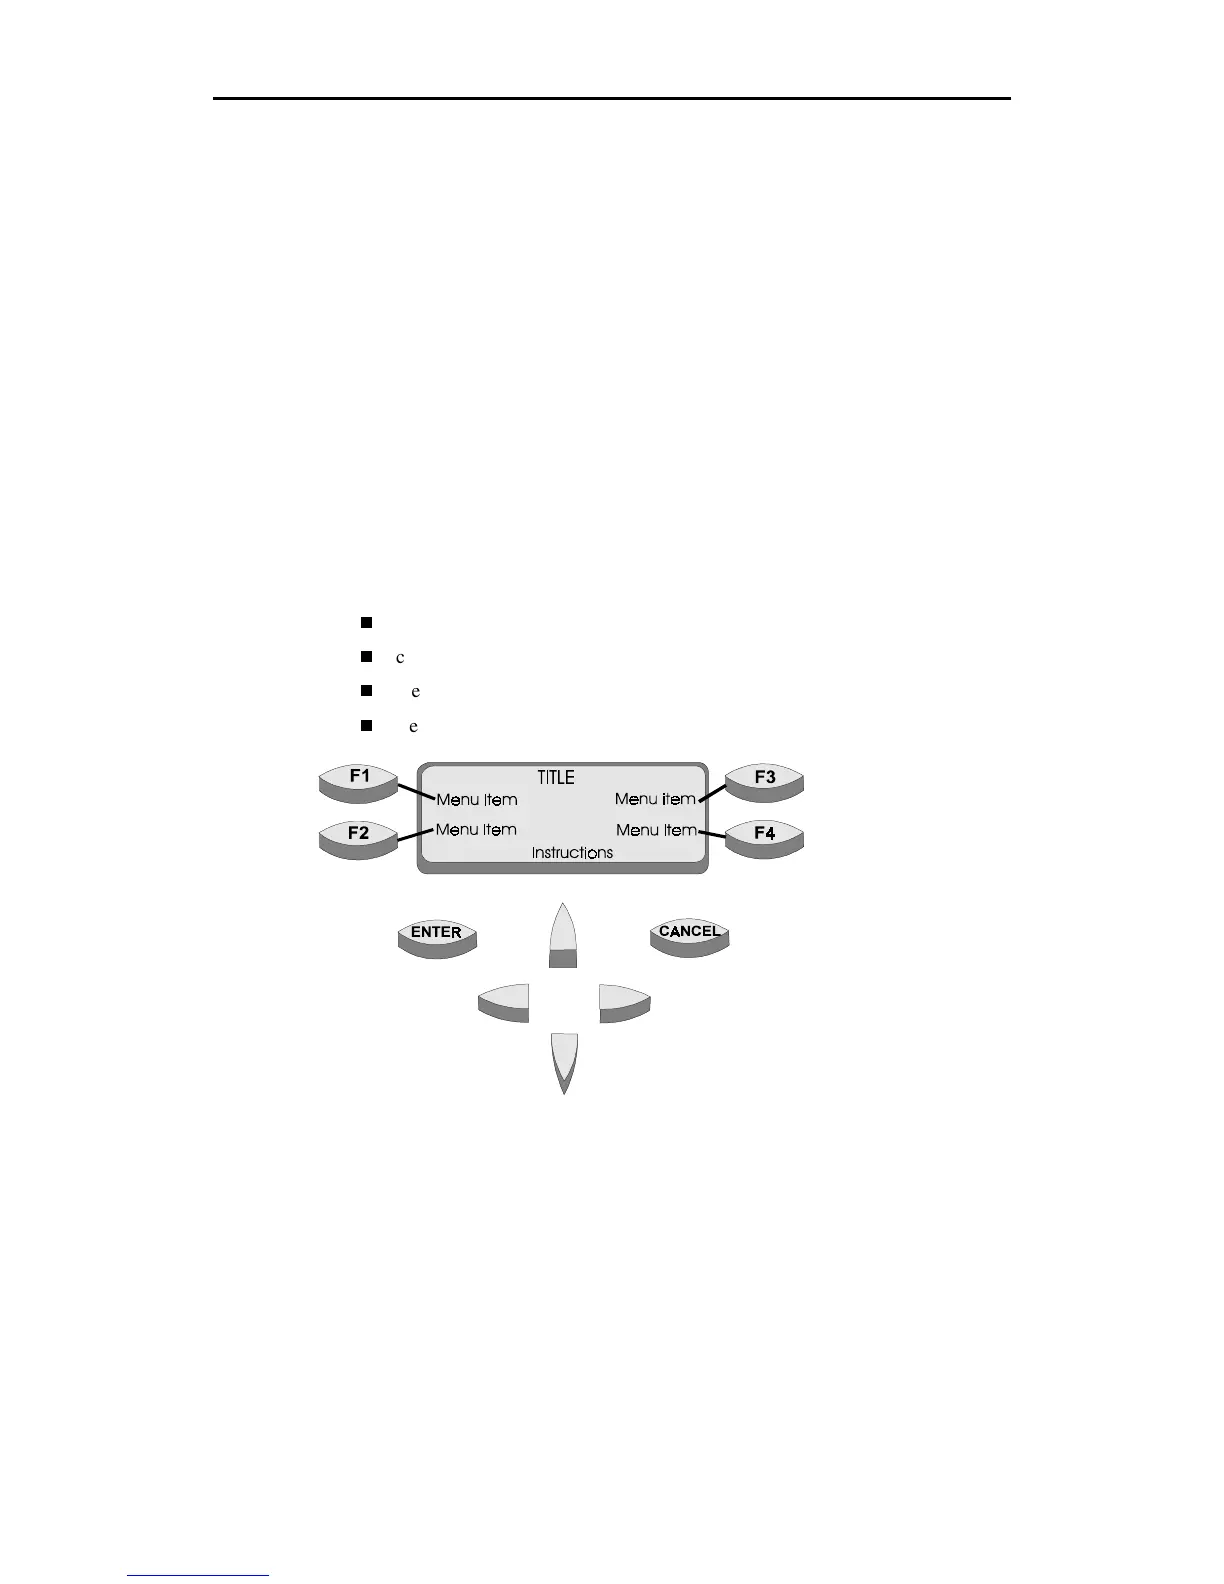
The control panel consists of:
message display
control keys (ENTER and CANCEL)
menu selection keys (F1, F2, F3, F4)
slew keys
ote: Function keys are
associated with text in the
message display.