Getting Started 5
Turning on the plotter
When you turn on power, the plotter performs a check and initialization
sequence. The three closely-spaced material alignment pins move to the up
position, the tool head taps the right stop, then moves about 2" (5.08 cm) to the
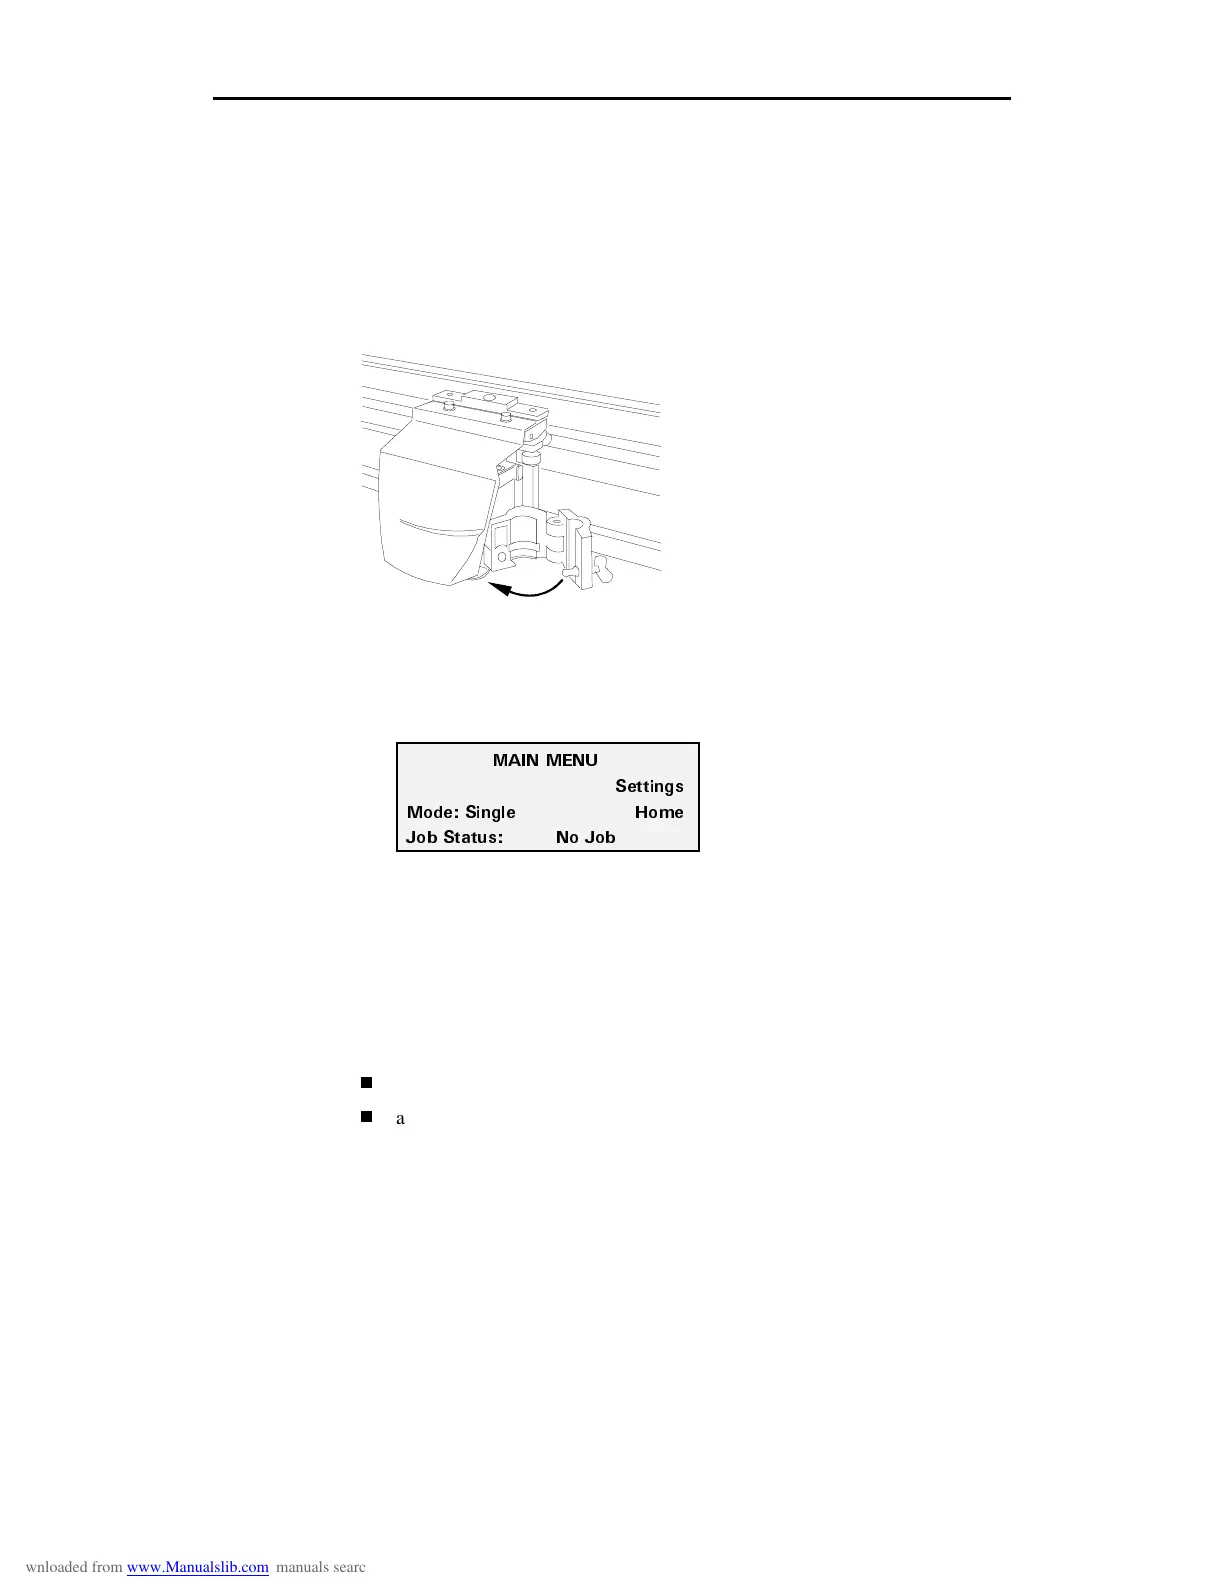
left. When these steps are completed, the Main Menu appears.
1.
Close the bail arms.
2.
Close and latch the tool clamp as shown below.
3.
Close the plotter cover.
4.
Plug in the plotter power cord.
5.
Turn on the power switch located on the front left side of the plotter. The
Main Menu appears.
Setting up the software
After connecting the plotter to the GA or other sign design system computer,
you need to make the plotter available to the computer through your software
setup program. If you are not using GA as your sign design system, refer to your
software documentation to add the enVision to your system. If you are a GA
user, adding the enVision to your computer is a two-step process:
updating your GA software to add and support the enVision plotter
adding the enVision to the GA list of available plotting and printing devices
/#+0 /'07
5GVVKPIU
/QFG 5KPING *QOG
,QD 5VCVWU 0Q ,QD