49
Vapodest 50s carousel
10.3. Working with various sizes of digestion tubes
If you want to work with different sizes of glass, you have to change the carousel
and the guidance cage.
During a series it is not possible to work with different sizes of glasses.
10.3.1. Change carousel
There are three types of carousels available:
- 20-fold for 20 x 250 ml tubes
- 16-fold for 16 x 400 ml tubes (KDD und BS 400)
- 12-fold for 12 x 800 ml tubes
1. Empty the carousel completely.
2. Take off protection cap: in order to do so, pull handle upwards and then towards
the side.
3. Turn carousel manually so that positition 1 is on the very left (also see ill.
10.2.a). that way, the carousel can be easily inserted again at a later time.
4. Open the turn-lock fastener for the carousel lösen and then pull out comple-
tely..
5. Take out carousel.
6. Insert the carousel again and turn till it is xed in the grove of the receiver for
the carousel. Make sure that, the carousel sits straight.
7. Insert turn lock fastener and pull till the stop.
8. Put on protective cap again.
9. In the menu "System functions > Carousel", the software has then to be set to
the correct type of carousel. This is important as the software needs the info that
a new type of carousel is used (also see chap. 7.4. Selection of carousel)
10.3.2. Change guidance cage
There are three different types of test tube guide cages available:
- Guidance cage for glasses 250 ml – Standard ausführung
- Guidance cage for glasses 400 ml (KDD and BS 400)
- Guidance cage for glasses 800 ml
How to take out the guidance cage:
Press clamping device down (chapter 4.3, pos. 2) and pull guidance cage
together with the drip tray forward (chapter 4.3, pos. 23).
How to insert the guidance cage:
Put PTFE-insert tubing (chapter 4.3, pos. 3) in the guidance cage and pull drip
tray slightly forward. Press clamping lever downwards and insert the guidance
cage slighty diagonally until you hit the upper stop. Then, make sure that the
xing pins of the guide cage are locked into place in the quick clamping device.
Should the guide cage not be inserted correctly there will be an error message
in the display.
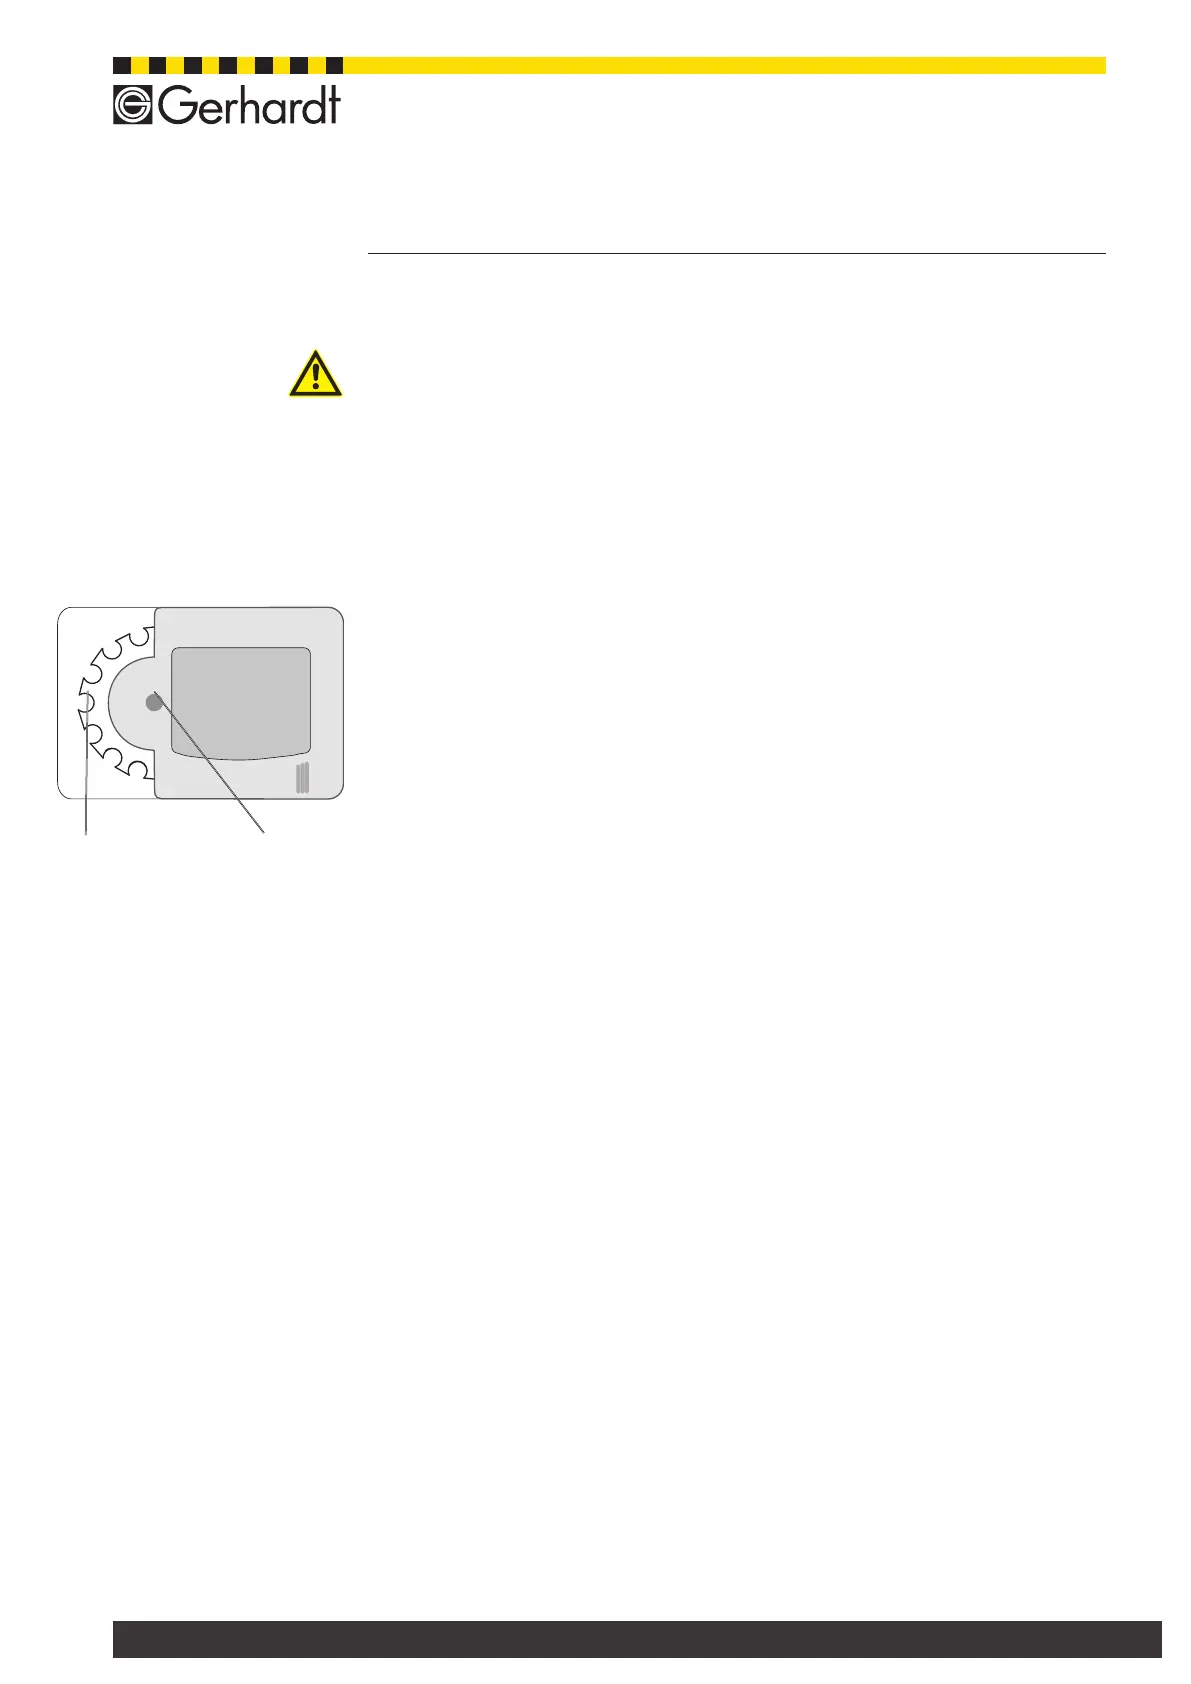
Warnung vor
einer Gefahrenstelle
Pos. 1 Turn lock fastener
10 Execution of method
Fig.. 10.3.a
 Loading...