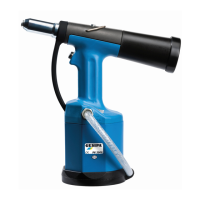
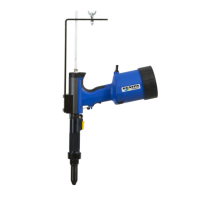
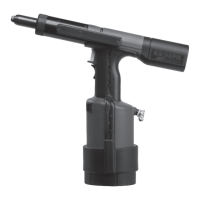
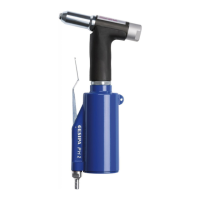
21 Blind Riveting Gun Repair Instructions
Blind Riveting Gun Repair Instructions
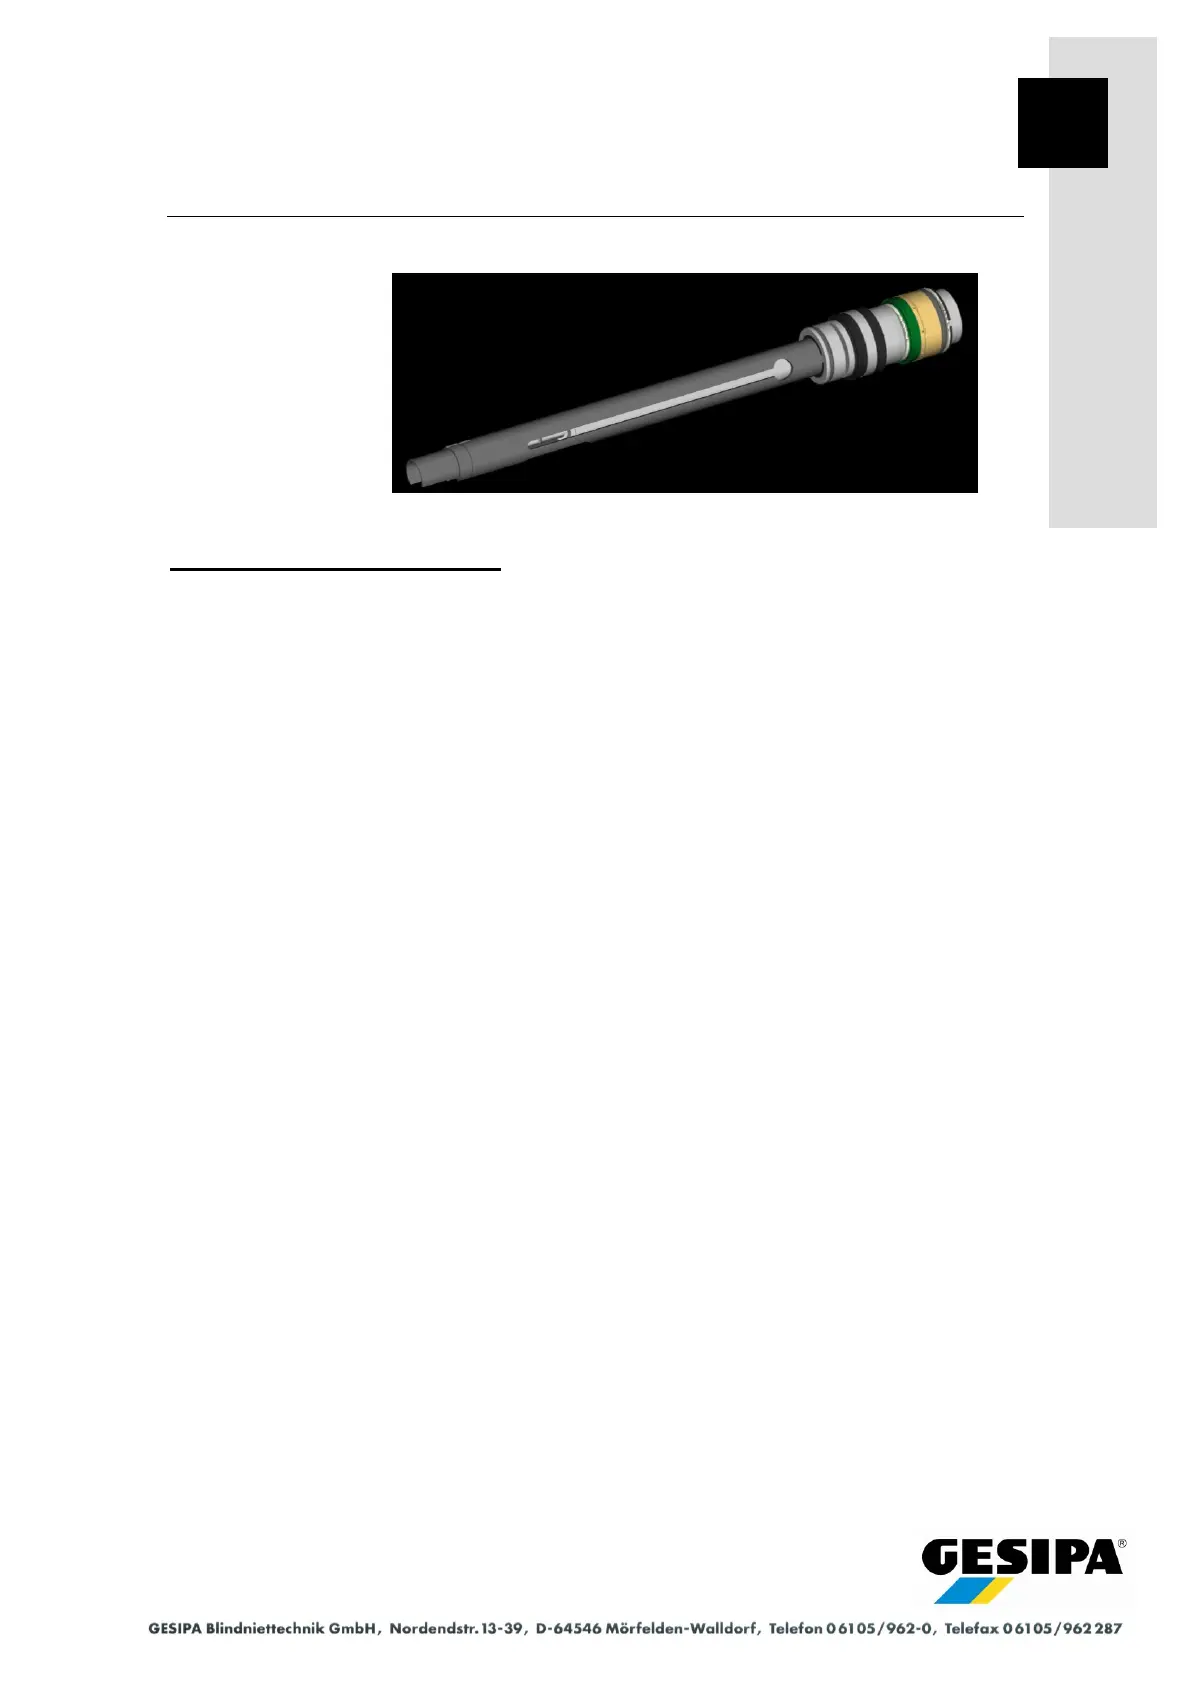
To replace piston unit 2-6190
Installation aids:
Assembly cone E9-18 (accessory)
Assembly pin E9-21 (accessory)
Drift E9-22 (accessory)
Removal:
- Remove spreader nosepiece 2-80 and closing sleeve 2-22.
- Unscrew cover 2-2 and threaded plug 2-6003.
- Press back stop ring 2-6021 by approx. 2 mm (pretensioned) and remove exposed snap ring
2-40.
- Remove stop ring 2-6021.
- Pull off coupling sleeve 2-6151 and corrugated ring 2-6155, remove feather key 2-6153 with
pliers.
- With light taps with a plastic-headed hammer, release piston unit 2-6190 from its press-fit and
push out with drift E9-22, avoid damaging the cylinder surface.
Installation:
- Check cylinder surface of riveting gun housing for damage.
- To avoid damaging the seals, fit assembly cone E9-18 to the end of the housing.
- Lightly grease grooved ring 2-47, 2-6147 and O-ring 2-6082.
- Using assembly pin E9-21 and with the riveting gun housing in vertical position, press piston
unit 2-6190 into the riveting gun cylinder and tap in with light hammer blows as far as it will go
(press-fit approx. 4 mm long).
- Continue reassemble in the reverse order of removal.
- Check that the spacing between the stop ring and threaded collar of the riveting gun housing
is approx. 2.5 mm.