21 / 80
33028_mc_28_Teil2_jh
Receiver binding
You can bind two receivers to the transmitter. The two bound receiv-
ers can also be managed in binding option. You can split the control
channels of the receivers in the "Receiver output".
Binding process
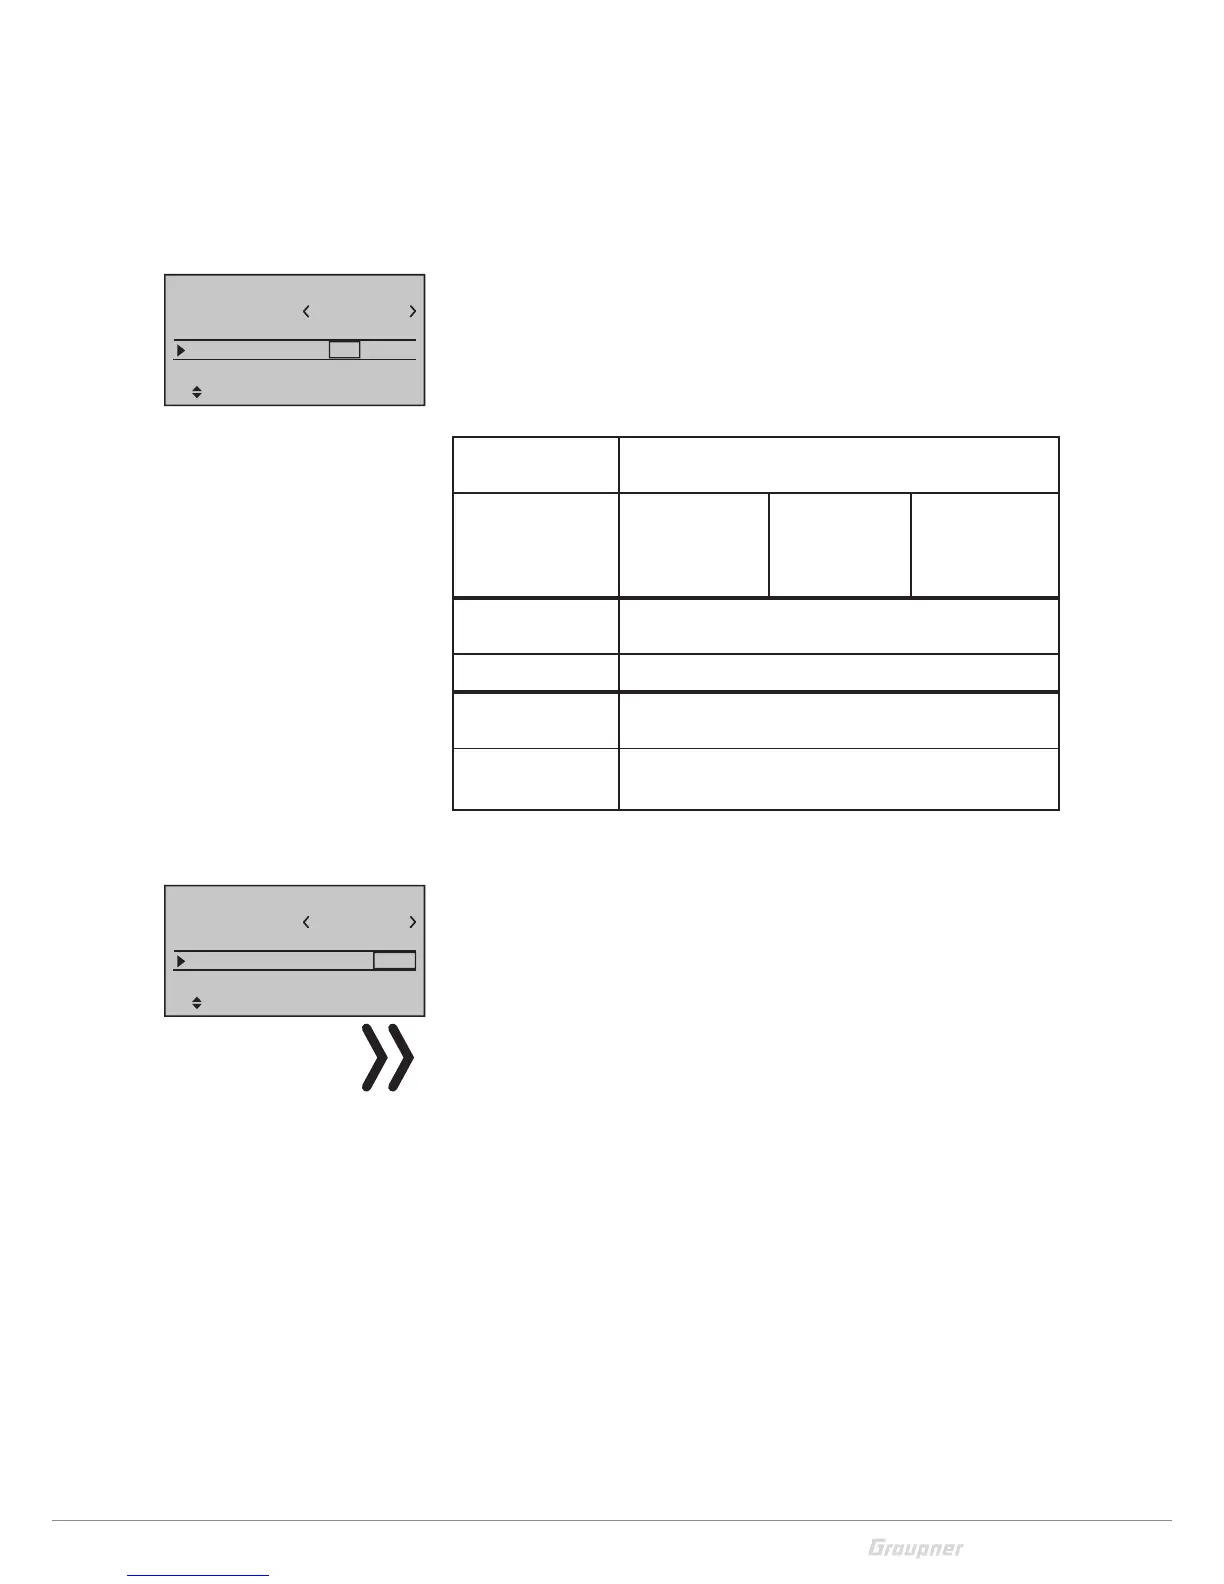
Move to the "N/A" field near the "HoTT" field with the selection but-
tons. Select your HoTT receivers while in binding mode. The binding
method is dependent on the type of receiver (see the following
table).
1. Set the receiver in the binding mode
1st binding
method
Push and hold the binding button
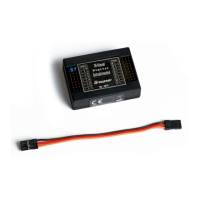
Receiver type GR-12
green LED on
= bound
GR-12L
red LED off =
bound
GR-18/24
green LED on
= bound
2nd binding
method
Push and hold the button until the LED blinks
red/green
Receiver type GR-16 / 24 / 32 - green LED on = bound
3rd binding
method
No binding button, the receiver enters auto-
matically the binding mode after switching on
Receiver type Gr-10C, GR-12 SC / SH
red LED off = bound
2. Now tap on the SET button; a "BIND" info window will appear.
If the binding process has been successful, “bound” will appear in
the left field. The identification of the receiver (e.g. E12 = GR-24)
appears in the line "Receiver output" under the "bound" field. BD1
and BD2 is displayed in the lowest line of the display. The meaning
of the message will be explained in the "Telemetry menu" section.
Note
If the binding process was not successful, verify the following condi-
tions:
Is the distance between transmitter and receiver at least 2 ft?
Is the power source of the receiver OK?
Is the polarity of the power supply correct?
Was the binding button correctly pushed?
If you want to bind a second receiver, then proceed as described
above. Move to the correct "n/v" field.
Mod. name
Stick mode
1
n/a
Base setup model
GRAUBELE
Rcv Ch Map
n/a
Module
HoTT
n/a
n/a
Mod. name
Stick mode
1
n/a
Base setup model
bind
BD1
GRAUBELE
BD2
Rcv Ch Map R12
n/a
Module
HoTT

 Loading...