July 2010 28 – 551
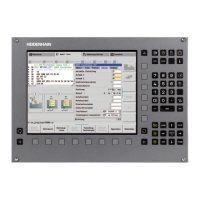
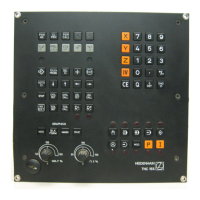
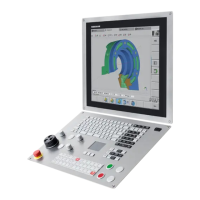
28.6 Exchange of the CC
Preparing the
machine
If still possible:
8 Move machine to home position (axes, tool changer, tilting head, etc.).
Ask the machine operator!
8 Press EMERGENCY STOP button.
Removing the
defective CC
8 Switch off the machine, take precautions against resetting, ensure that the equipment is free
of potential.
8 Screw off the shielding plate.
8 Label and remove all of the connections on the CC and the MC.
8 Dismount the CC component together with the MC from the electrical cabinet.
8 Separate the MC from the defective CC.
Loosen two torx screws at the top and two at the bottom of the housing (do not unscrew
completely). Remove the MC by drawing it towards you by the handles until the MC
disengages from the CC.
Now you can pull out the MC at a slight angle to the right.
Mounting the
new CC
8 Connect the MC with the new CC.
8 Mount the new CC together with the MC in the electrical cabinet.
8 Re-establish all of the connections on the CC and the MC.
8 Screw on the shielding plate.
8 Switch on the main switch of the machine.
Functional test
8 Check the machine functions (with the aid of the machine operator).
Returnings the
defective CC
8 Replacement controls are delivered with a form which you can use to provide information on
the error of the defective control.
Fill in this form and attach it to the housing of the CC.
8 Pack the defective CC in the original packaging of the new CC.
8 Return the defective CC to the machine manufacturer or to your HEIDENHAIN
service agency.
Observe the ESD precautions. --> See “Important Information” on page 28 – 523!
Do not confuse any of the connectors!
Do not forget to connect the grounding screw at bottom right of the MC and the grounding
screw above the CC housing!
 Loading...